
Brilliant Shine Background
Make two copies of the last made layer and select Free Transform option to place the copies the same way shown next picture:
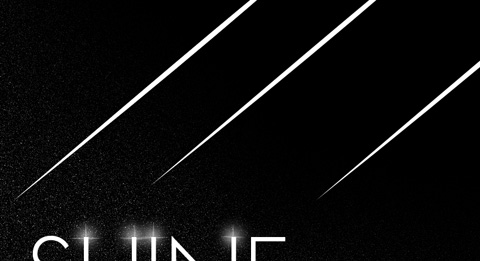
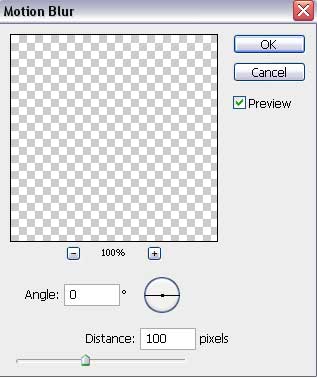
Merge Down all three layers containing the white rays (pres Ctrl button to mark out the necessary layers and press CTRL+E options). Select for the new layer this option: Filter>Blur>Motion Blur
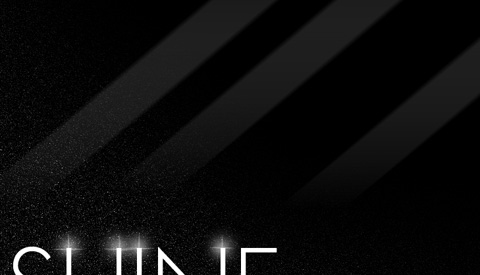
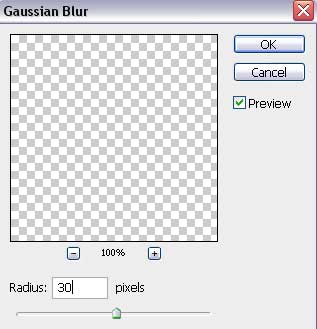
Select one more option for the same layer: Filter>Blur>Gaussian Blur


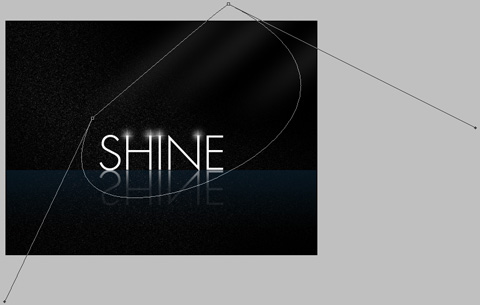
Use the Pen Tool (P) and Convert Point Tool to draw that part on the ray that would be more voluminous.
The layer’s parameters: Fill 0%
Blending Options>Gradient Overlay
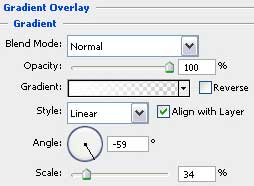
Gradient’s parameters:
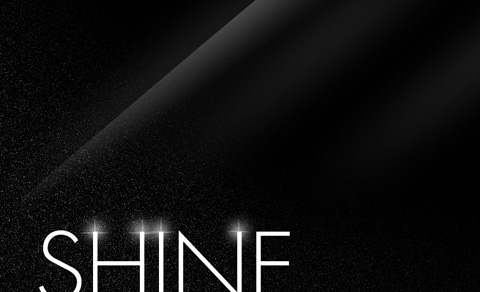
Make two copies of the last made layer and select Free Transform option to situate the copies above those two rays.
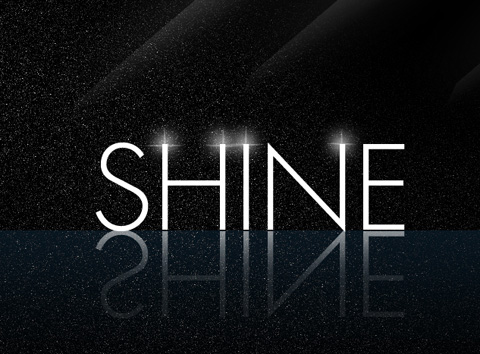
The picture is finished!
View full size here.
Comments