
Brilliant Shine Background
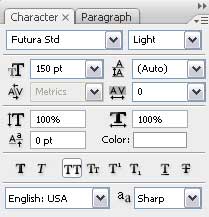
It’s time to write a word for the picture: “SHINE”, keeping the demands for the inscription from the table below:

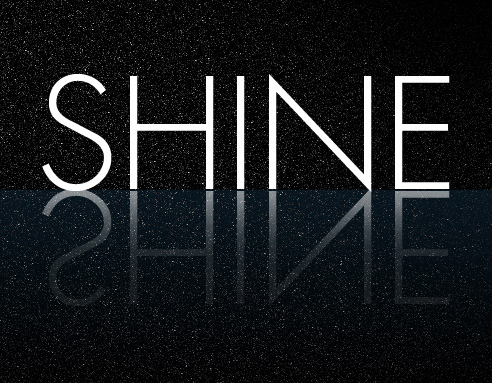
Make a copy of this recently made layer and select Free Transform option to turn over the copy, placing it as it is indicated below:
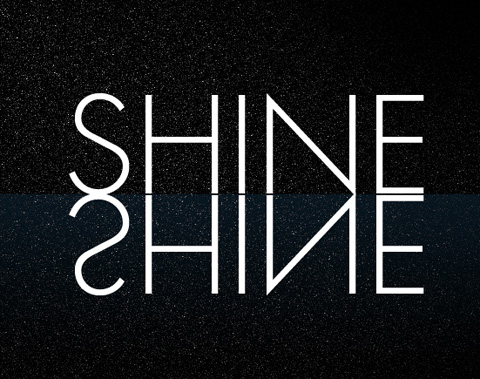
Make a mouse click on Add a Mask selection on the layers’ panel and select the Brush Tool (B) and Opacity of 10% and black color to clean out a little the word in reflection.

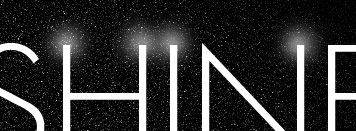
Create a new layer and use again the Brush Tool (B) and Opacity of 10%, this time of white color, for representing on the picture the luminescent upper parts of the letters.
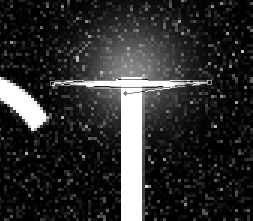
We can also use the Pen Tool (P) of white color to represent several shining rays, which shapes may be corrected with the Convert Point Tool.
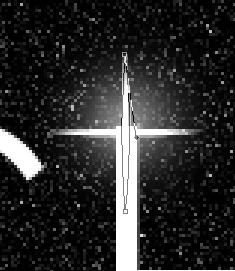
Make a copy of the last made layer and select the Free Transform option to turn around the copy on 90 degrees.
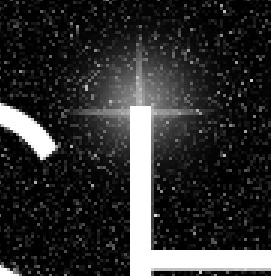
Getting a better result it’s possible when combine the rays’ layers in a single group (press Ctrl option for accentuating the corresponding layers and then keep pressed the left mouse’s button for moving the marked layers on Create a new group selection). Use the next indicated parameters for the new group: Opacity 30%
Make three copies of the new made group, placing the copies as below:

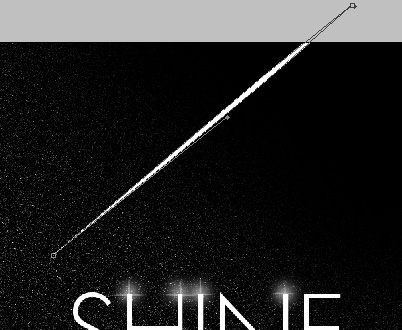
Applying the same method for representing the rays for the letters, it’s possible to represent one more ray of white color with the same Pen Tool (P). The new element’s shape may be corrected with the Convert Point Tool.
Comments