
Bayville – Pop Art Style
In this tutorial we are going to make and illustration using Ps custom Brushes. It is more like corporate style. So we will make a logo and base color gamma.
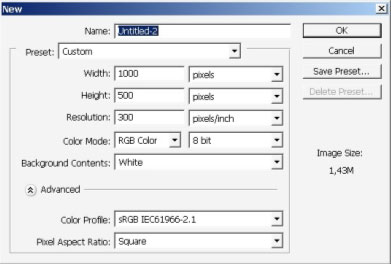
So let’s start by creating any king of document.
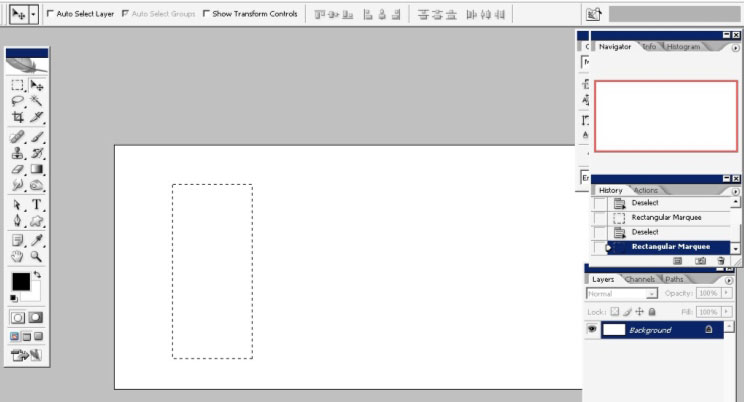
Make a selection.
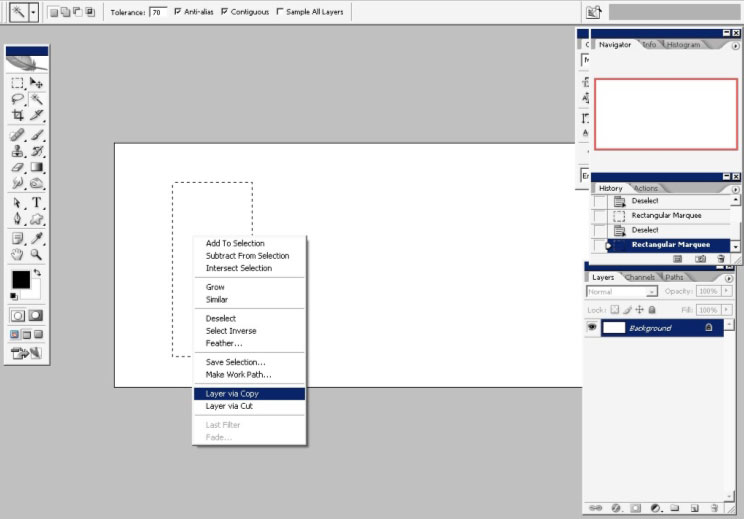
Copy it to a separate layer.

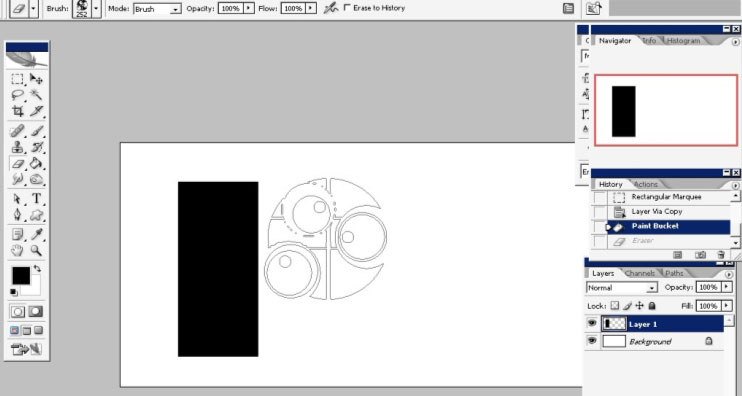
And fill it with black color.
Now switch to eraser and grab eraser brush. You will have it in my antyscale brush,
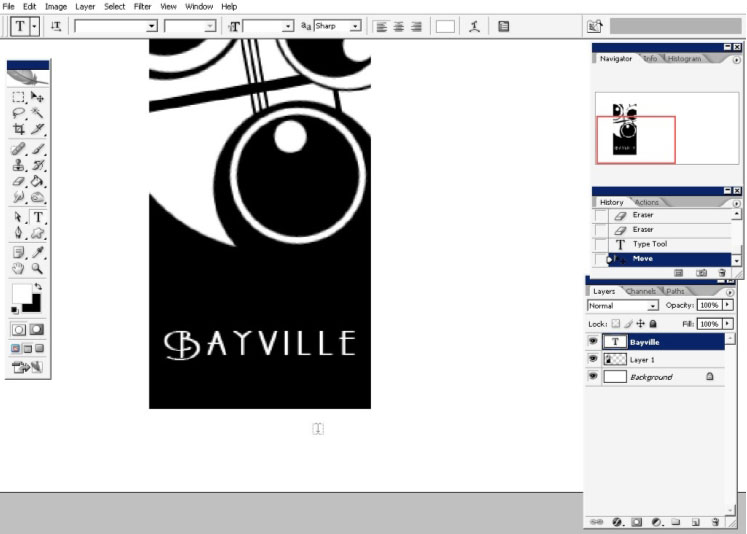
Here we have it. Now let’s paste some text there.
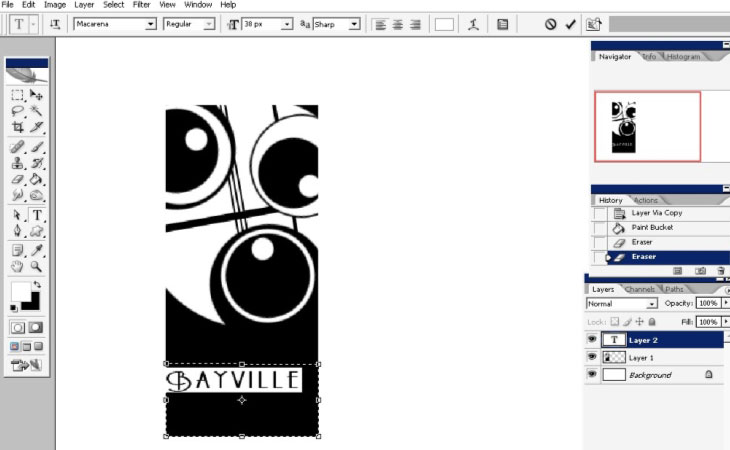
We will write Bayville.
And – the word view.
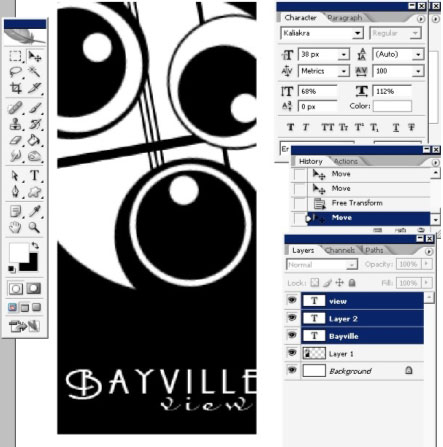
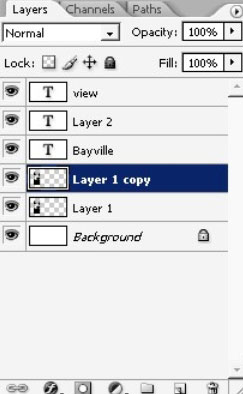
All the text stays on the separate layers, create a copy of our key layer.
Select the whole layer and just tap several times with this brush you see. I’m also using this purple color.

I will add a mask as well and hide a part of my effects.
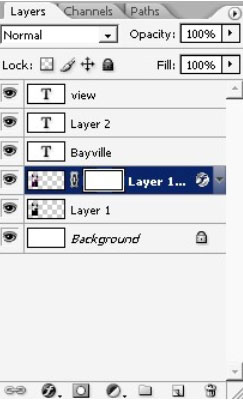

As you can see I’ve hidden a part of my purple.

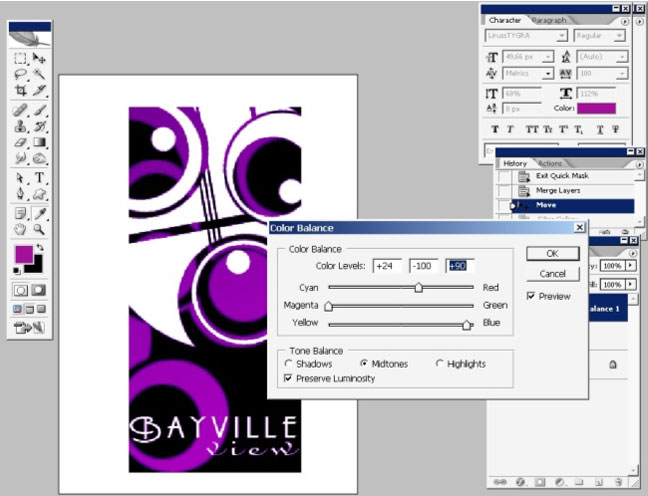
Then I will correct my color a little bit.
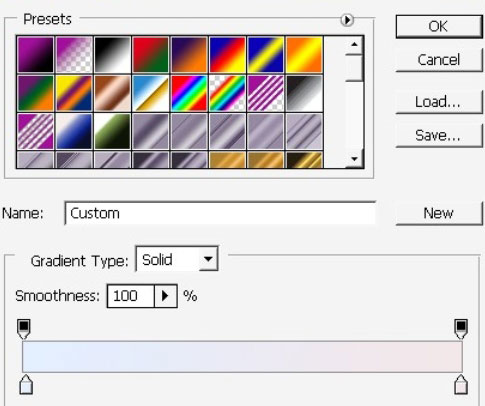
I will use a hardly seen gradient for my background.
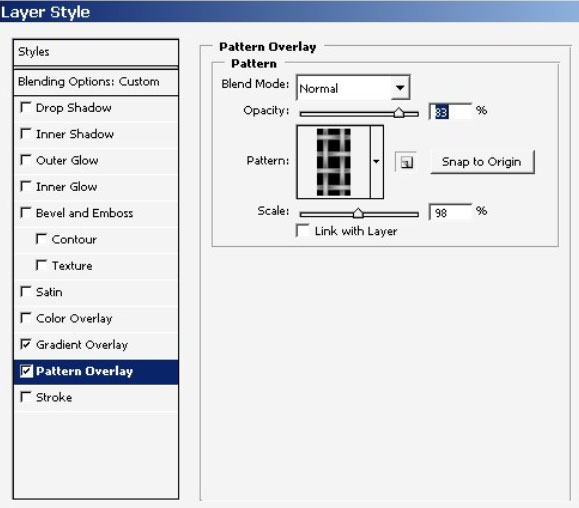
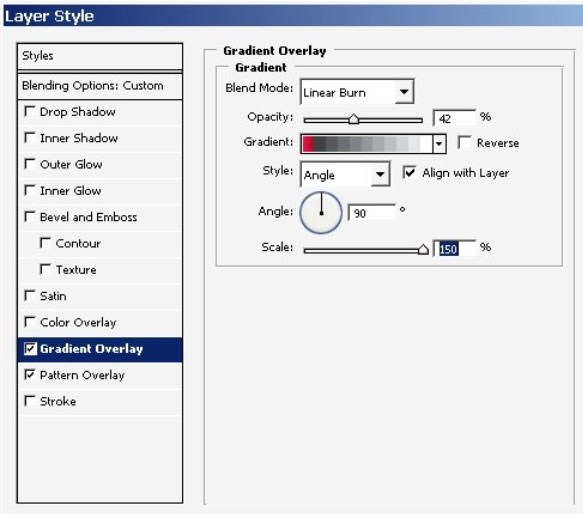
Moreover I will do some layer styling on my background.
As you see only 2 styles are turned on here. We have a pattern overlay here and a gradient overlay.
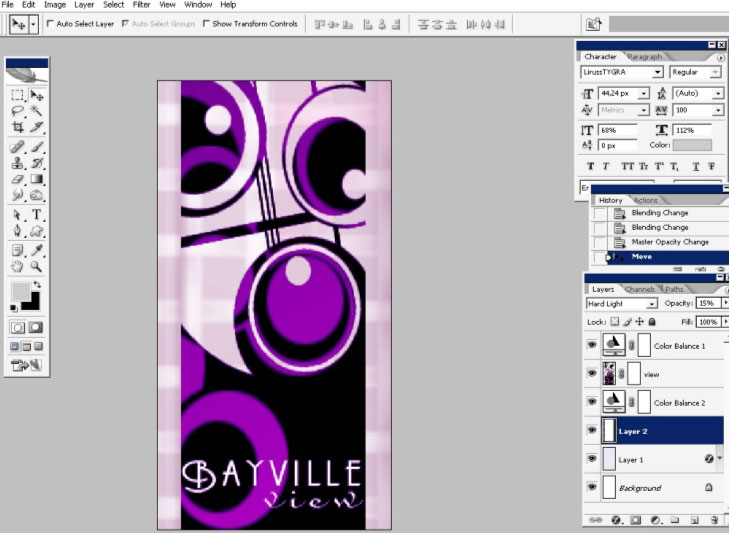
Color
correction on the background (only), just make that layer between the
logo layer and background. This way it will effect only the background.

And we are done here with Bayville View here.
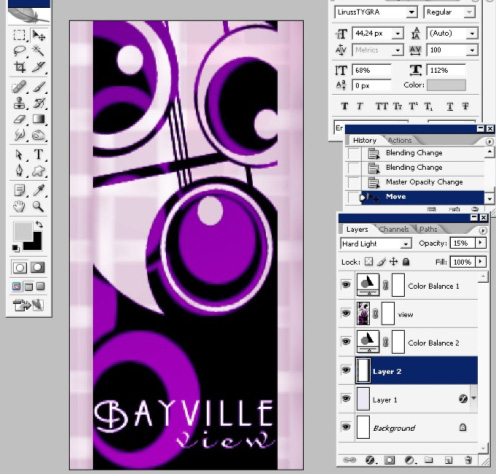

Enjoy it!
Comments