
Ballet Dancer Photo Effect
This lesson will teach you how to make a photo look lighter, change the eyes’ color and make the hair longer, use and download ready brushes, picture the clouds, blinds and create the effect of changing textile of each the cloth is made up and also giving to the photos an effect of luminescence.
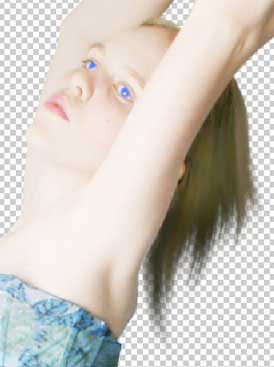
Open the necessary girl’s photo: File ? Open (ctrl+o)
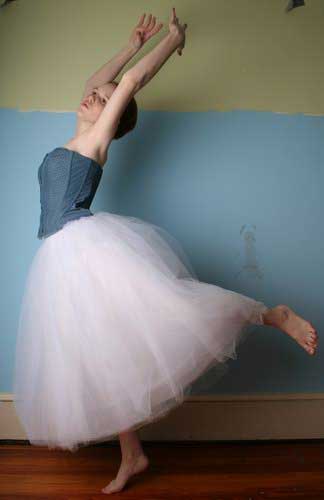
Mark it out along the contour, using Polygonal Lasso Tool
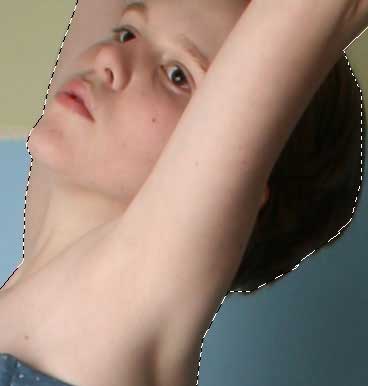
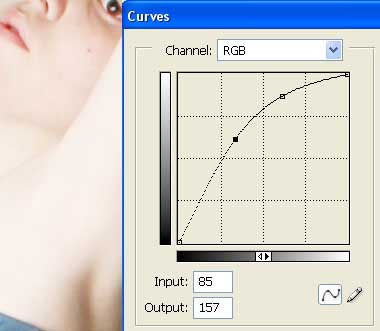
Cut out the part inside the marked place: Edit ? Cut (ctrl+x) and place it on a new layer: Edit ? Paste (ctrl+v). Delete the previous layer and the photo’s rests with the fast button on the Layers window. Use the following command Image ? Abjustments ? Curves (ctrl+m) to make the layer look lighter.

Create the new layer now, using the fast button Create a new layer on the Layers window. Take the Brush Tool and paint the eyes with the necessary color.
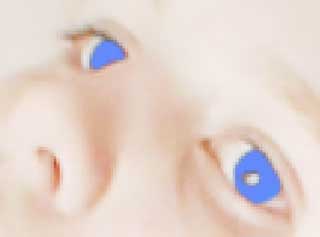
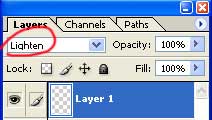
Change the layer’s type on Lighten.
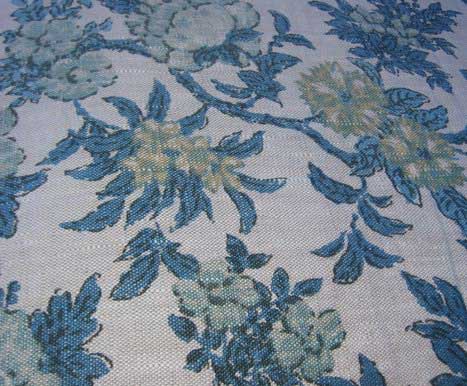
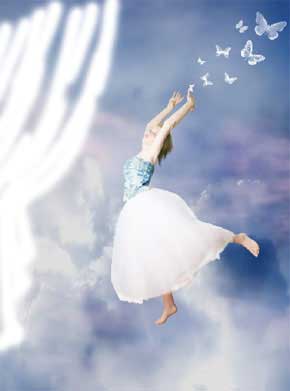
To change the textile of which the corset is made up, you need to choose another textile, that one you like and place it on a new layer, above the girl.
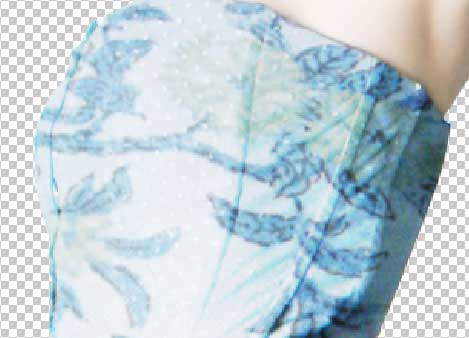
Increase the layer’s transparency and mark out the corset along the contour with Polygonal Lasso Tool.

Then make the layer to look not transparent again, cut out the marked part of the textile and place it on a new layer. Delete the previous layer and change the type of the new one on Overlay.
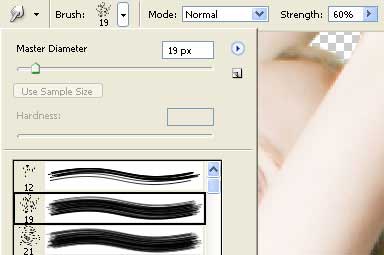
 To create the effect of hair in the wind, choose Smudge Tool. Set the brush’s strength on 60%.
Blur the hair on the necessary direction.
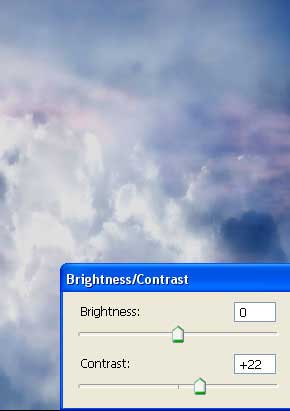
Pass to the background. Take the sky’s photo and insert it on a new layer.

Click on it and holding it, move it lower than all the layers. Correct its size, applying Edit ? Free Transform (ctrl+t) and increase its contrast a little with Image ? Adjustments ? Brightness/Contrast.
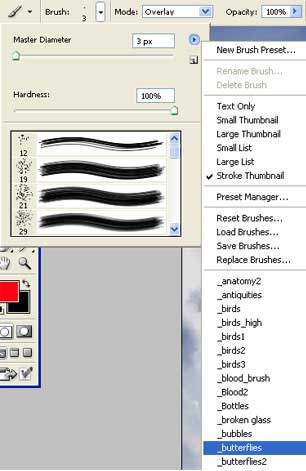
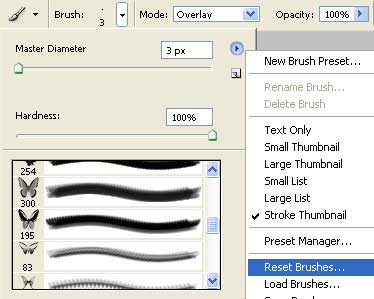
Picture the butterflies with the ready brushes now. It’s possible to download them here: http://www.deviantart.com/deviation/15235446/?qo=89&
q=by%3Aspiritsighs-stock&qh=sort%3Atime+-in%3Ascraps. Put the necessary brushes in a special map Brushes, which will be situated in the same map, containing the Photoshop program. Choose Brush Tool and download the necessary brushes in the window on the upper panel.
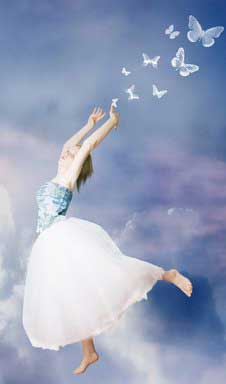
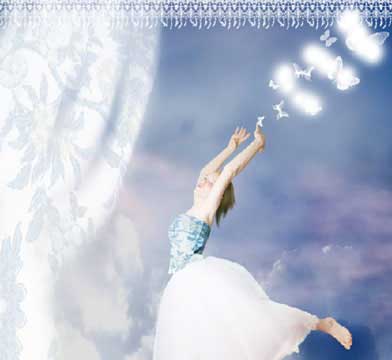
Choose Brush Tool again to picture the butterflies. Place them on different angles, but they must be of different dimensions (Edit ? Free Transform).
Get back to the standard set of brushes, choosing Reset Brushes.
Set brush’s hardness on 0% and choose the Brush Tool to picture an improvisational hanging, left to the girl.
Blur a little the layer applying Filter ? Blur ? Motion Blur.

Give to the hanging the textile’s texture. Place on a new layer the same textile texture we used for the corset, higher than the hangings layer. Merge both layers applying Layer ? Create Clipping Mask (ctrl+g).
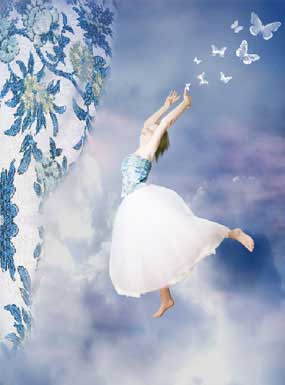
Set the layer’s opacity on 16%.
Insert on the new layer the picture having the fringe on it.
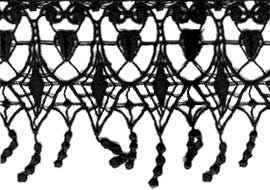 Make it white with Image ? Adjustments ? Invert (ctrl+i). Change the layer’s type on Lighten. Copy several times this layer: Layer ? Duplicate Layer and make use of the next tool: Move Tool to place the fringe in one line along the upper edge. Merge all the layers, containing the fringe, applying Layer ? Merge Down (ctrl+e).

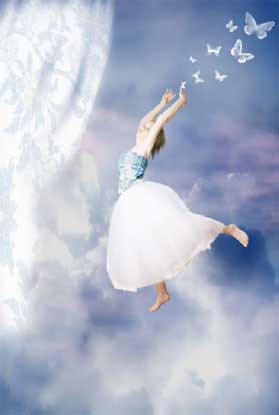
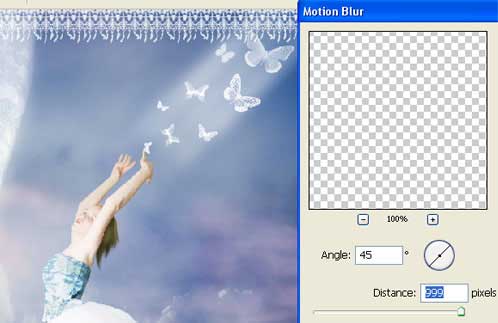
Make the photo look more luminescent. Picture several equally stripes with a big size brush on the same corner the butterflies are situated.
Apply Filter ? Blur ? Motion Blur.
To make the luminescence more intensive, just copy the layer and merge it with the previous one. Apply Edit – Transform ? Perspective.
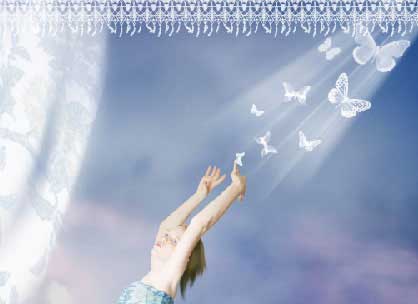
Add the luminescence the same way to the girl’s feet.
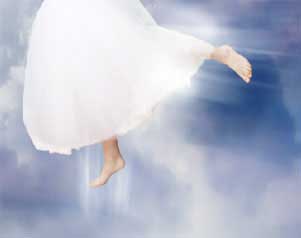
Picture the cloud she will be standing on.
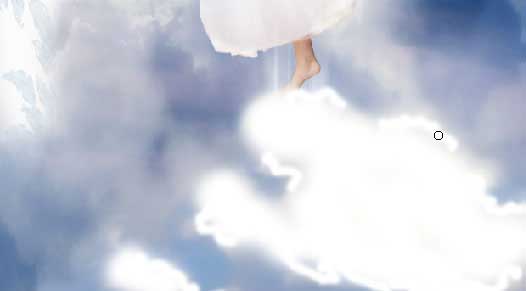
Apply Filter ? Blur ? Gaussian Blur.
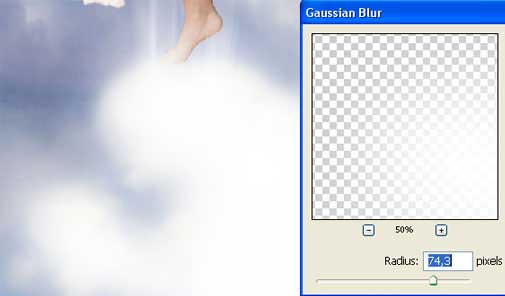
Picture several small clouds near the girl’s feet and butterflies. Apply also Filter ? Blur ? Gaussian Blur.
Enjoy it!
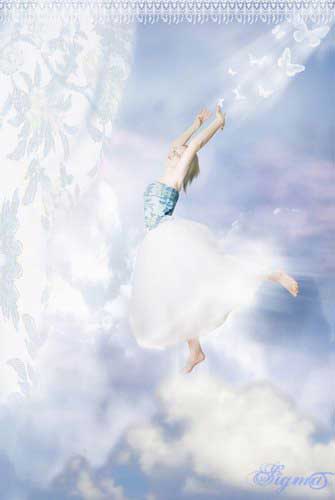
Made by Sigma
Comments