
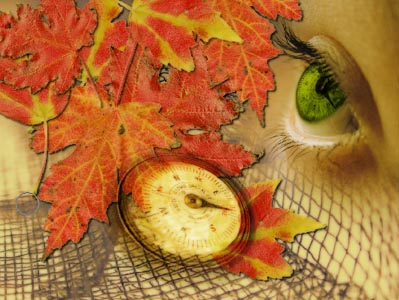
Autumn Wallpaper – Photo Effects
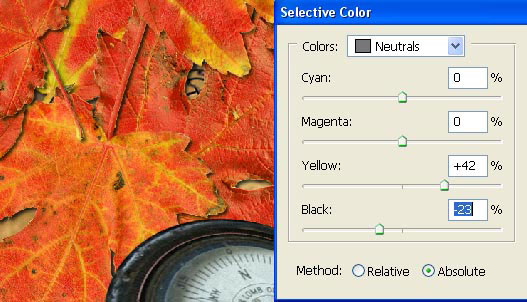
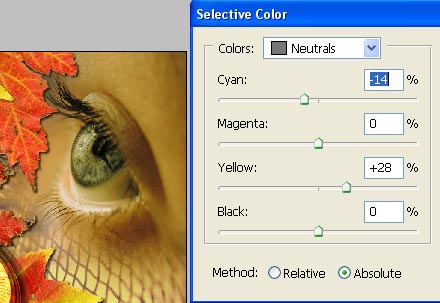
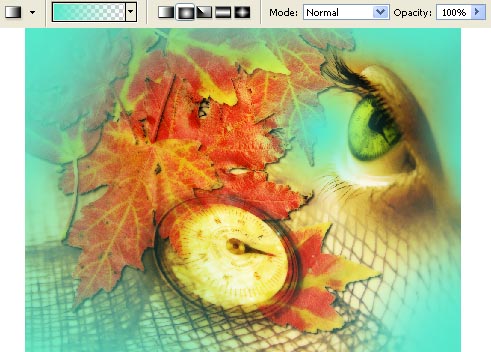
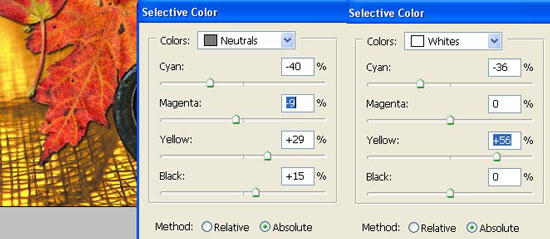
Make the leaves look a little more orange than they are
(Selective Color):
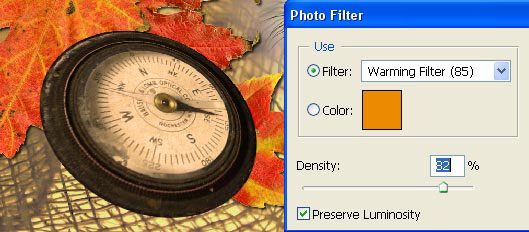
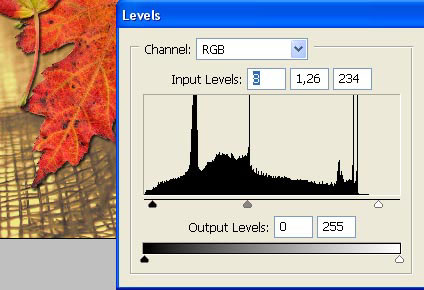
Apply on the compass’s layer first a photo filter: Image –
Adjustments – Photo Filter.
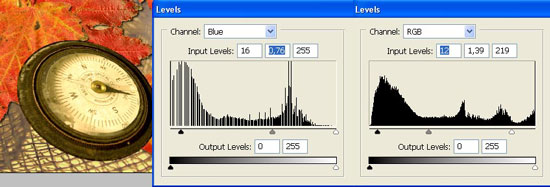
Then Image – Adjustments – Levels (ctrl+l).

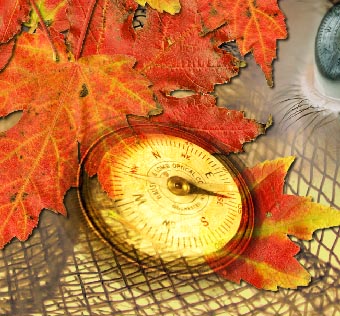
Make
invisible the compass’s
edges by choosing the following options: Layer Mask and Gradient Tool.
Change the layer’s type on Hard Light.
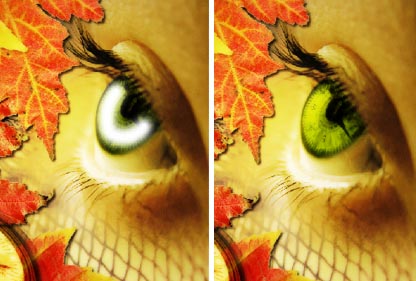
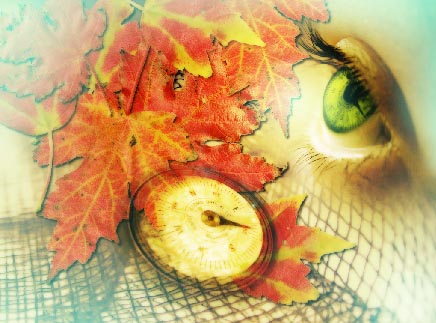
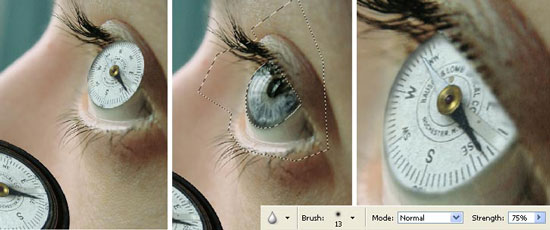
Change also the color of the eye’s layer (Selective Color).
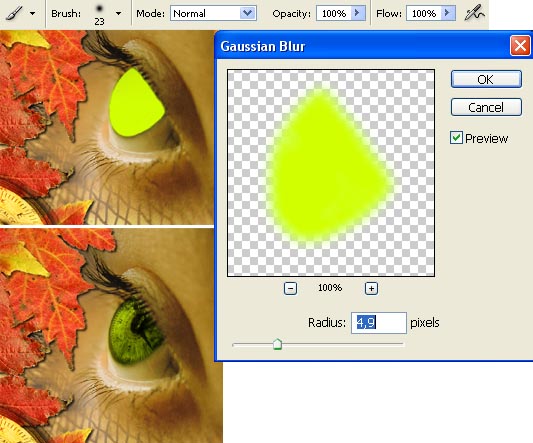
Then change the color of the eye itself. For this operation we
need to paint firstly the eye, using the Brush Tool with smooth edges,
and then blur out a little the layer, selecting the next command: Filter
– Blur – Gaussian Blur. Finally change the layer’s type on Multiply.
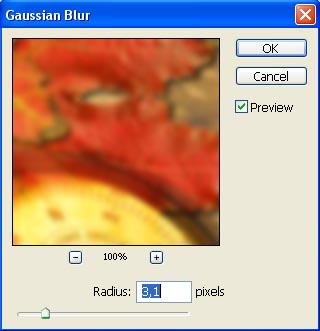
Merge down all the layers: Layer – Merge Visible (shift+ctrl+e)
and make a copy of that new layer (??trl+j). Blur it out a little
(Gaussian Blur).
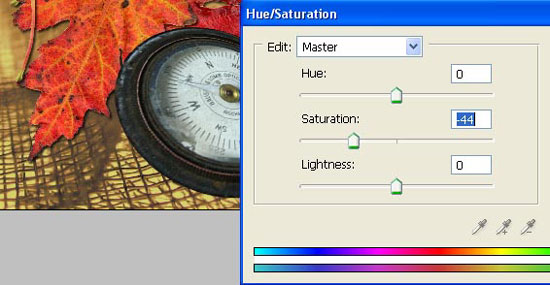
Minimize the intensity of this layer’s colors, using the
command from here: Image – Adjustments – Hue/Saturation (ctrl+u).
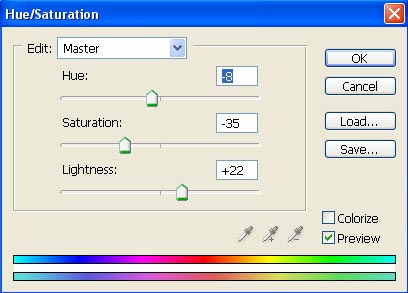
Change the layer’s type on Darken:
Merge
down the layers
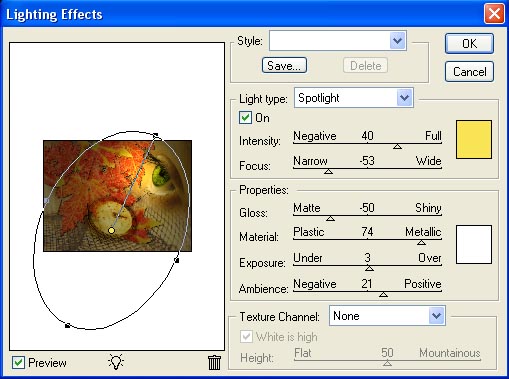
(ctrl+e) and make one more copy of this new layer (ctrl+j). We should
apply on it the following option: Filter – Render – Lightness Effect,
just to change the lightness:
Apply on this layer the other filter: Filter – Noise – Median.
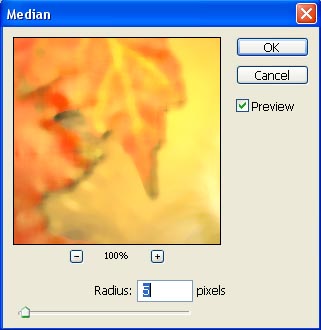
Change the layer’s type on Overlay and make the necessary
corrections on the brightness, the contrast and the saturation of the
layer:

Make the eye look lighter by outlining the eye’s half circle
with white color on a new layer (Brush Tool), blurring it a little and
changing the layer’s type on Soft Light.
Select after that the Gradient Tool and insert on the picture a
cold nuance, especially on those places we want to make them lighter:
Change the layer’s type on Screen:
Select
the same Gradient Tool
on a new layer and change a little its adjustments to insert our
picture in a frame:
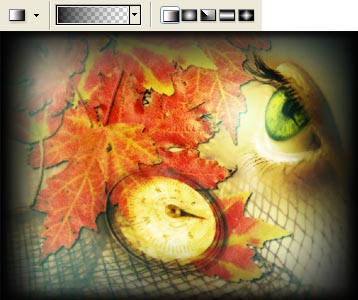
Change the layer’s type on Overlay:
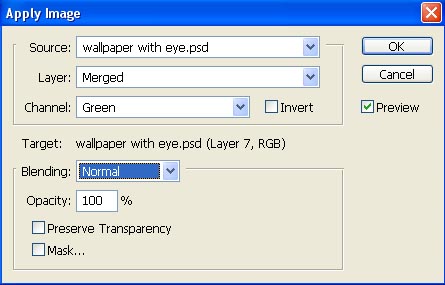
Create now a new layer and use on it this combination: Image –
Apply Image, choosing in the Channel option the most in contrast
version:
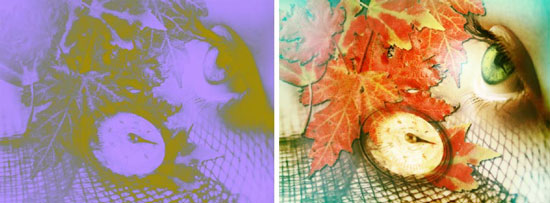
Using the Selective Color in the Black and White options, we
should change the colors firstly, and then change the layer’s type on
Soft Light:
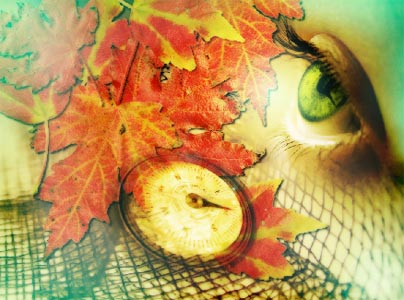
Continue by inserting the last texture. On the top layer we
should place the picture of the sky:
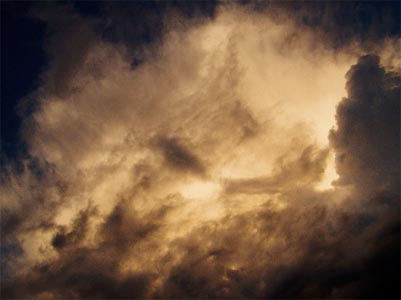
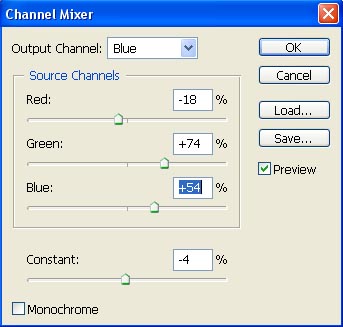
Change the layer’s type on Hard Light and make the necessary in
the colors too, applying Image – Adjustments – Channel Mixer.
Choose the Layer Mask and the Gradient Tool to give back the
visibility to the eye:

Blur a little the layer containing the sky just to get rid of
the layer’s noises:

Merge
down all the layers
(shift+ctrl+e) and use finally on this new layer the next shown
possibilities: Filter – Sharpen – Sharpen to increase a little the
layer’s sharpness:
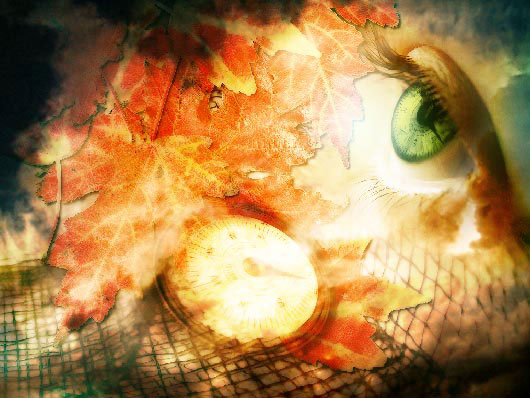
The wallpapers are finished!
Made
by Sigma In this tutorial we’ll see how is it possible to create wallpapers by combining several
pictures, we’ll learn also several methods of correcting the colors, use
the layers, the filters and see how to create unusual lightness
effects.
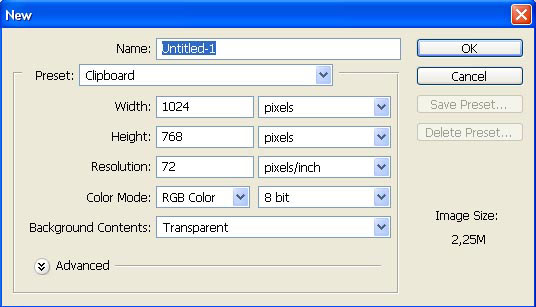
First we need to open a new file of standard sizes
wallpapers: File – New (ctrl+n).
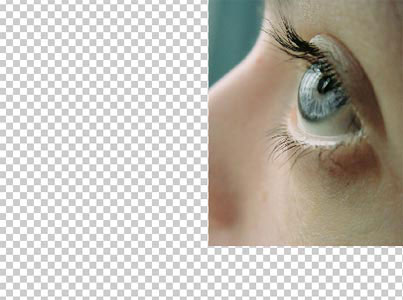
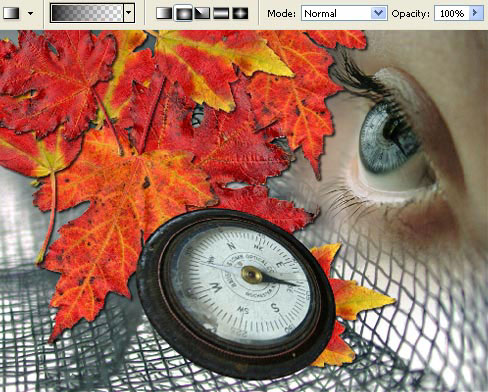
Open now in a new window the photo representing an eye:
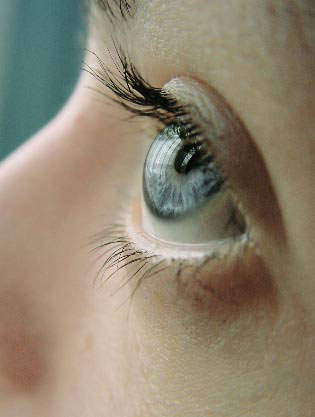
Mark it out, using the Rectangular Marquee Tool and make a copy
of it: Edit – Copy (ctrl+c). Get back to the earlier created file and
insert it on a new layer: Edit – Paste (ctrl+v). Now we should
correct the eye’s parameters, selecting the next option: Edit – Free
Transform (ctrl+t)
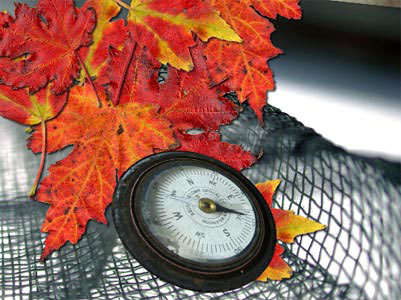
Insert on a new layer the photo of any kind of dial plate, in
this case of a compass.
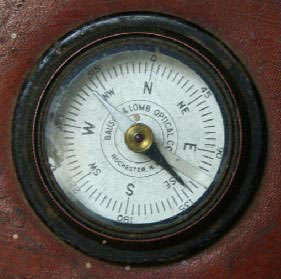
Separate the dial plate out of its background, using the
Elliptical Marquee Tool:
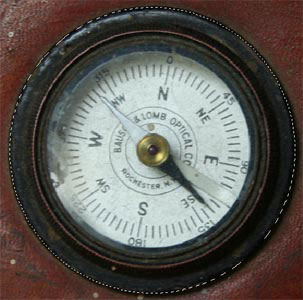
The layer containing the
rests of the picture should be erased: Layer – Delete – Layer. We should
copy also that part of the compass that is without its frame.
Distort the compass’s perspective after that, making use of
this command: Edit – Transform – Distort
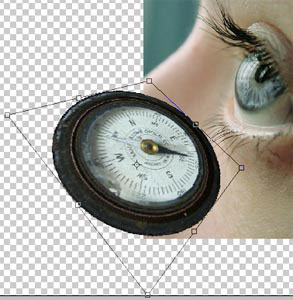
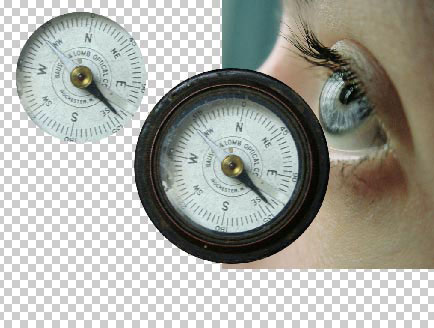
The second layer must be placed above the eye (Distort, Free
Transform) and then erase the unnecessary part by marking it firstly
with Polygonal Lasso Tool. Before marking that part we could minimize
the layer’s Opacity till 0%, and then turn it back on 100%. We should
blur out the dial plate’s edges too, selecting the Blur Tool.
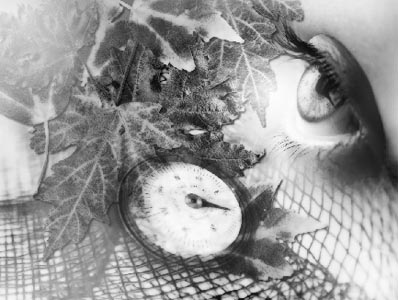
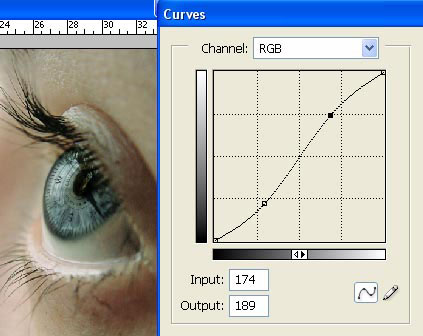
Decolorize the layer now: Image – Adjustments – Desaturate
(shift+ctrl+u) and change the layer’s type on Multiply, increase the
layer’s contrast, using the next option: Image – Adjustments – Curves
(ctrl+m).
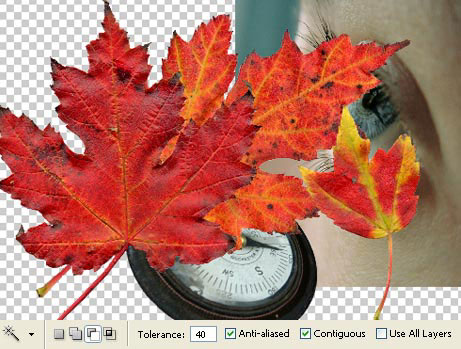
Open in a new window the photo representing the autumn leaves:
(ctrl+o):
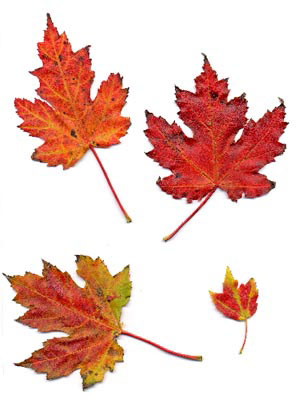
Because they are situated on a
white background, we can mark them out with Rectangular Marquee Tool
and Magic Wand Tool. Copy the leaves and insert each of them on a new
layer, getting back to the wallpapers window.
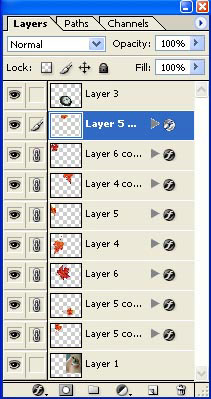
We should change after that the leaves’ angles and placements
(ctrl+t). Then make several copies of these new layers: Layer –
Duplicate Layer (ctrl+j) and create out of them a new composition,
situated under the compass’s layer (just move the layers on their right
places).

Apply to each of the layers the next command: Layer – Layer
Style – Drop Shadow
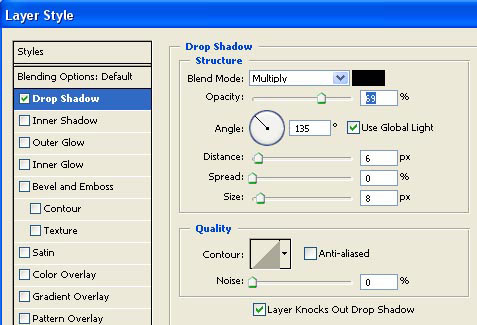
This way we’ll get the leaves shadows:
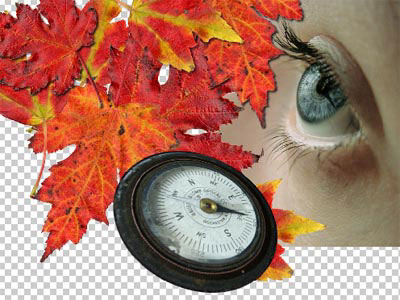
Combine all the layers containing the leaves on them:
And merge them down: Layer – Merge Down (ctrl+e). Now we have
to insert on a new layer the texture of a textile (ctrl+e), that you may
see below:
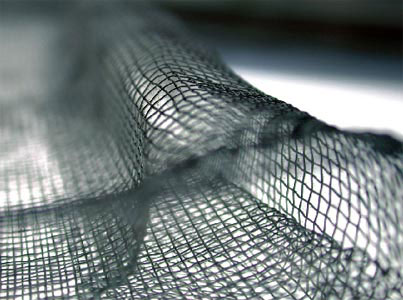
Place it above the layer containing the eye (ctrl+t).
Create a mask then out of
this layer: Layer – Add Layer Mask – Reveal All and choose the Gradient
Tool of black color to make invisible a part of the layer situated above
the eye:
Apply the following command: Layer – Remove Layer Mask – Apply
and start correcting the colors. Apply first Image – Adjustments –
Selective Color (for the layer containing the textile’s texture).
Use now Image – Adjustments – Hue/Saturation (ctrl+u).
Change a little the layer’s brightness and the contrast, making
use of the next command: Image – Adjustments – Levels (ctrl+v).
Comments