
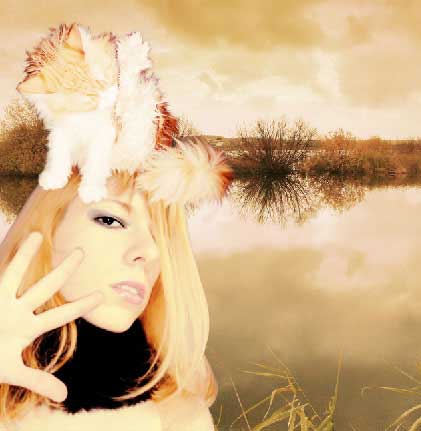
Autumn leaf colors Picture
This task we’ll se how it’s possible to cut out the fur, without damaging it, correct the colors, move off the skin’s flaws, work with the layers and textures and also correct the size and the shape of certain objects.
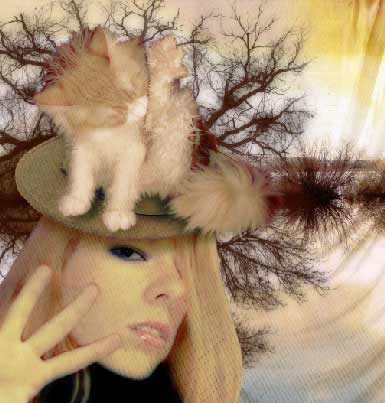
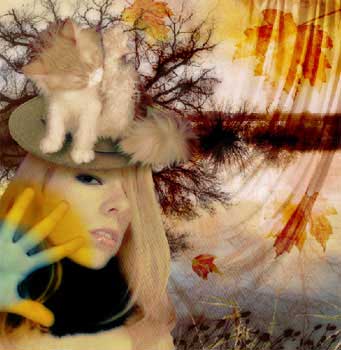
Before: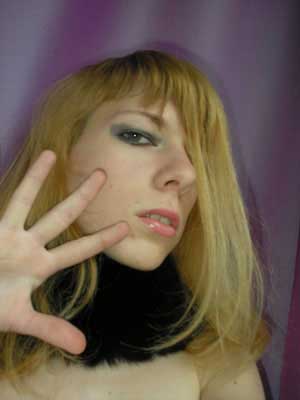 |
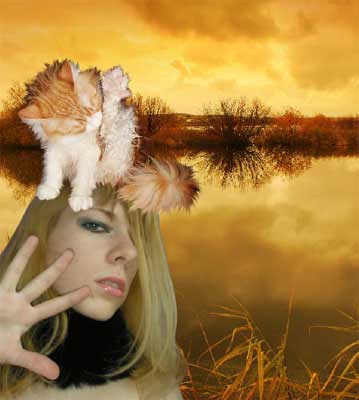
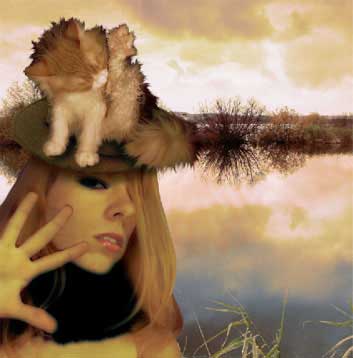
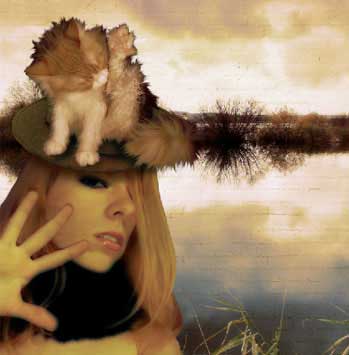
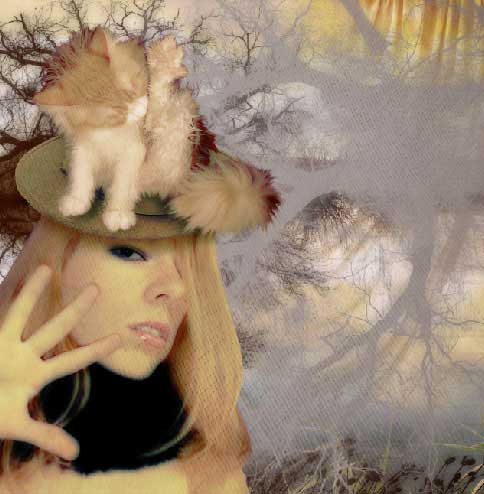
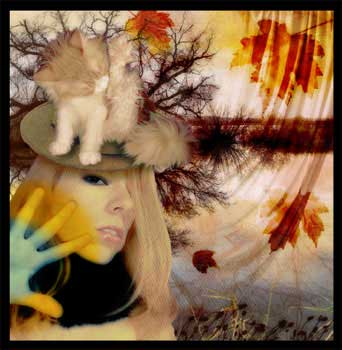
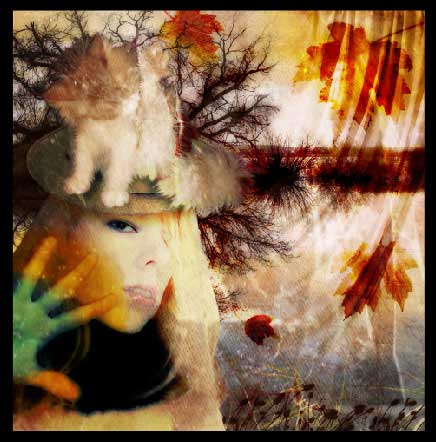
After: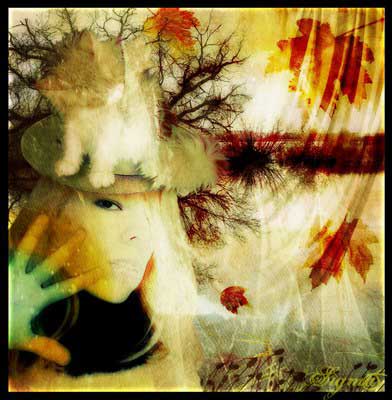 |
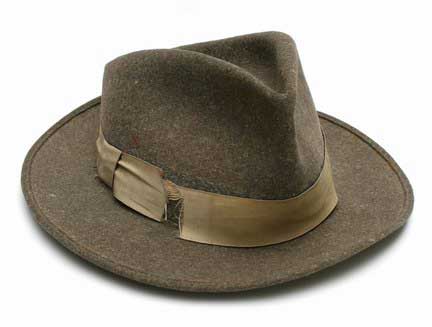
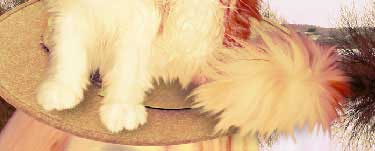
Open on a new window the picture representing a cat: File – Open (ctrl+o).
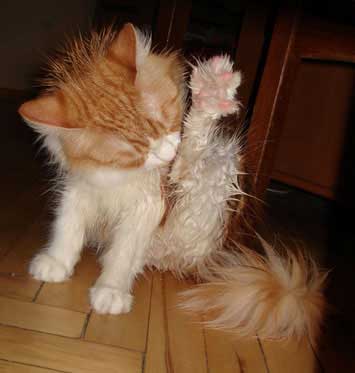
Copy this layer: Layer – Duplicate Layer to be possible to work with it. Creating the new layer is possible by using the fast button on the Layers window. Paint it in black, using Paint Bucket Tool. Move it on the bottom. Get back to the layer with the cat and apply the Eraser Tool to delete the background, trying to avoid the places with the fur. They must remain intact. We have a black layer that is why we may see what we should erase and what should remain on the picture.
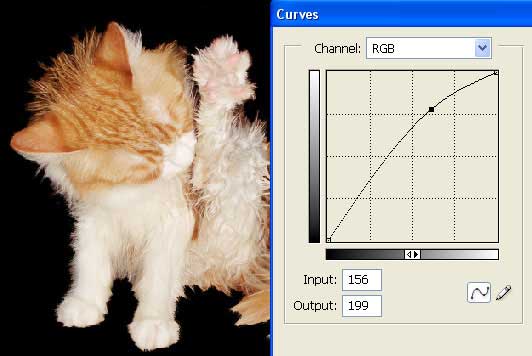
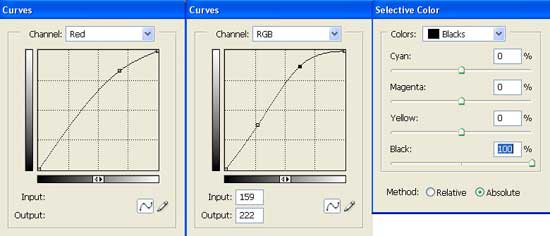
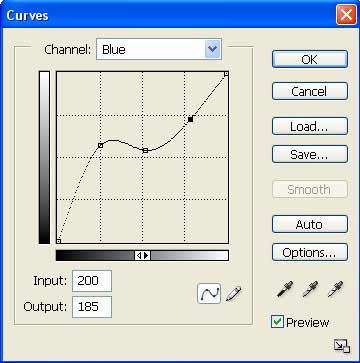
Increase now the layer’s brightness and the contrast, applying the selection Image – Adjustments – Curves (ctrl+m).

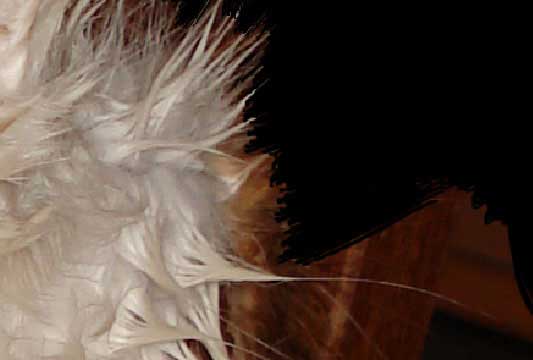
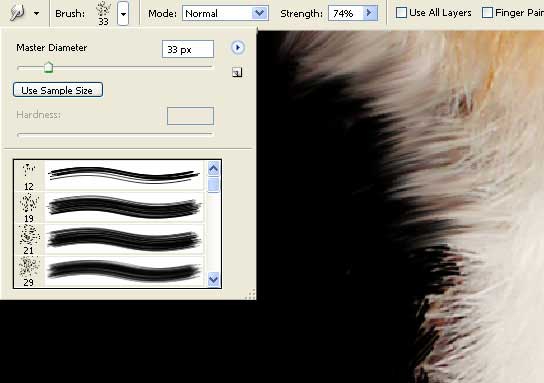
Choose now the Smudge Tool and change a little its adjustments. Applying blurring action, make the fur look fluffy.
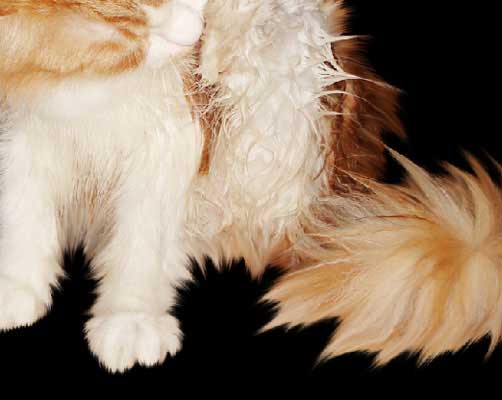
That is what we’ve got:
Delete now the black background layer by moving it on the Delete Layer button on the Layers window. Create a new layer on its place which must have a different layer now. Open a new layer with the background in a new window, mark it out with the Rectangular Marquee Tool and make a copy of it: Edit – Copy (ctrl+c). Get back to the file with the processed picture and insert it on a new layer.
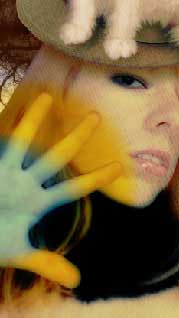
Insert the same way the girl’s picture under the cat’s one.
Choose now the Polygonal Lasso Tool and mark out the girl’s contours.
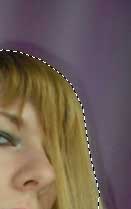
Cut out now the marked place: Edit – Cut (ctrl+x) and insert it on a new layer: Edit – Paste (ctrl+v). The layer with the picture’s rests must be erased.
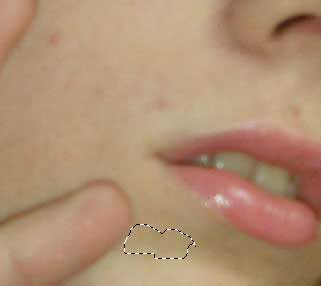
Get back to the girl’s layer and apply the Patch Tool to get rid of the skin’s defects.
Take the Smudge Instrument and make her hair look smoother.
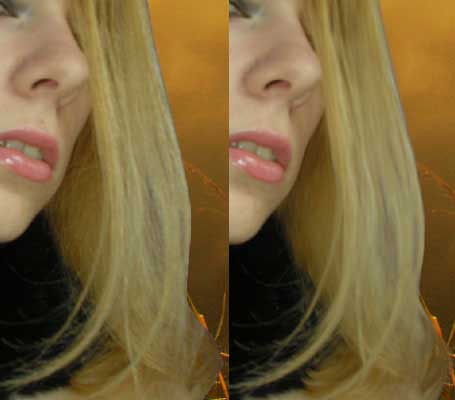
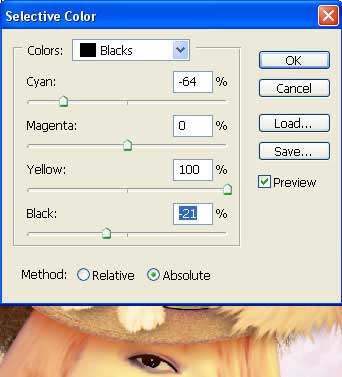
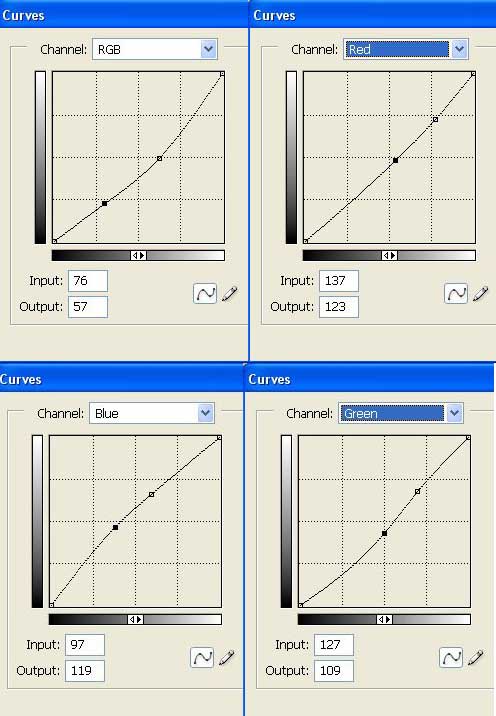
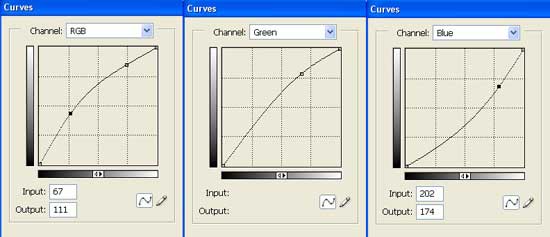
Change now a little the layer’s color, applying Image – Adjustments – Curves (ctrl+m) and Image – Adjustments – Selective Color.
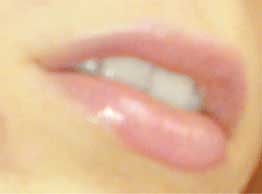
Decolorize her teeth making them look whiter by using the Sponge Tool of a small size.
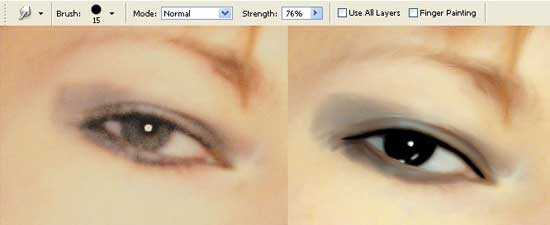
Make her eyes look more expressive by using the Smudge Tool and blur the skin around her eyes and the eye itself. Apply then the Brush Tool and paint the eye’s pupil. Outline the eye above the upper eyelid also.
Correct the same way the background’s color and the cat’s color (Curves, Selective Colors).
Add on a new layer, between the girls’ layer and the cat’s one, a hat.
Delete its background, applying Polygonal Lasso Tool. Correct the size and the perspective level applying Edit – Free Transform (ctrl+t) and Edit – Transform – Distort. It’s necessary for this to hide the visibility of the cat’s layer, clicking on the place, picturing an eye, close to the layer.
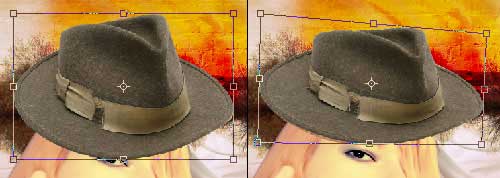
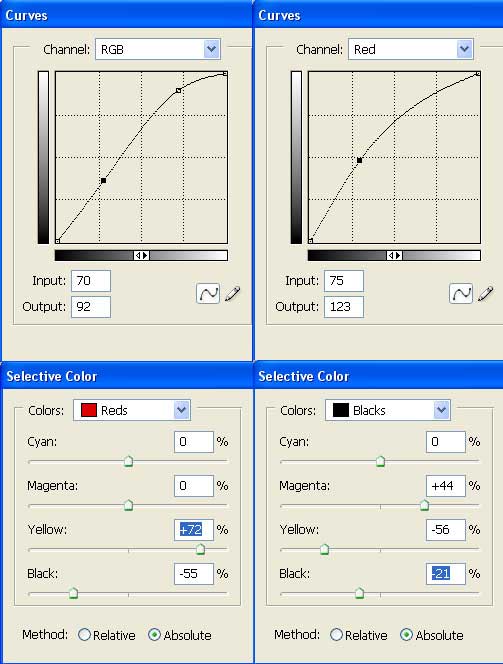
Correct the hat’s color too, using Image – Adjustments – Curves (ctrl+m) and Image – Adjustments – Selective Colors.
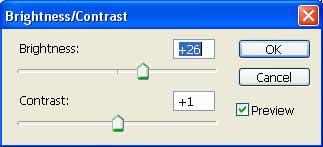
Show again the cat’s layer visibility and make a copy of it (Layer – Duplicate Layer). Make the copy of black color, making use of the next selection: Image – Adjustments – Brightness/Contrast.

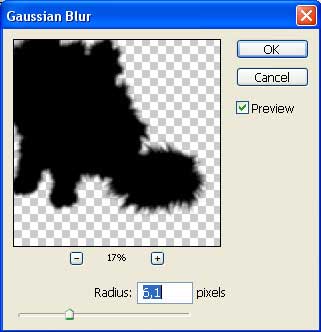
Blur it out, using Filter ? Blur ? Gaussian Blur.
Move this layer lower than the basic layer with the cat, by applying the Move Tool, placing it downwards. Minimize the Opacity till 34%. It’s possible to get this way the shadow.
Apply the same actions to the hat, but here it’s not necessary to minimize the layer’s Opacity. After that you should change the shadow’s color on orange (Selective Colors).
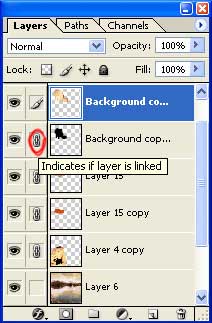
Combine now the layers containing the cat, the hat, their shadows and the girl’s one by connecting them together. When you’ll get to the top layer, apply Layer – Merge Down (ctrl+e).
Correct a little more the background’s layer (Curves).
Copy now the girl’s layer and blur it out a little with Gaussian Blur 30. Group out these two layers: Layer – Create Clipping Mask (ctrl+g) and change the blurred layer’s type on Linear Burn. Merge down now these layers and correct the color of the new layer, applying Curves again.
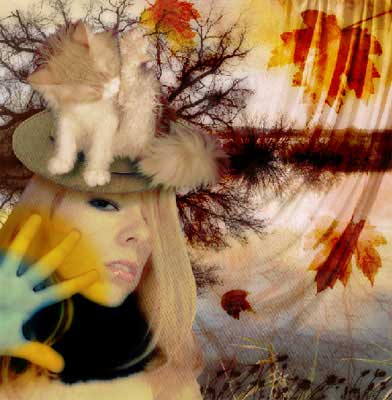
That is what we’ve got:
Correct now the layer with the background by decolorizing the copy and changing the layer’s type on Soft Light. Under the background’s layer you should insert the picture representing a wall.
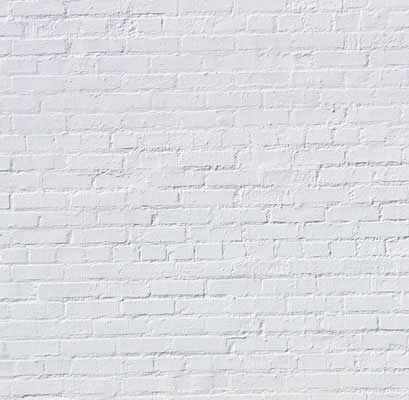
Increase its brightness and the contrast making use of the next selection: Image – Adjustments – Brightness/Contrast.
After that, change the type of the basic background’s layer on Multiply.
Insert now a picture representing a draped textile above the wall’s layer.
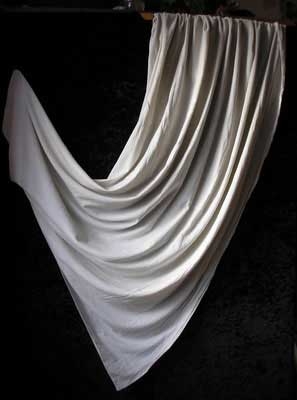
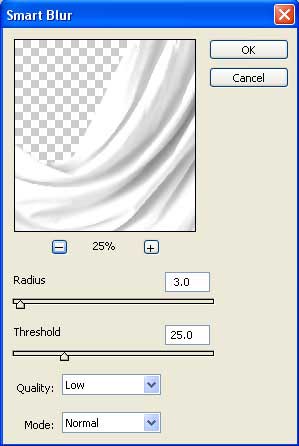
Decolorize the layer and cut out the textile with Polygonal Lasso Tool. Increase its brightness and contrast and apply Filter – Blur – Smart Blur.
Combine now the layer with the wall and the textile’s layer, applying to them a color filter: Image – Adjustments – Photo Filter.

Insert the textile’s texture on a new layer, above the girl’s layer.
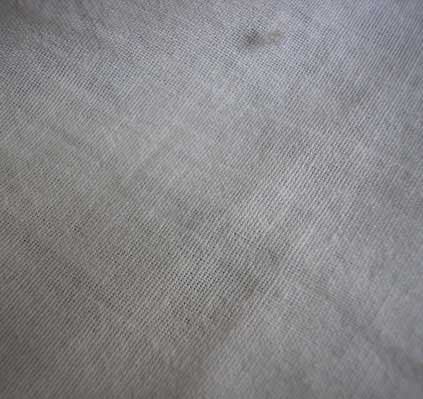
Turn it horizontally: Edit – Transform – Flip Horizontal and make it look brighter: Image – Adjustments – Brightness/Contrast.
Change the layer’s type on Soft Light.
Creating a new layer above the background and choosing the Brush Tool, picture half circles now in the corner. They must have different colors.
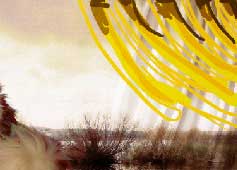
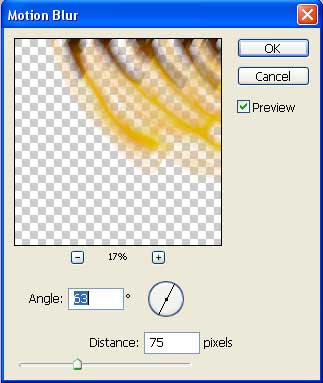
Apply the filter now and blur out on the necessary direction: Filter – Blur – Motion Blur.
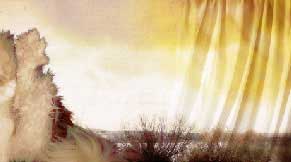
Copy this layer and change its type on Multiply. Blur it out on the opposite direction.

Combine both layers and change the new layer’s type on Soft Light.
Choose now the Brush Tool and open the set of ready brushes representing the grass (it’s possible to download them here: http://www.deviantart.com/deviation/36095265/ ?qo=3&q=by%3Aanarasha-stock&qh=sort%3Atime+-in%3Ascraps). Place the grass along the lowest edge. It must have the claret color.

Open now the brushes representing the trees. Download them here: http://www.deviantart.com/deviation/32315883/ ?qo=23&q=by%3Aanarasha-stock&qh=sort%3Atime+-in%3Ascraps. Picture then on the layer, under the girl, a circle from the trees branches. Use the Brush Tool and change the placement angle of the trees, making use of Edit – Free Transform (ctrl+t). Choose the same color that is used for the background’s bushes. Each branch must be pictured on a new layer. Then combine all these layers with Merge Down solution.
Place the branches of the big size and a lighter color on a new layer from other side.
Change this layer’s type on Linear Light.
Picture two circles, opposite the girl’s palm, on a new layer, applying the Ellipse Tool.

Blur them out (Gaussian Blur). Minimize the Opacity till 50%.
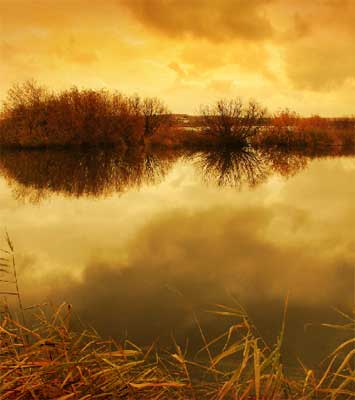
On a new layer above the background, insert the picture of the autumn leaves.
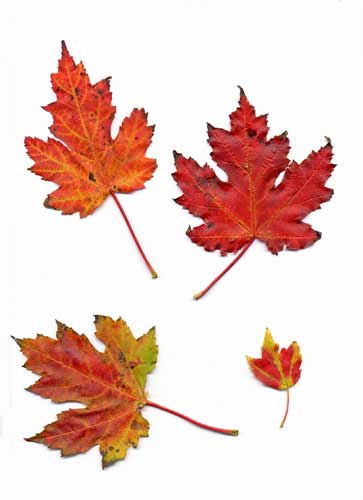
Copy them in the necessary order, cutting them out with Polygonal Lasso Tool (by not outlining them, but covering the entire shape). Turn them around and change their size: Edit – Free Transform (ctrl+t). Minimize the contrast and increase the leaves’ brightness.

Change the layer’s type on Color Burn and minimize the Opacity till 77%.
Copy this layer now and decolorize the copy: Image – Adjustments – Desaturate (shift+ctrl+u). The layer’s type must remain Color Burn, but the Opacity should be minimized till 72%.
Merge down all the layer now: Layer – Merge Visible (shift+ctrl+e) and insert the picture in a frame, applying the Crop Tool and Rectangular Tool.
Insert then on a new layer above the picture a spider web’s texture.
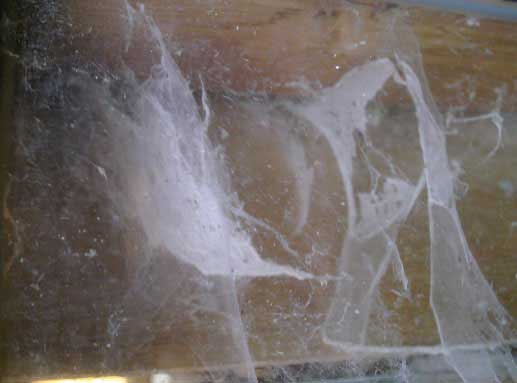
Correct the texture’s size (Free Transform) and decolorize this layer.
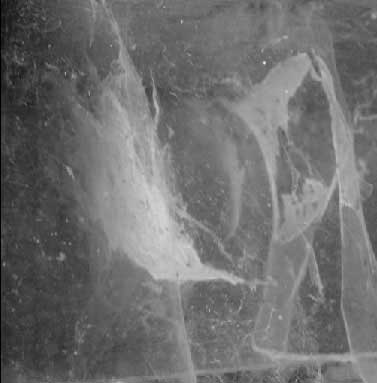
Increase the brightness and the contrast (Curves).

Change the layer’s type on Overlay. After that, combine it with the basic picture (Merge Down).
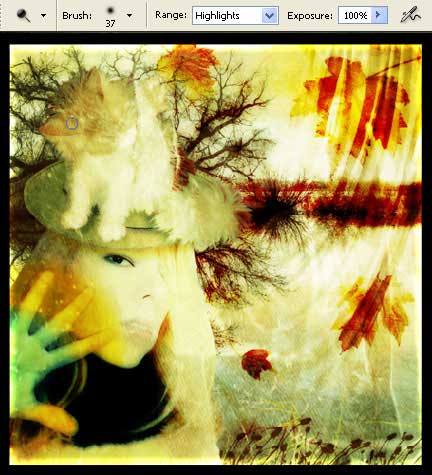
Start finishing colors’ corrections with Curves.
Decolorize the edges after that, choosing the Dodge Tool.
Make the colors look less intensive, applying next selection: Image – Adjustments – Hue/Saturation (ctrl+u).

Finished!
Made by Sigma
Comments