
Artistic Filtering – Page 5
Artistic Filtering
Here are two possible methods for altering a male portrait to “depersonalize” it, or make it into a generic illustration.
The top image is the original, unfiltered photo from the Corel Studio samples.
The middle image was not filtered, but the blend mode of the Colored Image Outline layer was changed to Multiply.
The third example was made by applying the Water Paper filter (Filter > Sketch > Water Paper) to the background copy layer, and then changing the blend mode of the Colored Image Outline layer to Hard Light
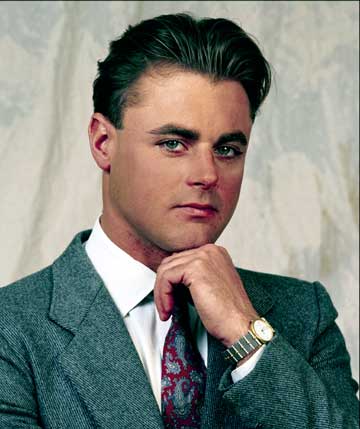
original, unfiltered image
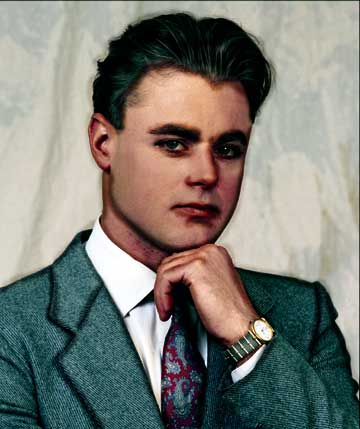
no filter, blend mode Multiply

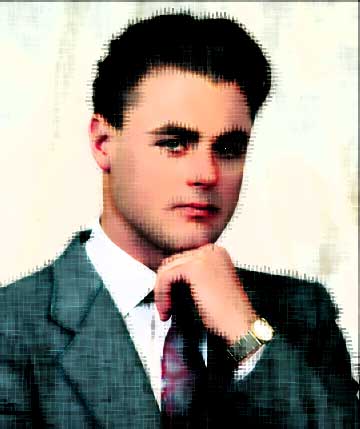
Water Paper filter with Hard Light
If you use this outlining/filtering technique on things other than portraits, your choice of filters is much greater. For example, on the flower photograph shown below, I used the Craquelure filter (Filter > Texture > Craquelure). You should not use this filter on someone’s face.
To show you how this technique looks with a layer mask, I did the flower that way. The problem with using a layer mask is, it’s very hard to see where your black outline is being applied. If you Shift-Alt click on the layer mask icon, you can edit the mask in rubylith mode (like Quick Mask) but this is still harder to see than a opaque black line directly on the image.
With this image, I applied a Hue/Saturation increase of +38 % to the Colored Image Outline layer to make the edges pop. This is also something that you would not do to a portrait.
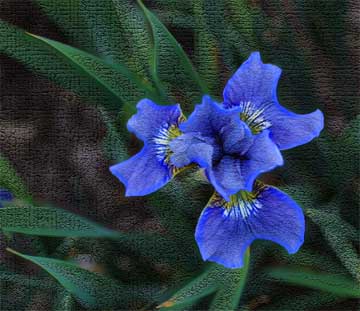
Craquelure with Hue/Sat adjustment
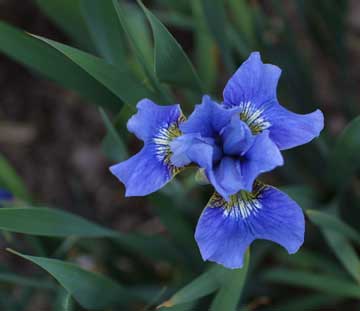
original, unfiltered image
Comments