
Art Glass Text Effects
The new lesson we’ll learn to represent a glass text.
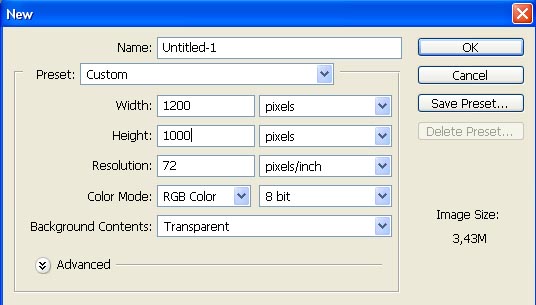
Open a new file with the sizes we need: File – New (ctrl+n).
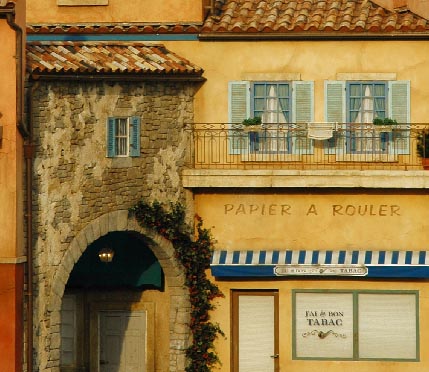
The photo representing a part of the town will serve as a background. Open it in a new window: File – Open (ctrl+o) and mark it out with Rectangular Marquee Tool, make a copy of it: Edit – Copy (ctrl+c) and get back to the original file to insert the copy on a new layer: Edit – Paste (ctrl+v). You may correct the photo’s sizes if that is necessary, selecting just the command Edit – Free Transform (ctrl+t).
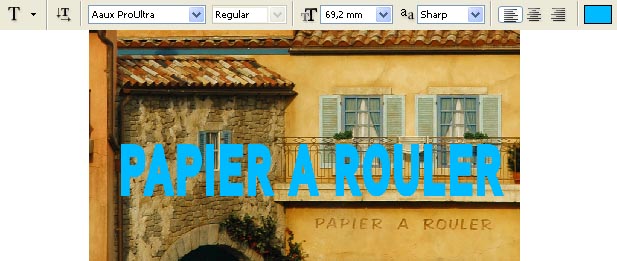
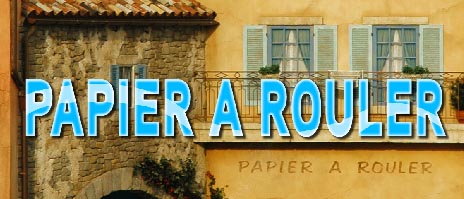
Choose now the Type Tool and write an inscription with the type we need. I’ve repeated the inscription from the house’s wall and it says in English “the roll paper”.

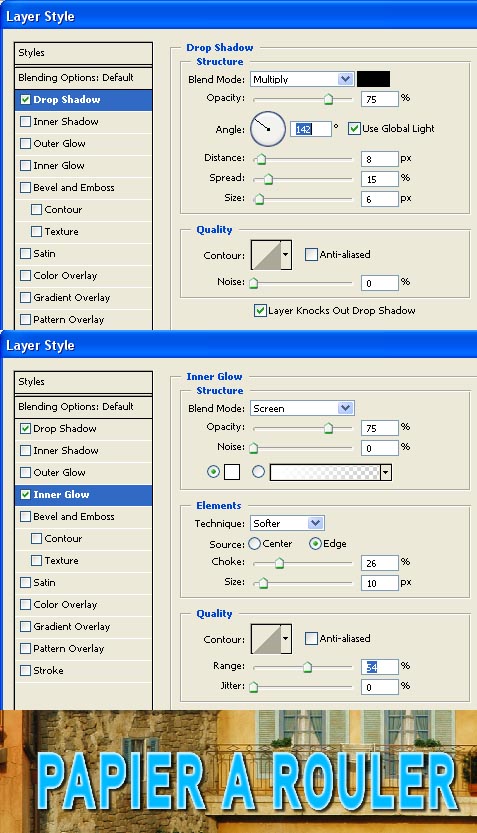
Pass to the next window Layer – Layer Style – Blending Options and insert the following adjustments:
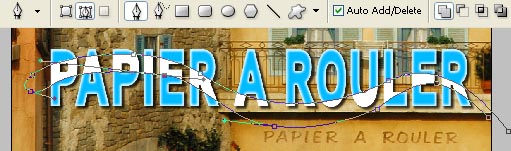
Then create a new layer: Layer – New – Layer and group it with the layer the text is situated on, just not to get outside the letters edges: Layer – Create Clipping Mask (ctrl+g). After that we have to take the Pen Tool with Fill Path command to insert a kind of wavy flare on the letters:
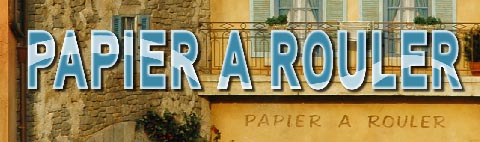
Minimize this layer’s Opacity till 65%.
Get back to the text’s layer and make it less bright. We have to select again for this operation the Type Tool, mark out the text and choose from the colors’ palette the appropriate color:
Then change the text layer’s Blending Mode on Overlay:
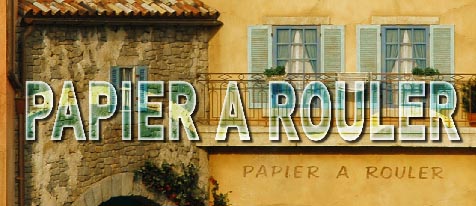
And the picture is finished!
Made by Sigma
Comments