
Anime Girl Picture
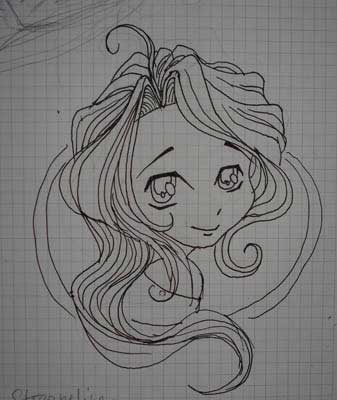
This new topic we’ll learn to picture a girl’s head, anime style by imitating somehow the vectoring image.
Open in a new window the scanned draft: File – Open (ctrl+o)
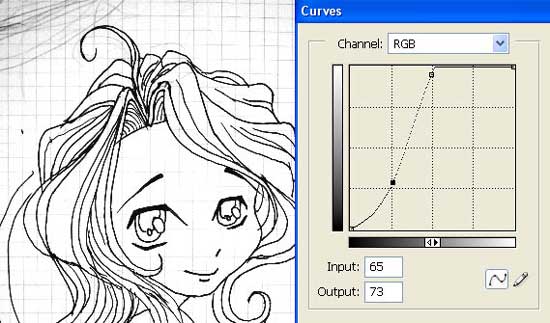
Make the draft look more in contrast, selecting Image – Adjustments – Curves (ctrl+m).
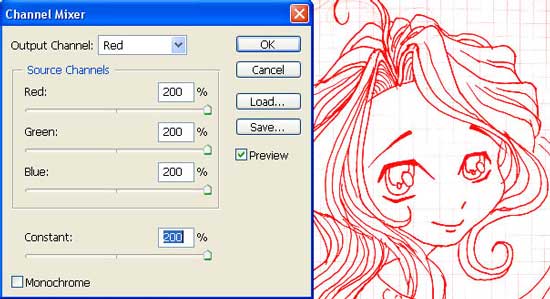
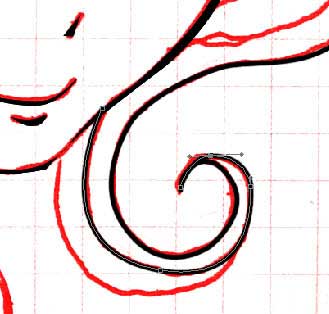
Just to make more convenient the picturing of accurate contours, we have to change the color of the draft, using the next command: Image – Adjustments – Channel Mixer. Select red color, for example.

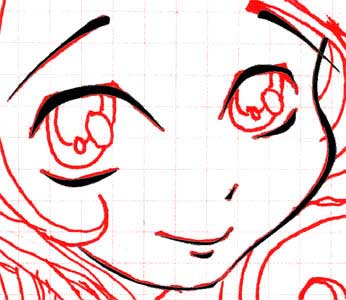
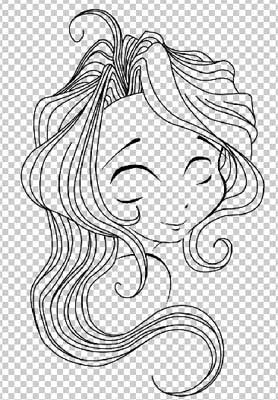
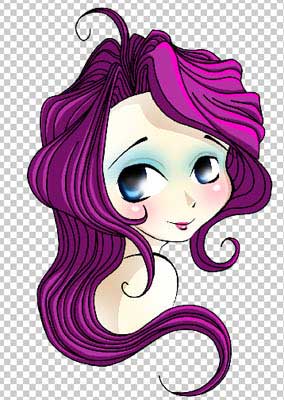
Create a new layer now: Layer – New – Layer and choose the Pen Tool to represent the eyes’ contours, the contours of the eyebrows and the face’s ones, applying Fill Path option.
Represent after that the hair, selecting Stroke Path option, but preliminary choose on the Brush Tool‘s panel the necessary brush’s thickness:
Erase now the layer containing the draft, moving it on the recycle bin’s icon in the Layers window:
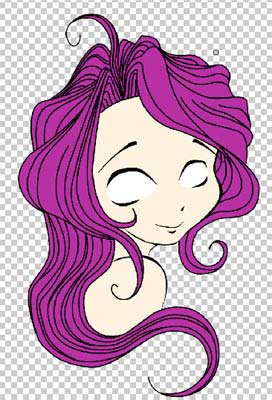
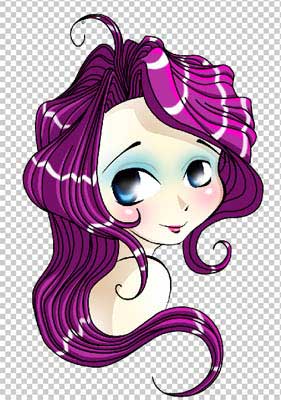
Create a new layer and place it under the layer with the contours. Select after that the Brush Tool of the necessary size and paint the girl’s image with the main colors. We have to place each new color on a new layer, to make the work easier:
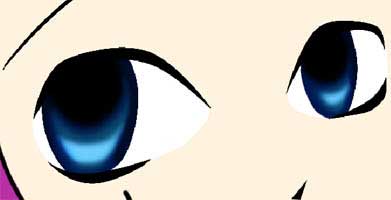
Using the Pen Tool, we may represent the iris of the eye with the necessary shape:
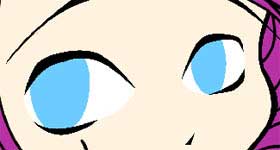
Start coloring it. Choose for this the Brush Tool. At the beginning we must separate the lightest zone, then blur out the bounds with the Blur Tool. We have to add also more dark color, minimizing the brush’s Hardness on 0%.

Copy the layer’s type and change the copy’s Blending Mode on Overlay.
Merge down these layers now, choosing next combination: Layer – Merge Down (ctrl+e). Use the following adjustments for the brush:

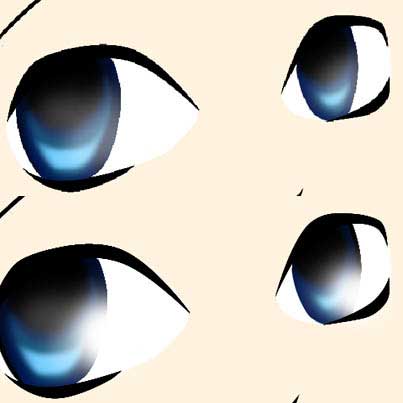
This brush is very convenient for representing the flares. Select for this manipulation the white color. Choose first a big brush’s size and insert the flare in the lowest eye’s part, then insert a more intensive flare by applying a smaller brush’s size. Keep the same direction the light falls on.
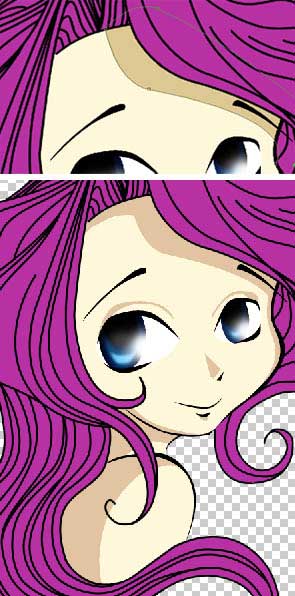
Create now a new layer above the skin’s layer and group both of them using the next command: Layer – Create Clipping Mask (ctrl+g). Then we have to choose the Pen Tool to represent the shadows. Select the command Fill Path.
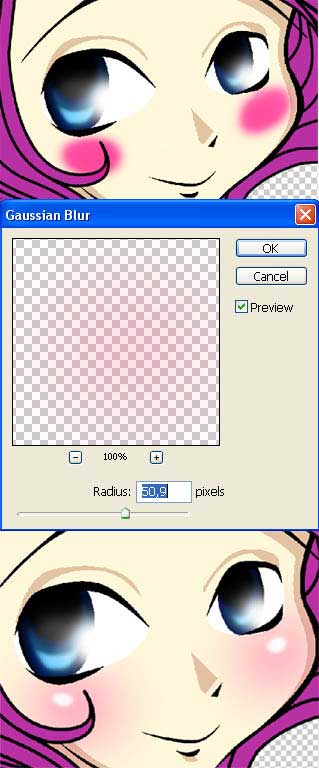
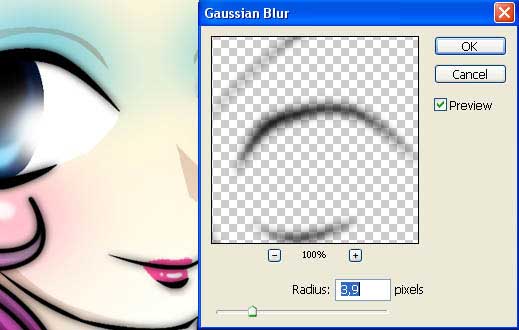
Next step includes drawing the blush. It’s necessary to do that with a brush with smooth edges. Blur them out after that by applying Filter – Blur – Gaussian Blur. Change the layer’s type on Multiply and if it’s necessary we may minimize the layer’s Opacity. Select a smaller brush now and insert above the drawn blush already two small flares (do it on a new layer and merge them down after that ? the layers containing the blushes, the skin and the shadows on the skin).
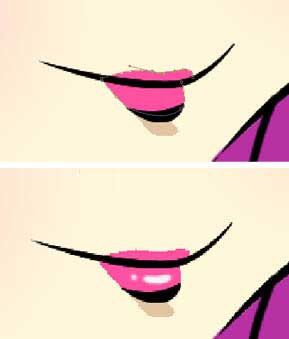
Choose now the Pen Tool and draw the girl’s lips. Add a flare on them too. Do it with the usual Brush Tool.
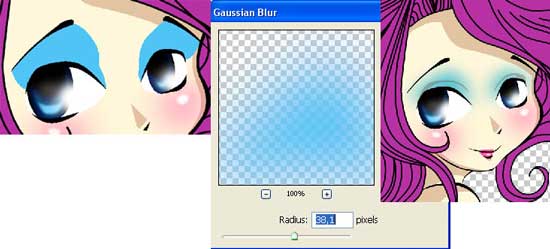
Insert on her eyes the colored shadows now. It’s necessary first to paint the upper eyelid on a new layer with the necessary color, then blur out the copy, selecting the usual Gaussian Blur. Minimize if necessary the layer’s Opacity and erase everything that is situated beyond the skin’s bounds. Use for this the Eraser Tool with smooth edges.
Make the girl’s skin now look shinier, but make sure first that all the layers are merged down, except the layers containing the eyes and the hair. Create a new layer for the beginning which must be combined with this one (ctrl+g). Using the Gradient Tool from different sides, insert accurately on the skin an easy whiteness, selecting long colors’ extensions:
Use a Brush Tool of Hard Round type and introduce on the picture several shadows on the girl’s hair (you may use for this operation the Pen Tool too).
On the brighter face’s parts we may insert a brighter color, applying the same method we use usually for darkening.
Use a Brush Tool now of the same type we used for representing the flares on the eyes and picture the flares on the girl’s hair:
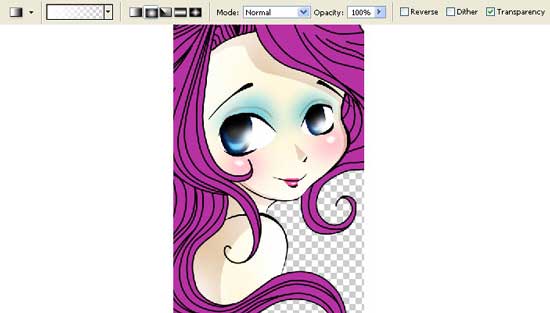
Create a new layer now above the layer containing the hair and group both these layers. Make the hair after that look brighter using the same Gradient Tool we applied for the skin:
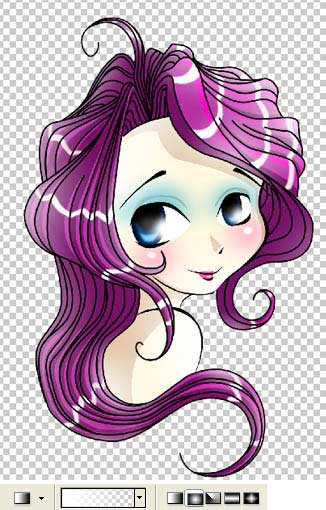
Continue with the contours’ layer. Make a copy of it (ctrl+j) and blur out the copy using Filter – Blur – Gaussian Blur.
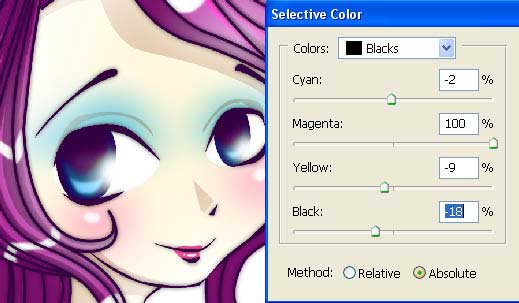
Minimize the Opacity of the copy-layer till 70% and merge down all the layers: Layer – Merge Visible (ctrl+e). Erase the black color from the picture, selecting next options: Image – Adjustments – Selective Color.
Next step includes creating a new layer under the rest of the layers and paint it in one nuance only, using the Paint Bucket Tool. Take now the Ellipse Tool
and draw several circles behind the girl (if you want the circles to be
drawn very accurately, keep pressed all the time when drawing the shift
button).
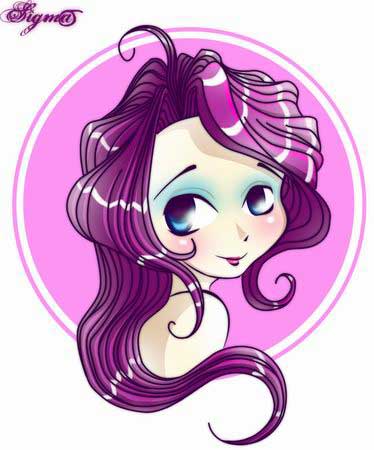
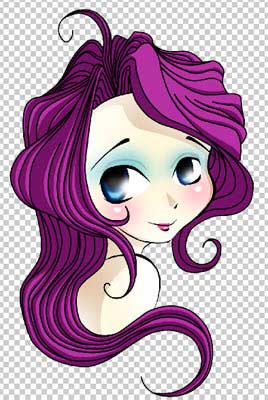
The illustration is finished!
Made by Sigma
Comments