
Animation Killer Tips for Flash MX 2004 – More Tips
Custom Easing
Setting the Ease value of a tween in the Property inspector is very effective for making some more interesting animations. There is another way to simulate easing without ever changing the Ease value. Create at least a 20-frame Motion Tween of a symbol moving across your Stage. Now add a keyframe in the middle of the tween and move it close to the beginning of the animation. If you test your movie, you’ll see that it has a similar effect to setting an Ease value for the tween. The difference is that you have more control over this style of easing. You can move that middle keyframe closer to the beginning or end of the tween to get different effects. You can also add more keyframes and move them around to see what happens. Just make sure that you add keyframes after the tween is in place for the trick to work properly.
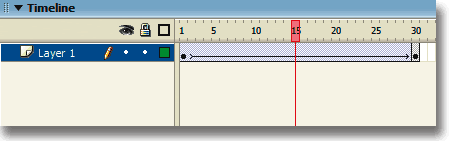
Figure 5A. Original 30-frame motion tween
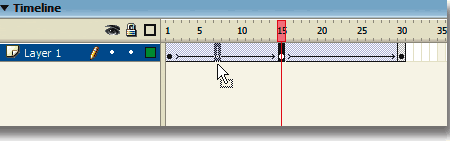
Figure 5B. Keyframe on Frame 15 is moved to the left.
Super Fast Tweening
There are several actions that we repeat over and over when creating a Flash movie or application. Creating a tween is arguably at the top of this list. That being true, it would only make sense that there would be a super-fast way to create these crazy tweens. Also, it appears that the people at Macromedia have decided that Motion Tweens are even more common than Shape Tweens because this tip only works for Motion Tweens.

If you right-click (OPT-click on Mac) any frame in your Timeline, at the top of the list of options you’ll see “Create Motion Tween.” Selecting this option will quickly create a Motion Tween for that span of frames. Super fast!
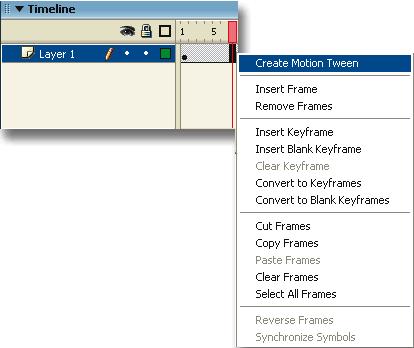
Figure 6. Creating Motion Tweens through the context menu
Let Flash Follow Your Lead
From time to time, I hear about crazy situations where a person has a tween set up, and they decide to add a keyframe to change it somehow. Okay, it’s not crazy—it’s a pretty common thing, and everyone has needed to do it occasionally. You could do the typical adding of a keyframe to the tween and then move your item on the new frame, but you can do it even quicker. Here’s how….
Set up a tween and select any frame in it. Now simply move the object on the Stage to where you want it. Look at the Timeline and you’ll see that Flash has added a keyframe for you. No need to even use the pesky keyboard for this one. Flash behaves as any good servant should—it anticipates what the master wants and does the work for the master. That’ll do, Flash. That’ll do.
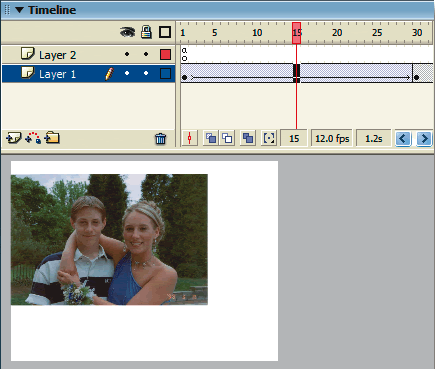
Figure 7A. Playhead positioned in Frame 15 of the original tween
Figure 7B. Moving the object adds a keyframe in the middle of the tween
Multiplicity
For the most part, when you want to create a tween of any kind, you select a frame in a frame span and set the Tween option in the Property inspector. However you decide to apply your tween, one thing seems to remain true. You can only create one tween at a time. In actuality, you can add many tweens at once by simply selecting multiple frames that are in different frame spans.
NOTE: A frame span is a series of frames between two keyframes.
If you have multiple frame spans that you’d like to animate quickly, just select frames across each span you want to animate and set your Tween in the Property inspector as you normally would. Immediately, all frame spans selected will have the tween applied. This can save a lot of time in a case where you have many layers that have keyframes set properly and just need to be animated. Yeehaw, another time-saver!
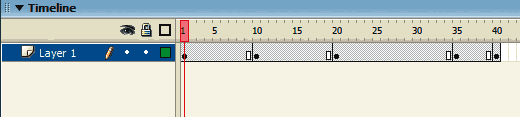
Figure 8A. A tween with multiple frame spans
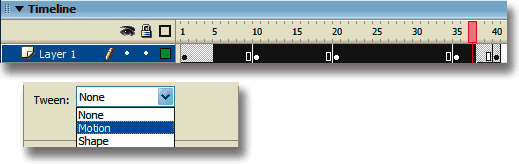
Figure 8B. Selecting multiple keyframes and frame spans and creating a motion tween
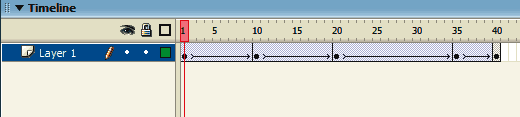
Figure 8C. Final result: a tween with multiple keyframes
Comments