
An alien monster
In this tutorial we will create and quick sketch a character. Let’s say it is an alien type monster. I will use my wacom tablet to paint this guy.
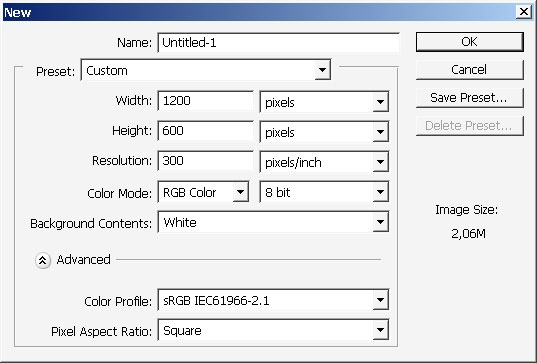
So let???s create a document and start our painting.
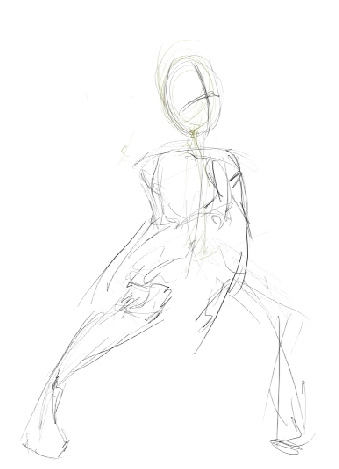
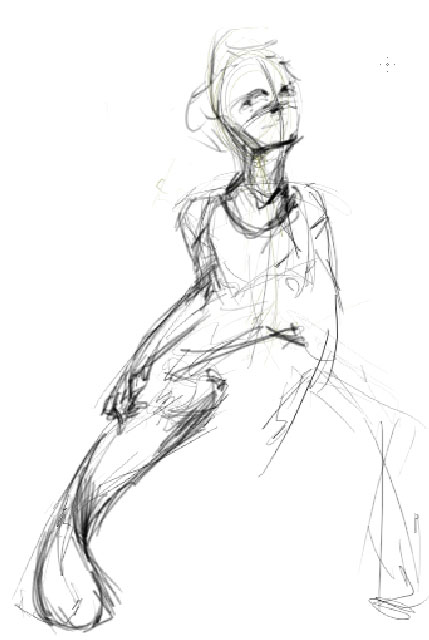
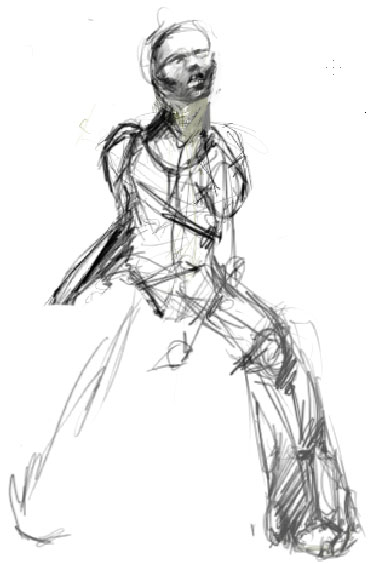
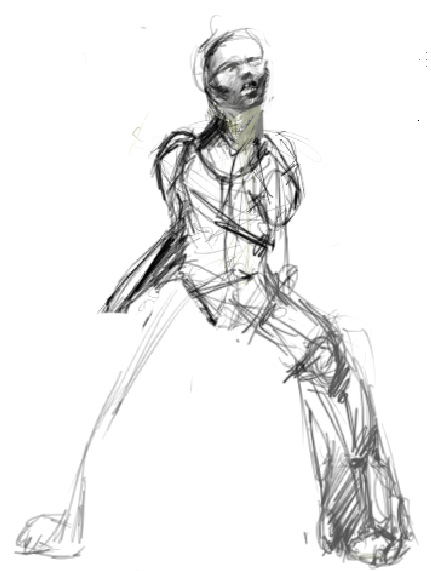
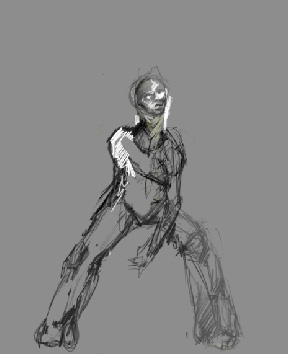
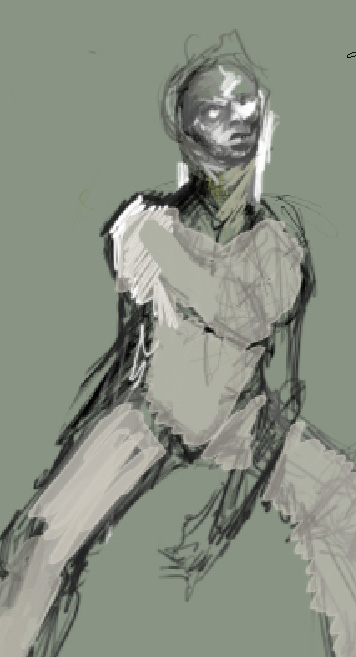
I will start from a very rough, rough sketch which will basically form the basic shape and posture of our character.

Oh yea. This time the gradation between the character itself and the background will be restricted.
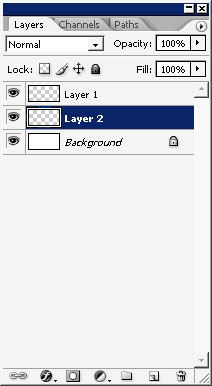
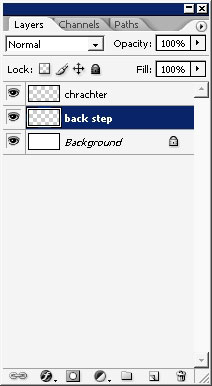
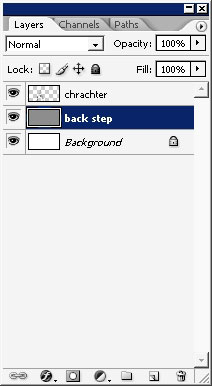
So create these 2 layers: for the background and another for the foreground character.
I???m beginning to paint basic shapes for my character. Firs I wanted my character to be a youngster super hero of some kind but then it turned to be an alien monster. It happens like this.
I???m using just basic 1-2 pixel brush size dynamics set to pen pressure, deciding how the character should look like.
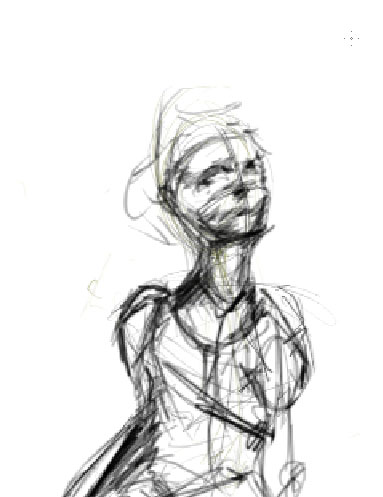
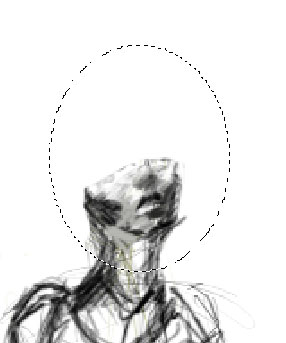
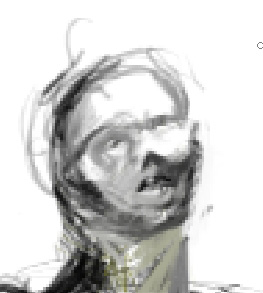
Take some of out time to paint some face details.
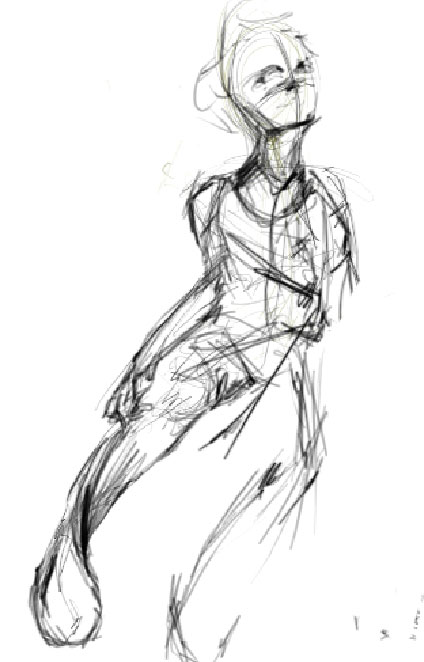
No, didn???t like those, and the neck is too long I think.
Just select the area and press V to drag the shape.
I???ve also erased the parts of the face and the left leg, which I???ve thought was good, but ???.
And this is the final variant of the left leg.
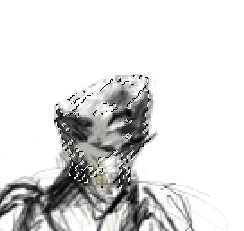
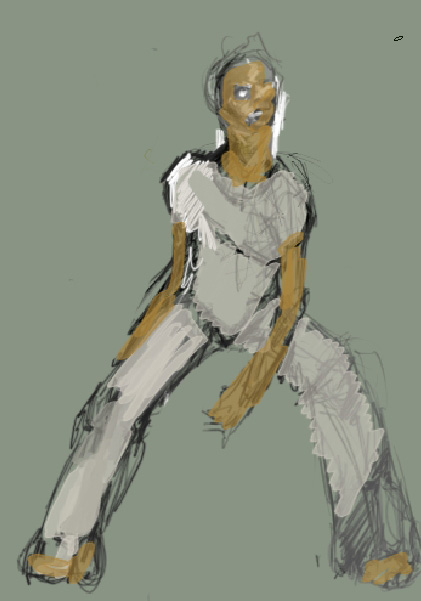
I will now continue to drop some details on the face.
And the whole body.
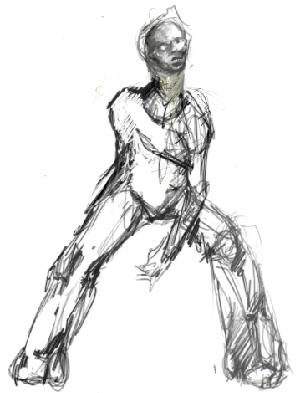
Well this is basically it for the initial sketch. I will now fill my
background color. I will choose Grey. I often fill the background with
grey and then using color adjustment make the color maybe that is more
suitable for image.
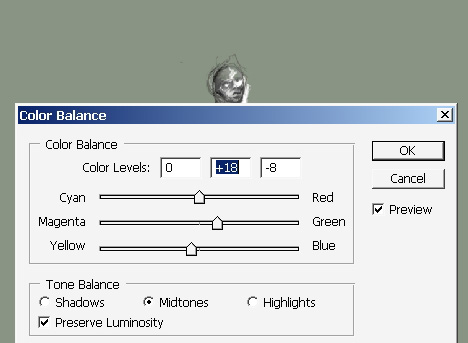
This time I will make more like green with gray.
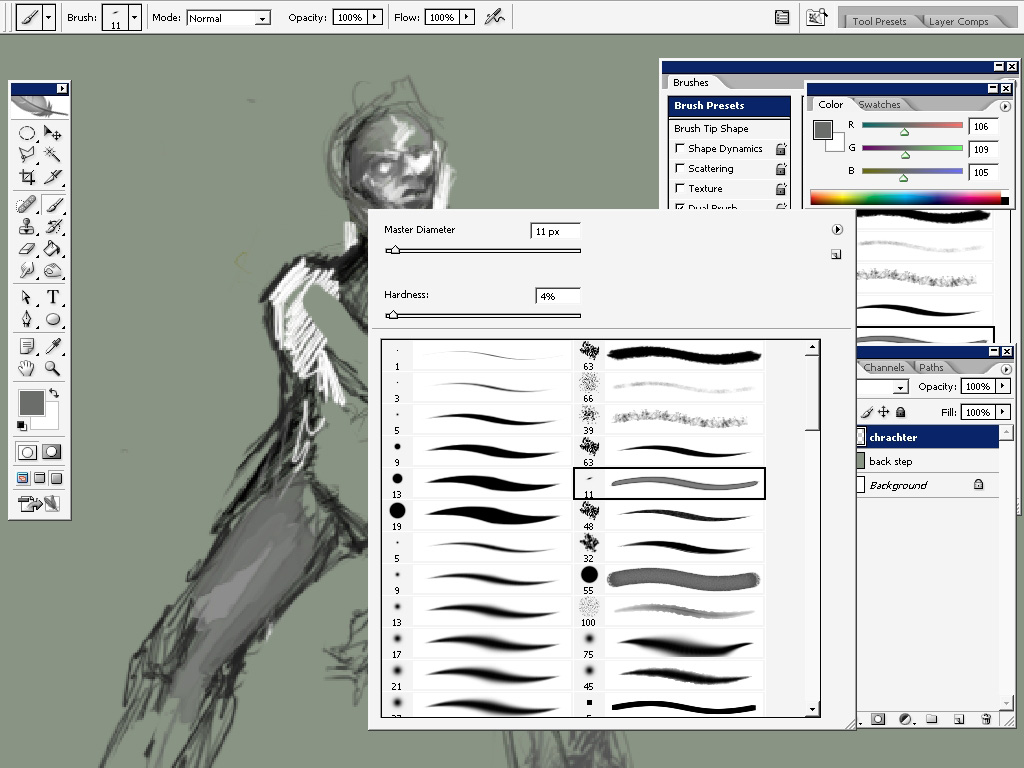
Now let???s color the image.
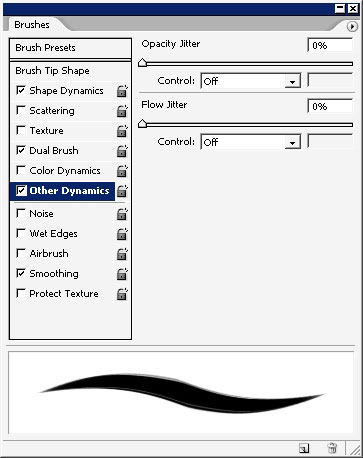
I will choose this very brush. It has wet edges option set on. I switch
between radiuses very often. Moreover it is very important for the
speed and in general. Try to do this so the brush fits the area you are
painting on.
And there we go!
I world like the suite of the monster to be gray; light gray.
First fill the whole area with base color.
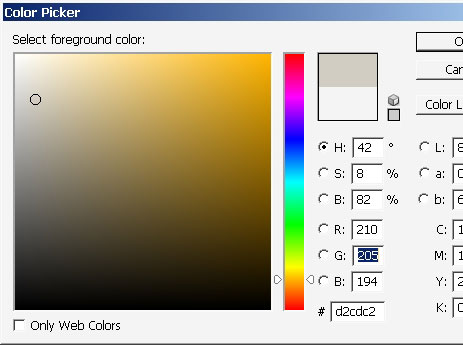
Do the same with skin. And remember this: there is no color of the
skin. You practically can play with any color, even if the human form
object stays in quite traditional lighting there two many colors the
skin has. It has more red tones near the nose, eyes, even purple near
the fingers and many, many more details. So remember, if you are a
painter, that the skin is not pink with orange, it might be white with
violet and so on.
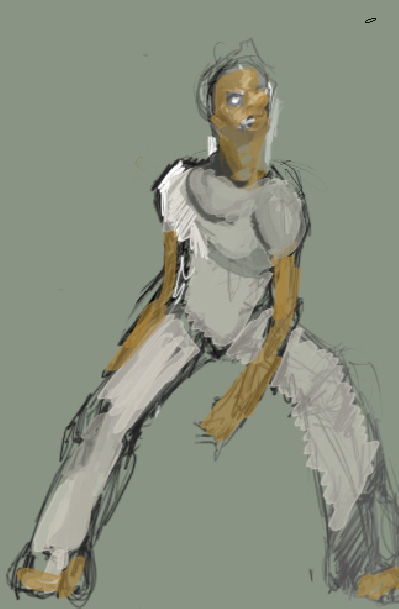
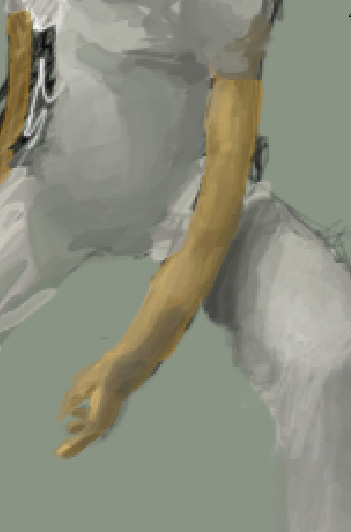
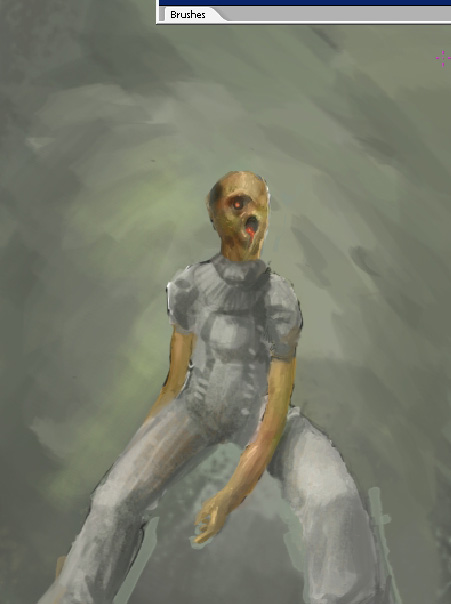
I???ve already dropped the shadows and highlighted areas to the right leg. It looks quite ok, even if it has no mush details.

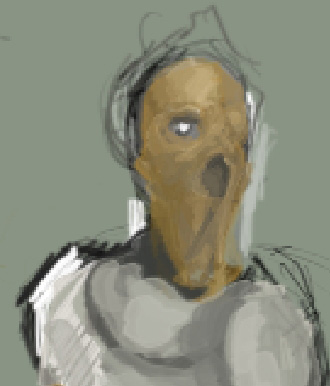
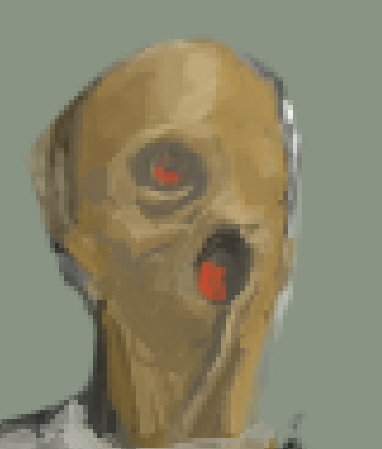
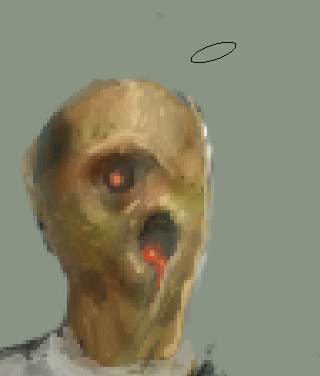
Now I???m beginning to search the face design and speaking honestly it is going to be not going to be a perfect design.
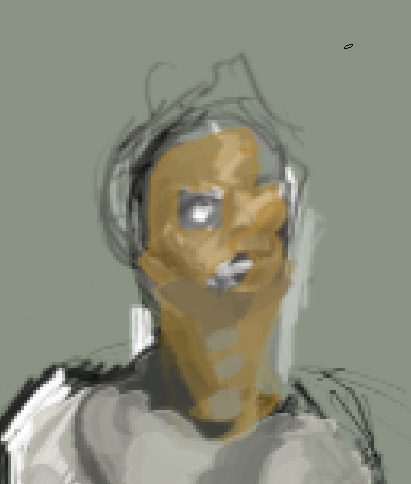
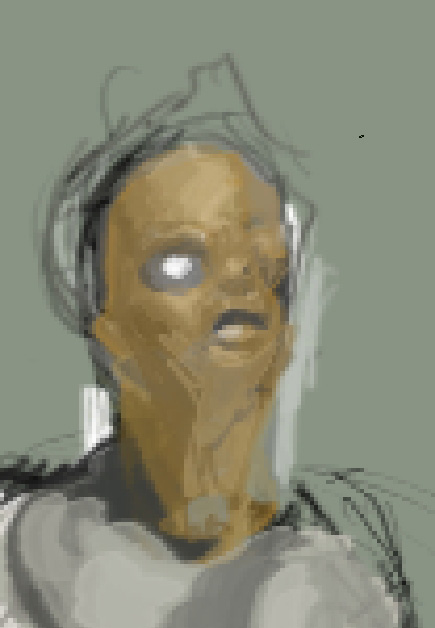
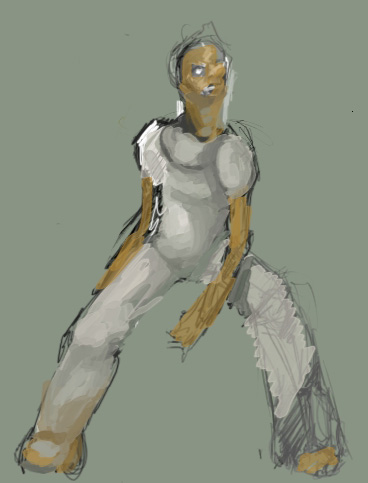
I???ve stopped with a less human form with big whole or something instead
of mouth with only one eye. When I look at it now I realize how bad
this DESIGN is.
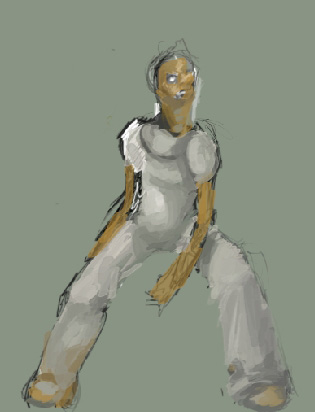
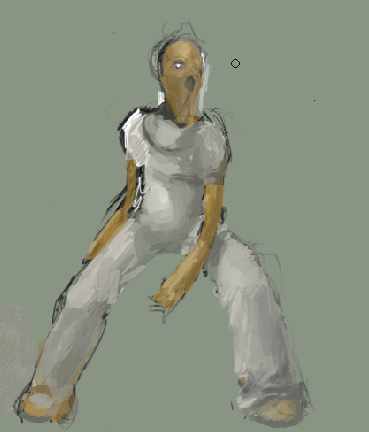
The whole look:
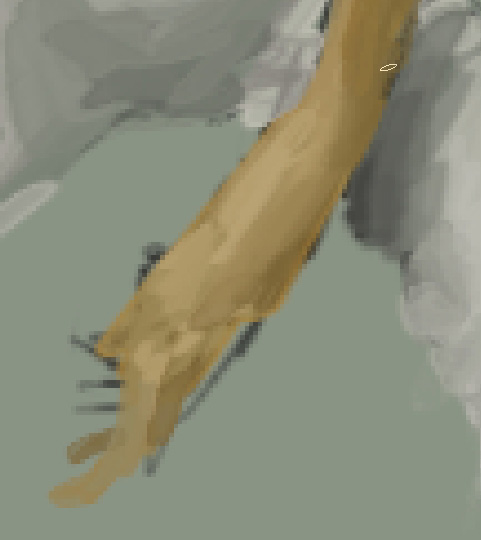
Now we???ll take care of that hand that stays on front.
The face: quite mutant like. I???ve also dropped some low flow greens and reds to the face and arms.
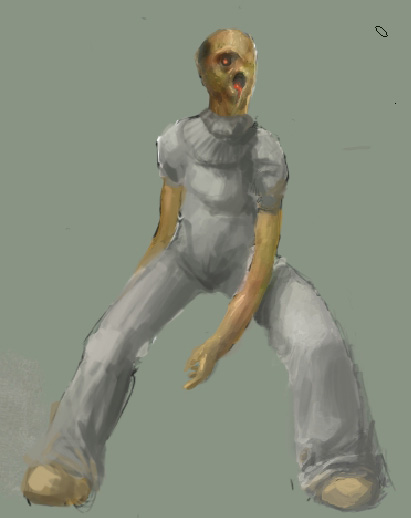
I???ve also made some adjustments and texture to the suite of the character.
Here is my texture brush. It is standard PS CS2 brush.

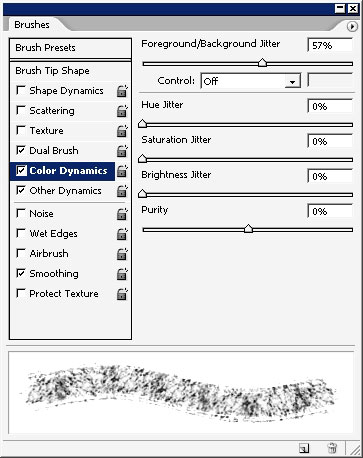
Use this brush on a new layer set to Soft light.
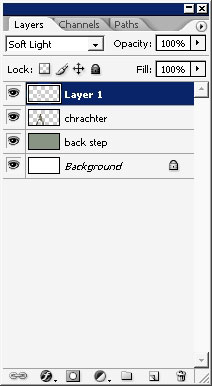
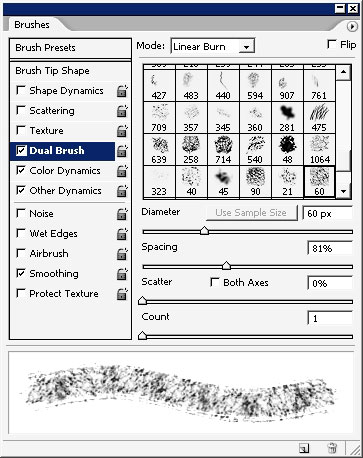
Now the background; with the same brush.
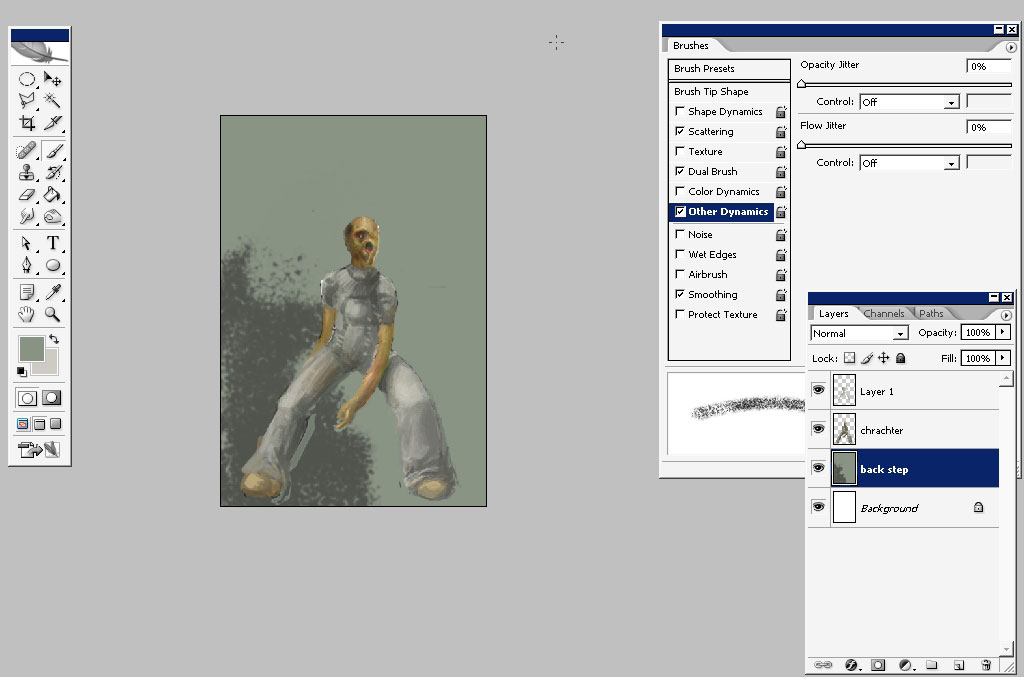
Switch the brush now.

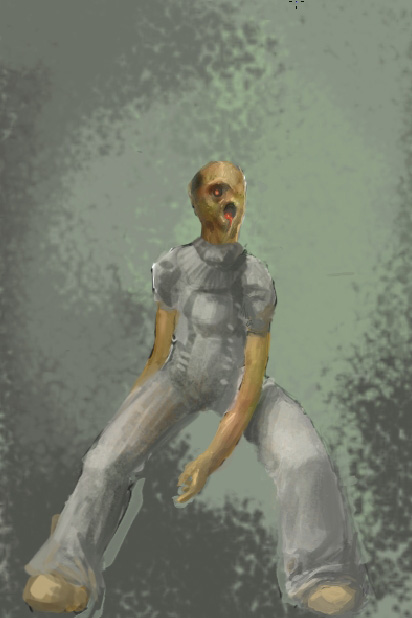
Here is our background ready.
I???m also dropping these surface lights to my character to make a connection between my character and the background.
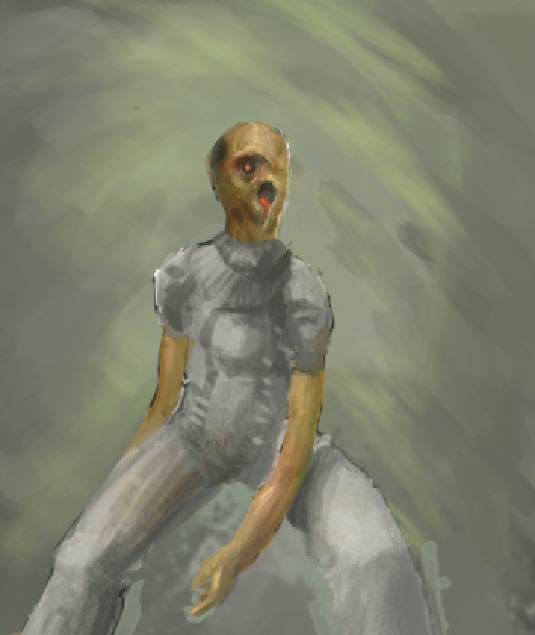
Moreover I???m setting a light value from the top by filling the image with a gradient.
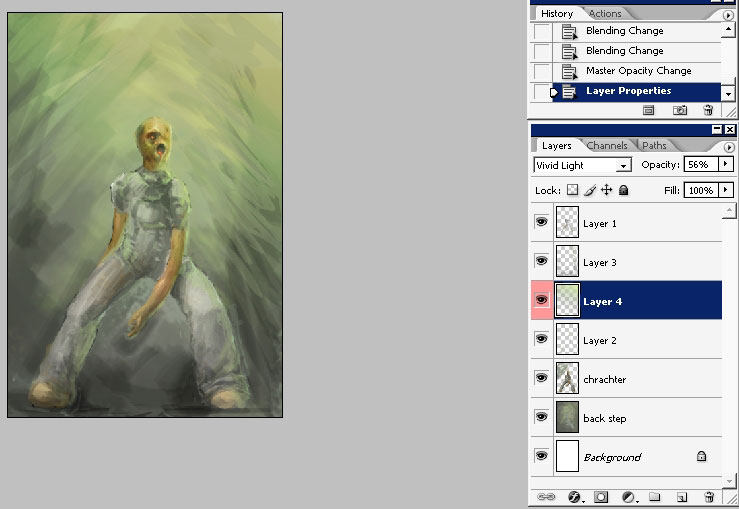

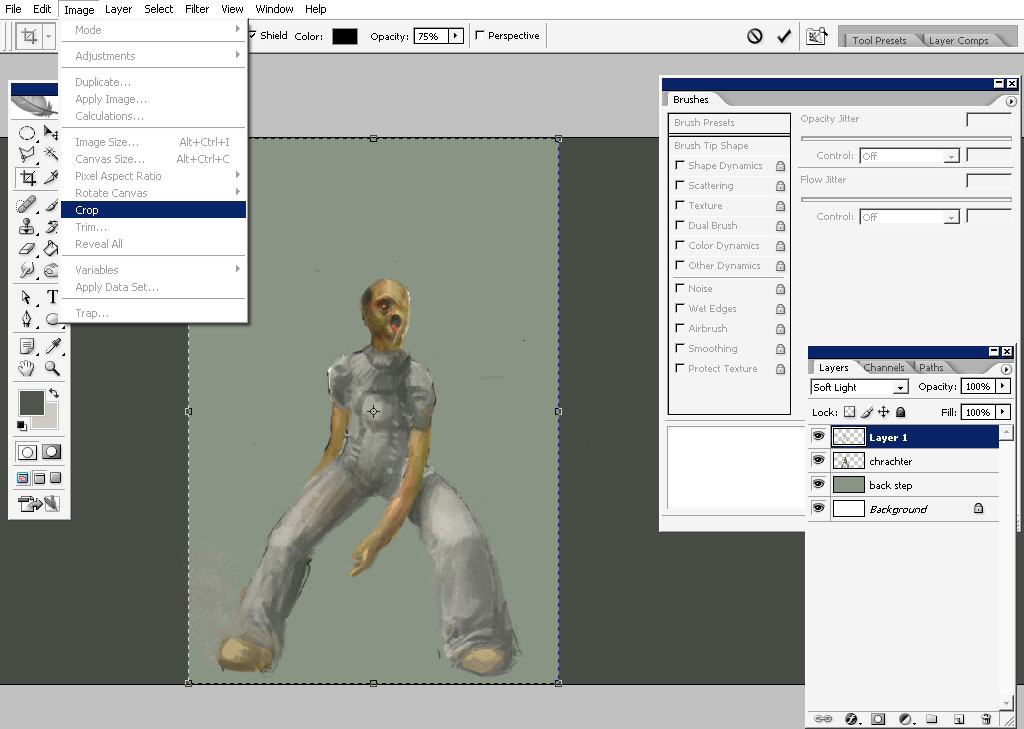
So here it is. When the work is done you could flatten the image discarding all the masks.
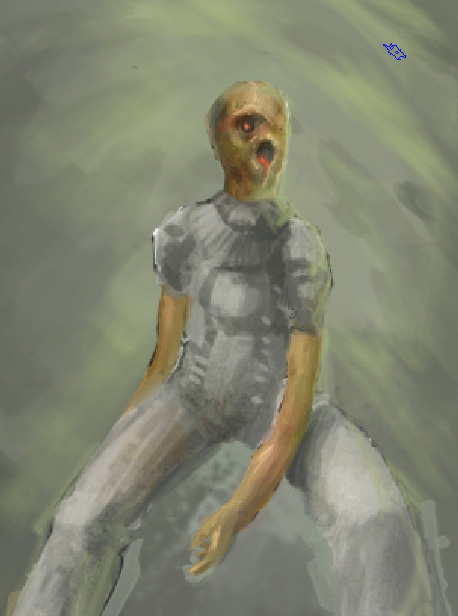
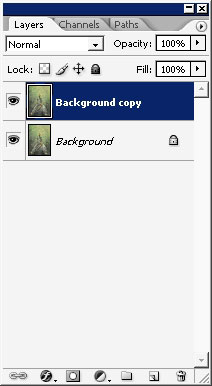
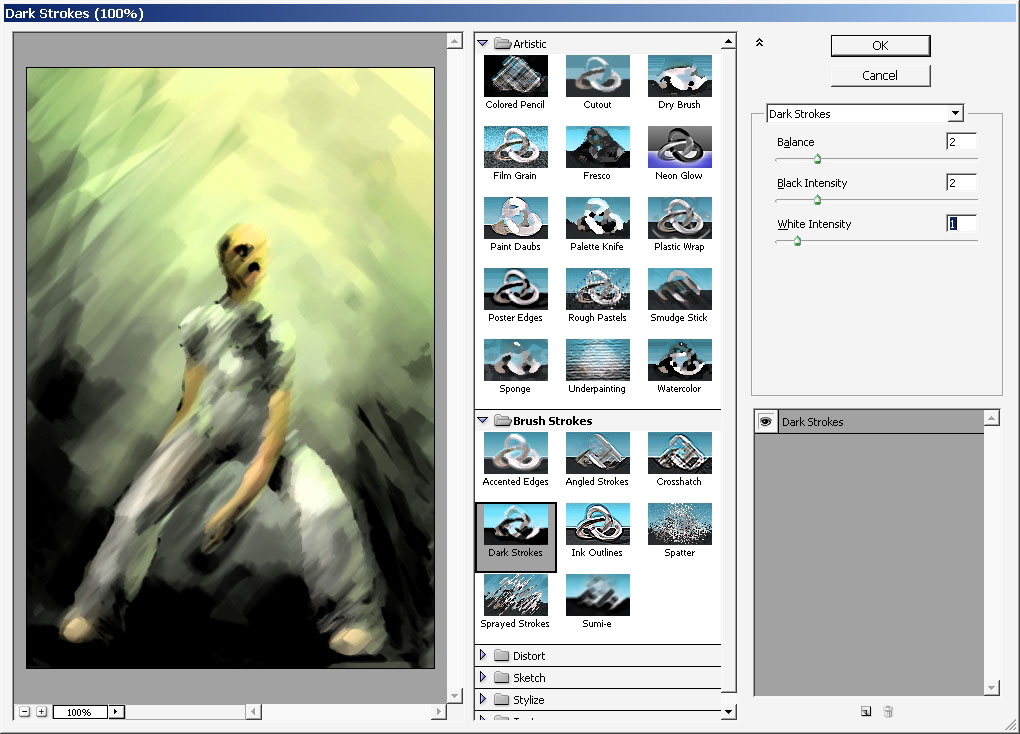
Make a copy of the initial image and apply a filter to it I like it that way.
The filter is dark strokes. After that apply a mask and erase the mask near the head and shoulder areas.
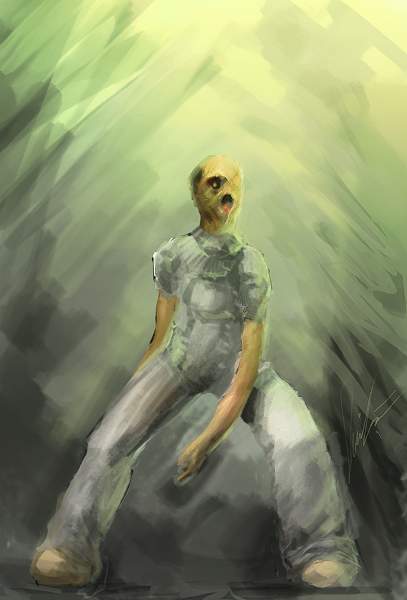
And we are done here. Hope you will be able to draw this one. Follow me in my next tutorials on eyesontutrials.com.
More concepts to come! Enjoy!
Comments