
Adobe Photoshop Metallic Text
This new lesson we’ll see how to create a metallic text that would be illuminated from behind.
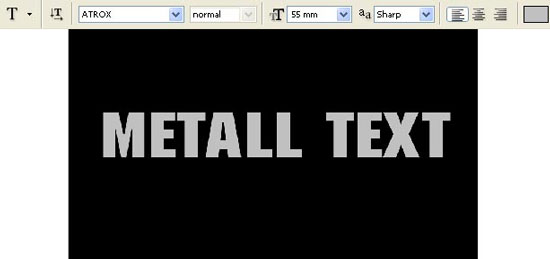
All that we have to do now is opening a new file of the necessary sizes: File ? New (ctrl+n) and paint the background’s layer in black, choosing the Paint Bucket Tool for this operation.

Select after that the Text Tool of grey-light color and write the words you have next picture:
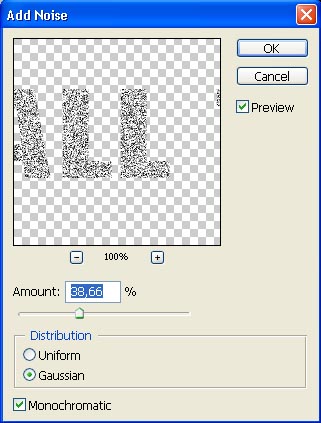
Apply this combination on the layer: Layer ? Rasterize ? Type. Then make a copy of the layer: Layer ? Duplicate Layer (ctrl+j). Next step includes grouping the copies: Layer ? Create Clipping Mask (ctrl+g). Finally we have to apply on the upper layer the here shown filter option: Filter ? Noise ? Add Noise.

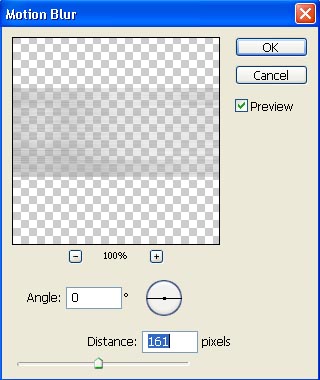
Blur out the layer, choosing the next combination: Filter ? Blur ? Motion Blur.
Create a new layer and group it also with the previous one (ctrl+g). Then change the layer’s Blending Mode on Linear Burn and dark out the lowest part of the words, using the usual Gradient Tool.
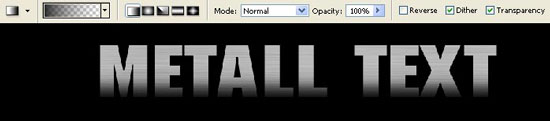
Select the same adjustments for the Gradient Tool and white color to make lighter the opposite words’ edges. The operation should be executed on a new layer, also grouped out.

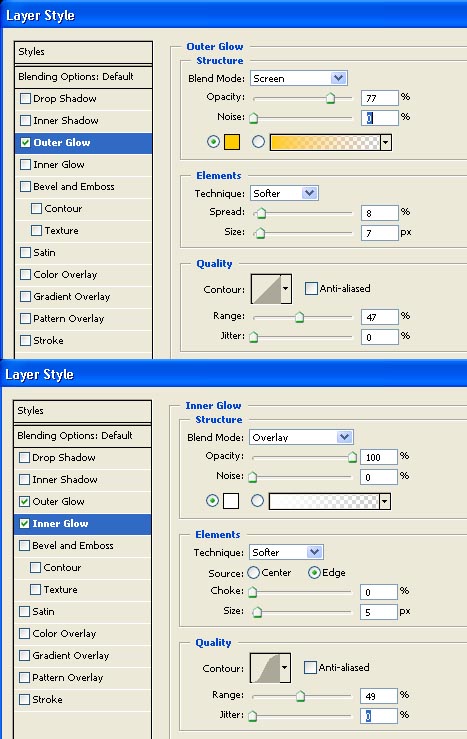
Merge down all grouped layers: Layer ? Merge Down (ctrl+e) and set the next shown adjustments in the window Layer ? Layer Style ? Blending Options.
If you wish, you may apply the next filter also: Filter ? Sharpen.

The text’s operation is finished!
Made by Sigma
Comments