Now that we have applied the effect, we will adjust the effect’s settings, as well as use our ramp composition as a gradient layer to customize our effect a little more…
|
ADJUST THE SHATTER SETTINGS
- Change the view back to Wireframe + Forces for a little bit while we make some adjustments.
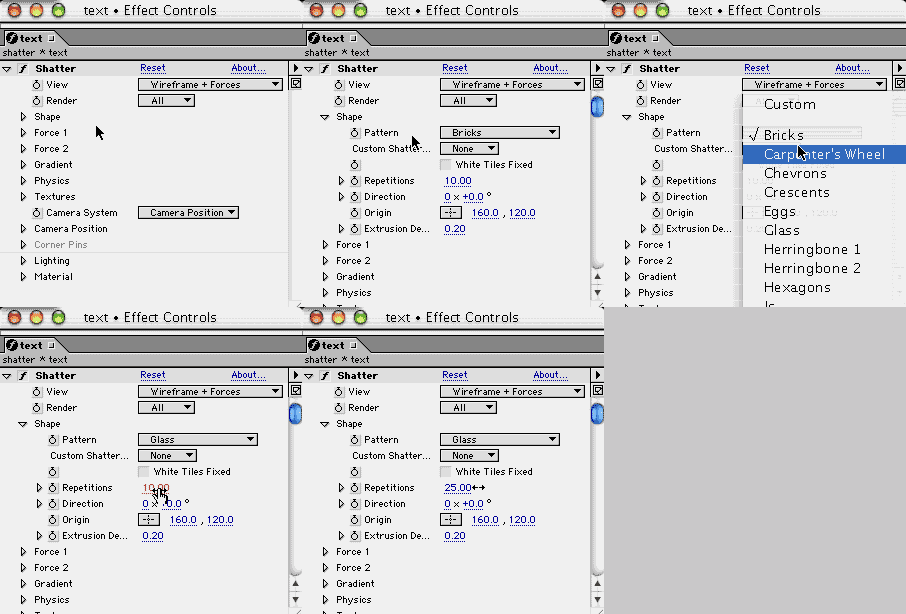
- In your Effect Controls window for the Shatter Effect, change the Shape attribute’s Pattern from Bricks to Glass, and increase the Repititions to about 30:
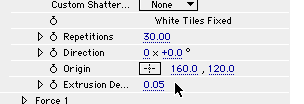
- Decrease the Extrusion Depth to about 0.05:
- Your shatter isn’t looking like a brick wall any more:
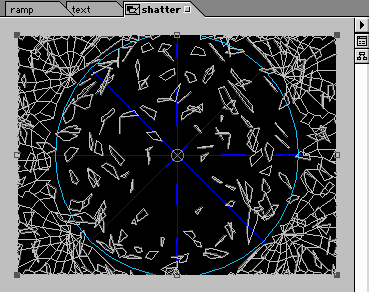
- The blue circle (which is actually a sphere) which you see when in the Wireframe + Forces view mode is called Force 1. It essentially shows you what part of your layer is going to be shattered. Anything that is not inside Force 1 will not shatter. Thus, the corners of our layer stay in place.
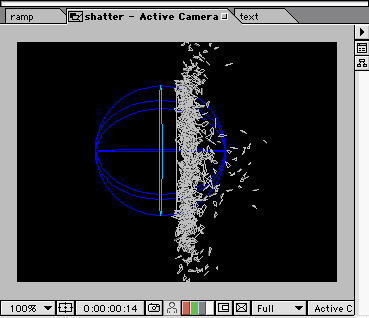
here is a “side view” of the Force 1 sphere shattering our layer
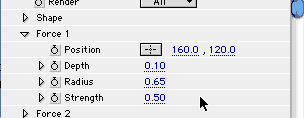
- In the Effect Controls window for the Shatter Effect, you can adjust the radius, strength, and location (or position and depth) of Force 1. Under the Force 1 attribute, reduce the strength to about 0.50 (which makes the layer crumble more than explode) and increase the radius until the edges of the circle fill the screen. 0.65 seemed the right number for me:
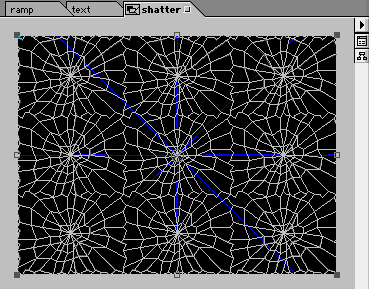
- At the start of your animation, your Wireframe + Forces view looks something like this:
|
- Switch back to the Rendered view and see how it’s looking so far:
|
Comments


Comments