
Abstract Painting Tutorial
Today we are going to create a picture in 2 stages. In stage 1 we are going to practice brushes and form some kind of picture structure and in second stage we will choose what we are going to paint and draw some details to our picture.
So let’s begin.
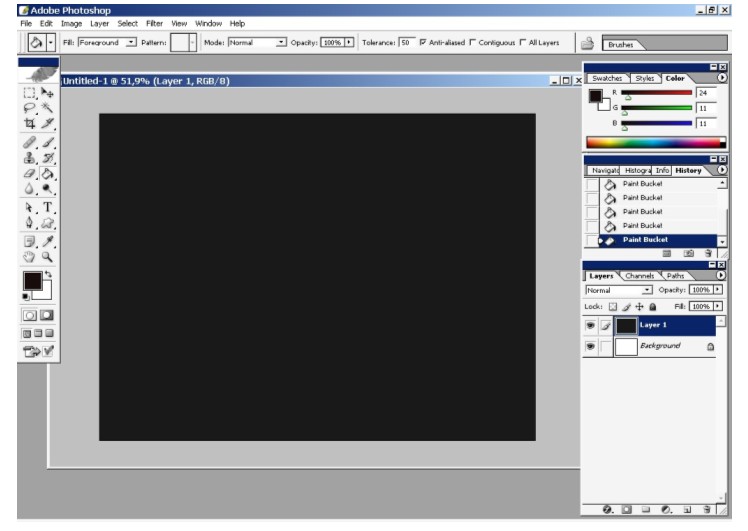
We are starting as usual, by creating a new layer.
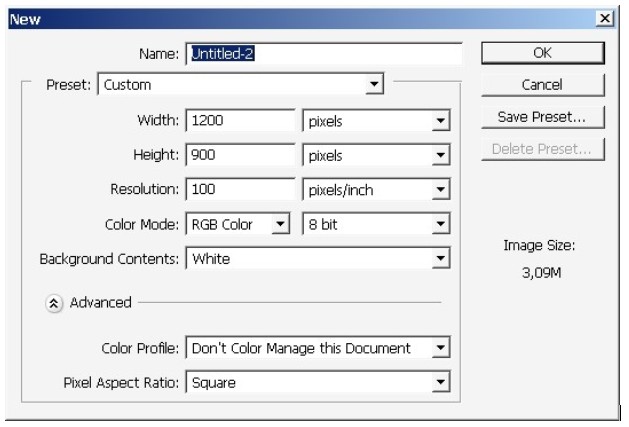
Create a new layer and just fill it with black.

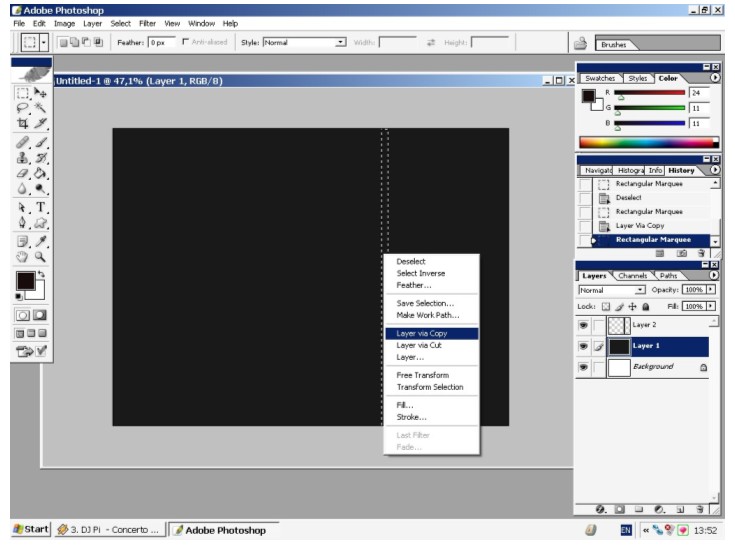
Then make these two line selection and copy them into2 separate layers.
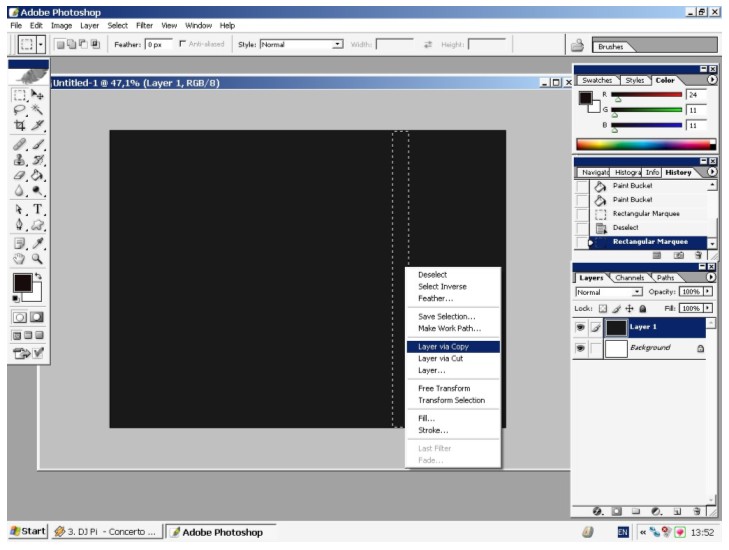
These selections have approximate the same width but they are different.
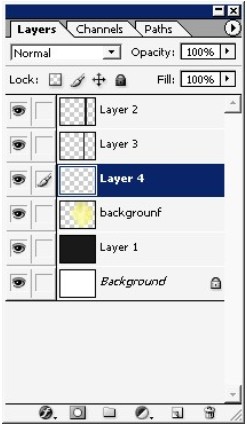
Create new layer.
This will be our backgroundf layer.
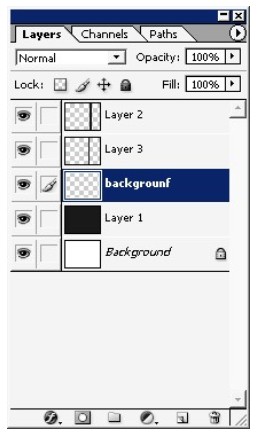
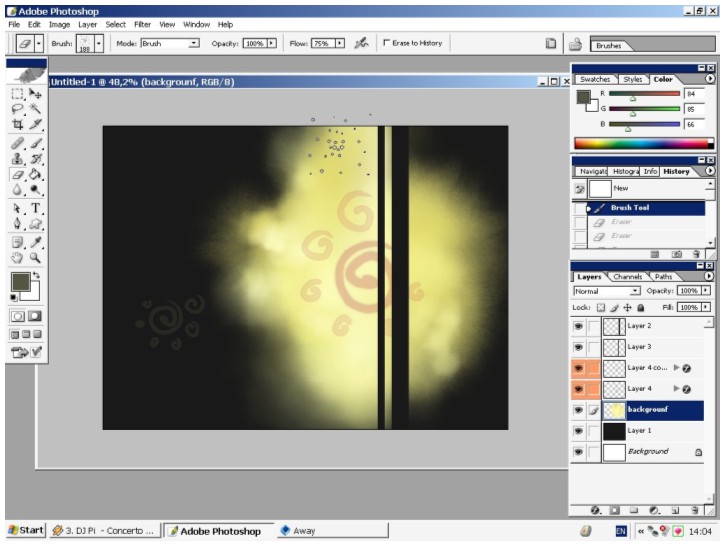
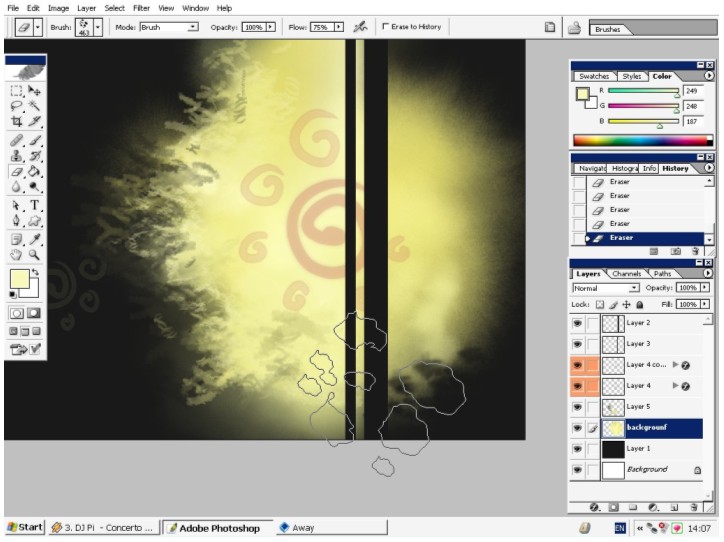
And begin to paint.
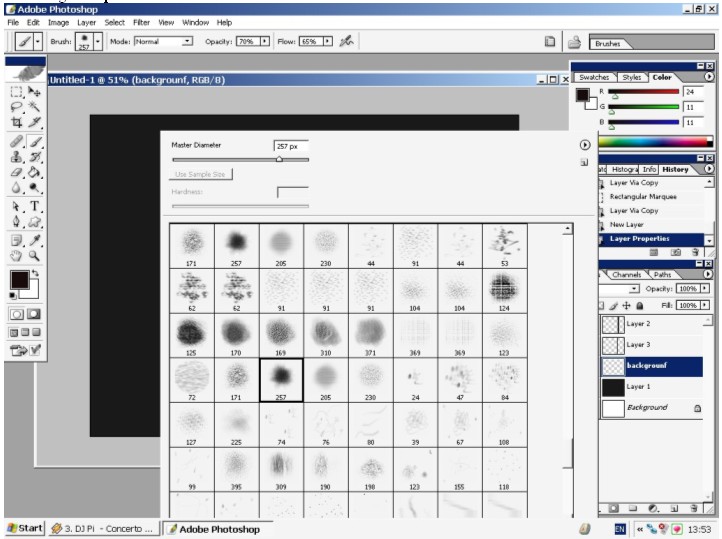
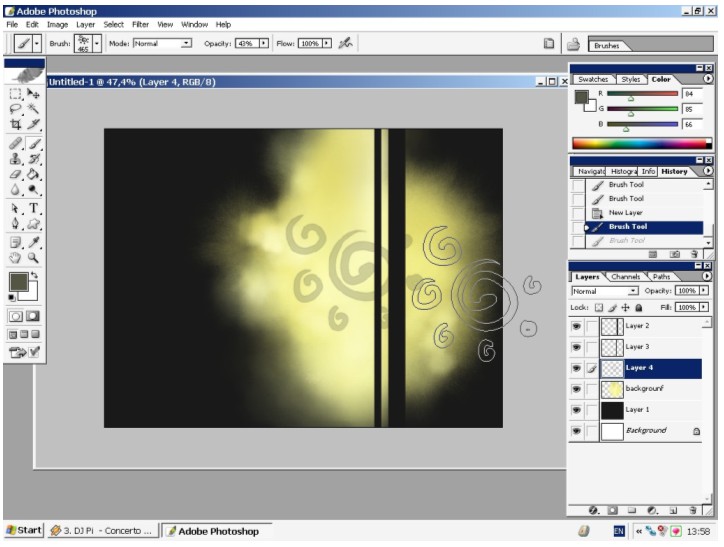
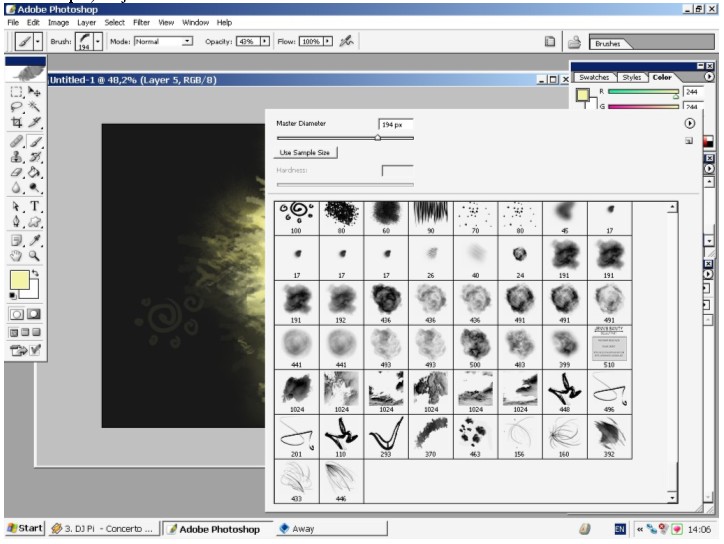
I’ve hosen this custom brush (257) to paint my background. It has some texture and is soft edged. This will work to form a background shape.
I would like to color to be yellow or something like yellow.
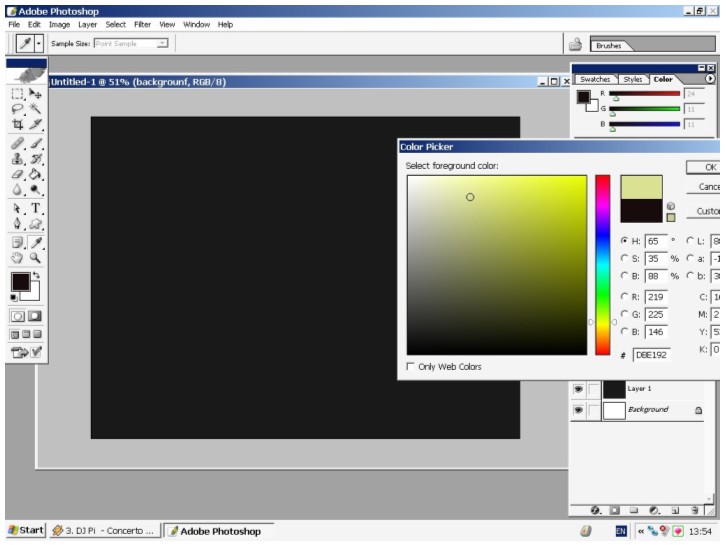
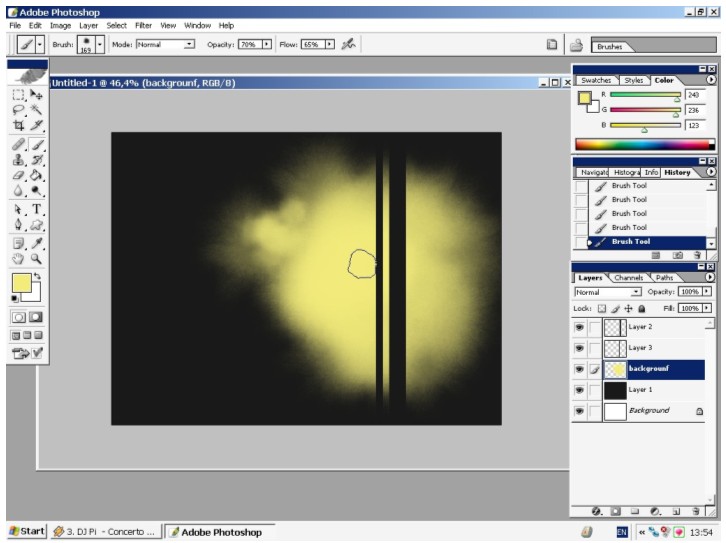
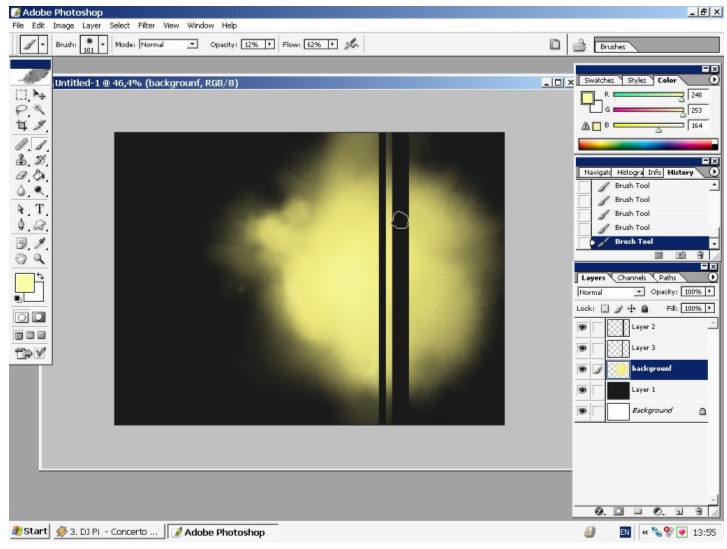
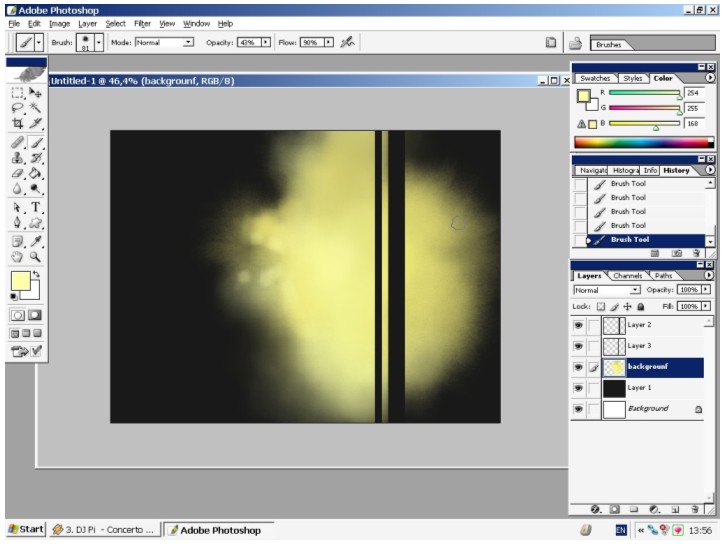
I will once in a while lighten my colors to reach that glow effect.
Create a new layer select this king of brush and tap just ones; the rest will be done by layer styles.
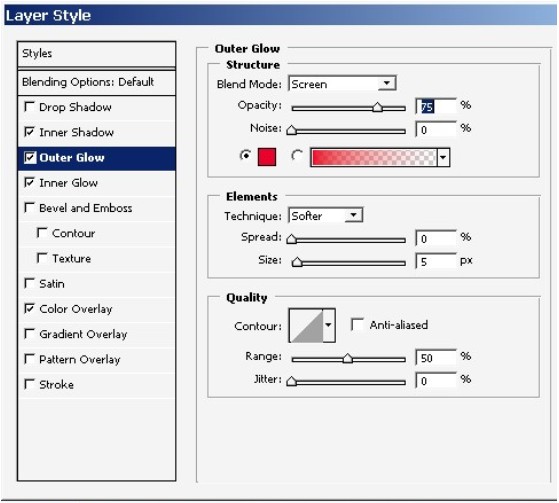
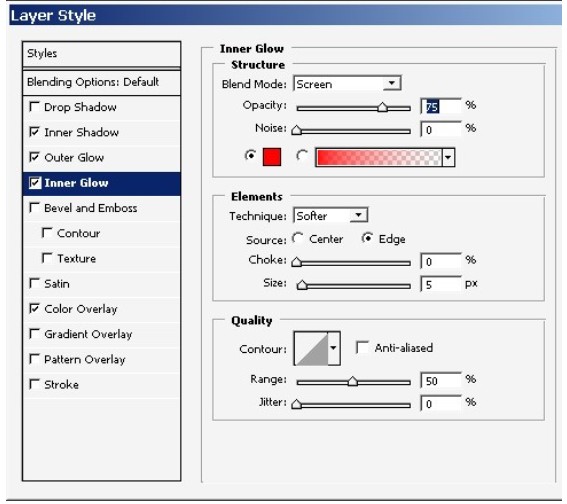
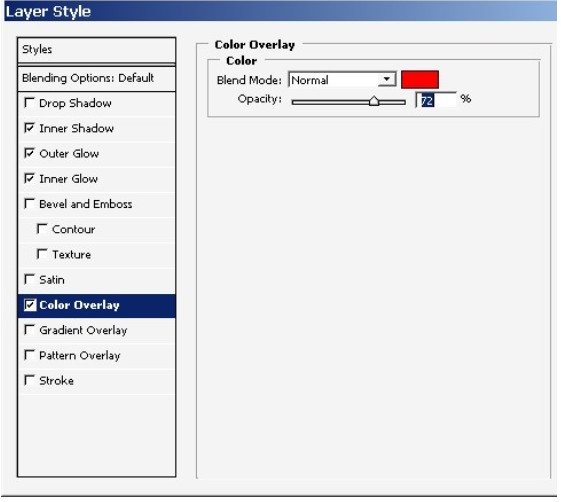
And here are my layer settings.
The Inner shadow options are quite standard.

The inner and outer Glow settings are quite the same with red as the dominant color.
Color overlay is standard.
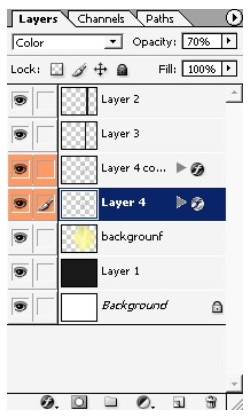
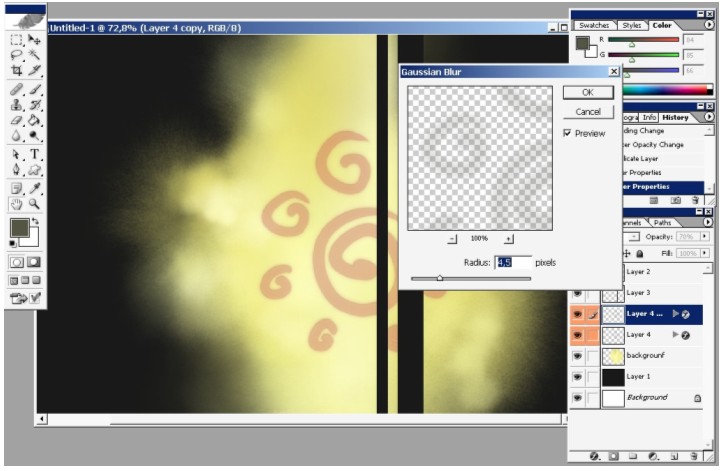
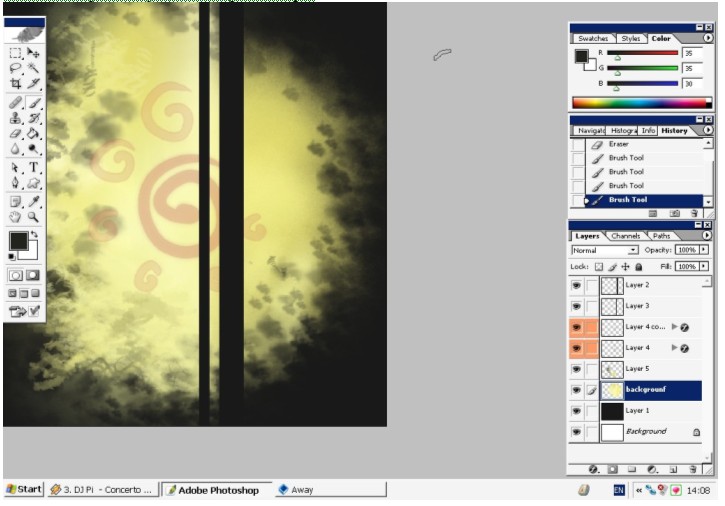
Create a copy of this layer and use Gaussian Blur on the top one.
I often use this trick to soften the edges or to give some king of atmosphere effect.
Note that the top layer opacity is near 70-80%.
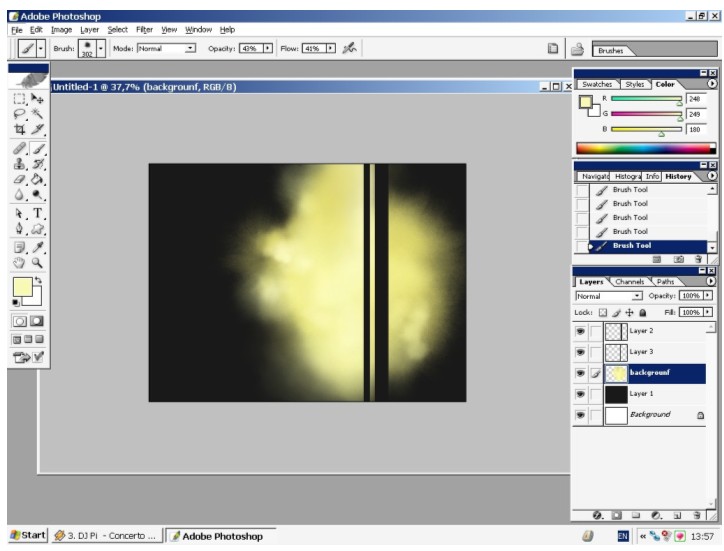
I will work now to refine the edges of my shape. I will use 2 custom brushes: the dot brush and the Rock brush.
Don’t set any settings in brush options.
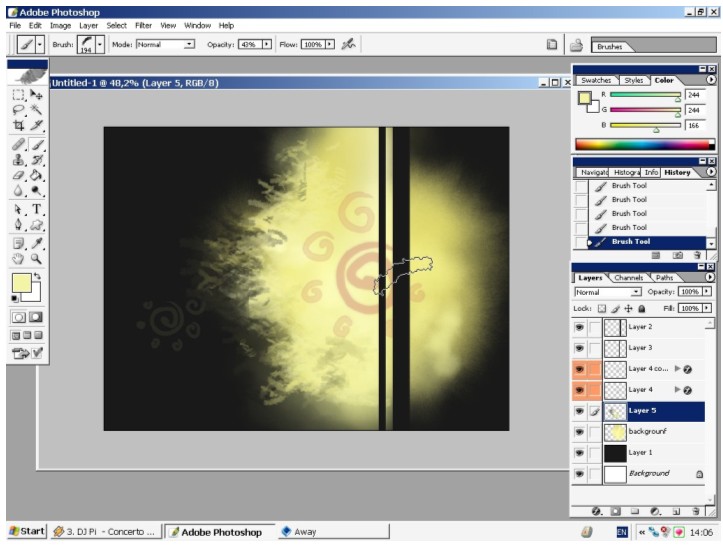
Here you can see my Custom brushes. You can always find them in the Internet (davaintart.com for example) or just make them.

Still refining the edges and forming the shape.
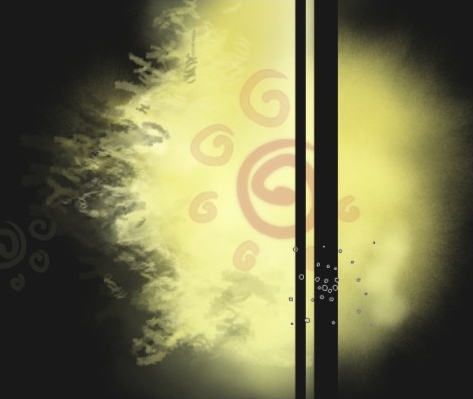
And this is it for the first part of this tutorial. Follow me in the 2nd part of my Abstract painting tutorial.
Comments