
Abstract Ice Queen
Abstract Ice Queen Effect
Author Name: TDW
URL: http://www.thedesignworld.com
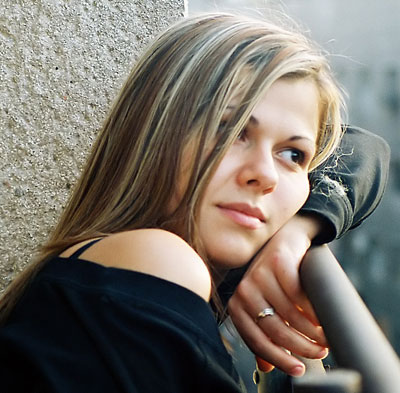
1. Create a new canvas and cut/paste your girl into the canvas:
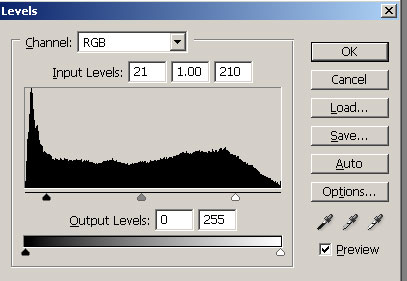
2. Press ctrl+l and change the levels like so, make the image a little more vivid:
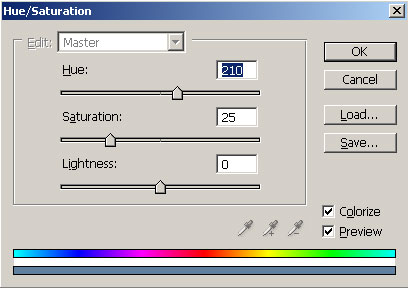
3. Duplicate the layer, set the layer mode to overlay. Then add a filter>blur > gausian blur: 1.5. Then press ctrl+u and make it blue:
4. Duplicate the bottom layer and move it to the top. Press ctrl+shift+u then add a filter>render>lens flare:

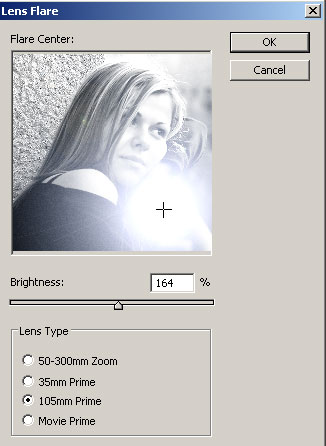
set the layer mode to multiply, it should give some depth from top to bottom.
5. It should look something like this:

not that icey, yet..
6. Click on the original/bottom layer, and press ctrl+u, and make it blue, this time with a higher saturation. Also press ctrl+l and make her a little more vivid as you did before.
Now you’ll need to do a edit>transform>rotate 90 CW.
Now the icey party. Do a filter>stylize wind > use a wind setting, and from the left or right depending on how you rotated your girl, just make sure that the wind is blowing DOWN her face when you rotate the image back.
7. Rotate the image back to normal:

8. Open up a picture of winter (any picture will will really do) I use this one. Cut and paste this into a layer that is directly under your multiplied greyscale layer. Press ctrl+shift+u on the layer to desaturate it.
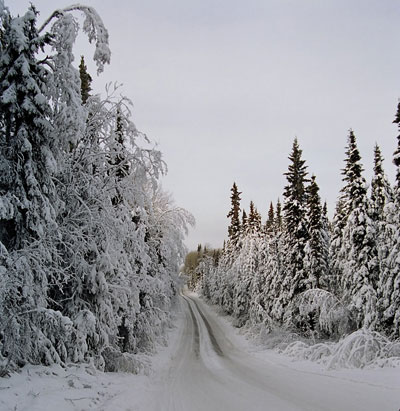
9. Resize this image down so it gives good detail, and then set to overlay.
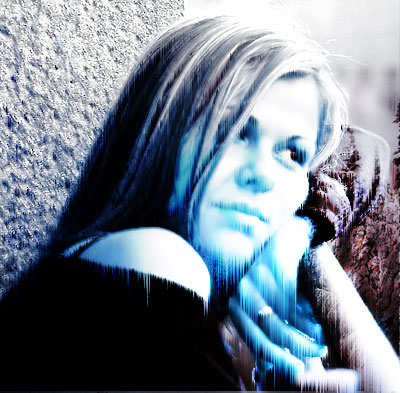
10. Now use an 80px soft eraser to erase any places that mess with her face etc. She’s a sexy queen remember:
11. Now add a little text and maybe some other touches to saturation and levels and your done!

Comments