
Professional Design Studio Web Layout
This tutorial will show you how to create a modern web portfolio layout.
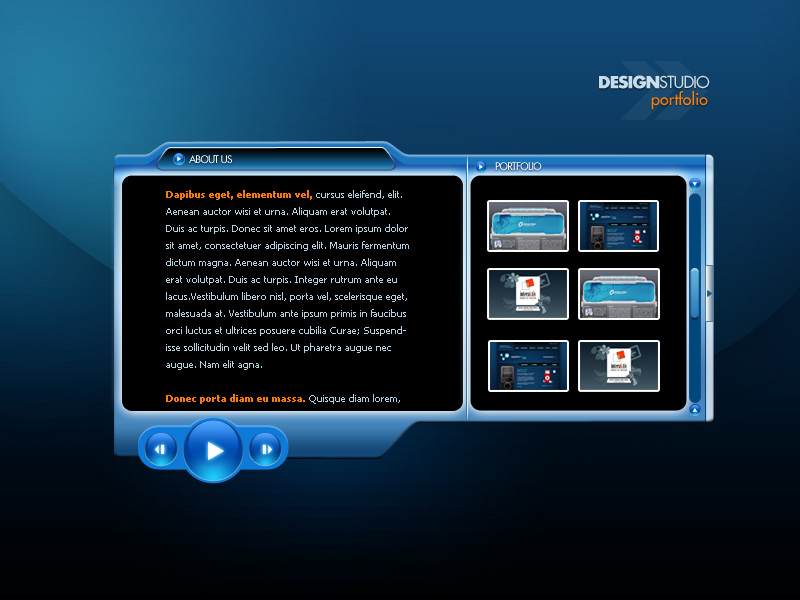
Final Image Preview
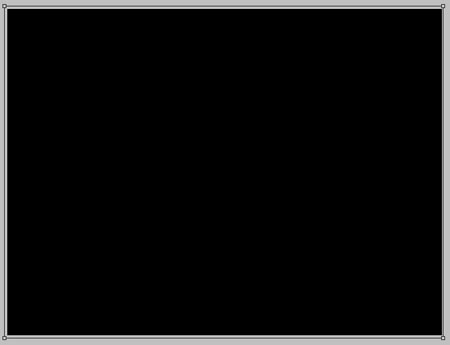
Create a new file (File>New) having 800×600 px and 72 dpi. Choose after that the Rectangle Tool (U) to represent the primary background’s layer.
The layer’s parameters:
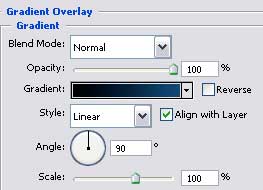
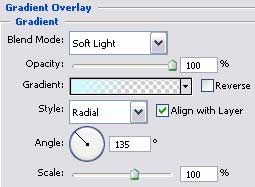
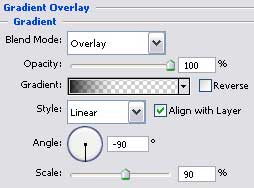
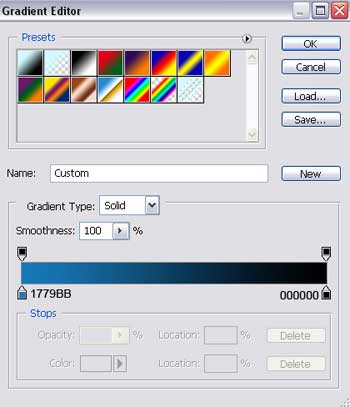
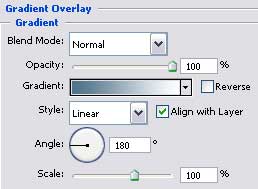
Blending Options>Gradient Overlay

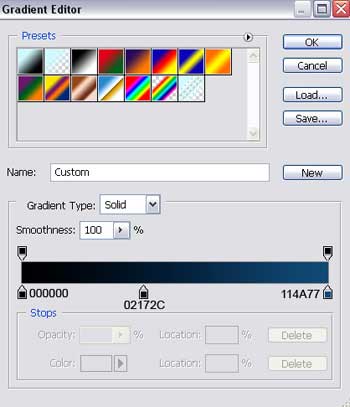
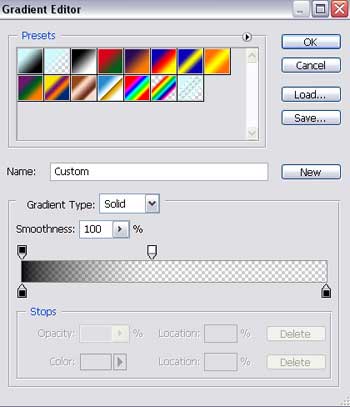
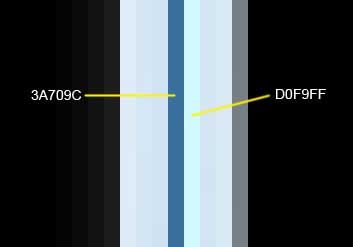
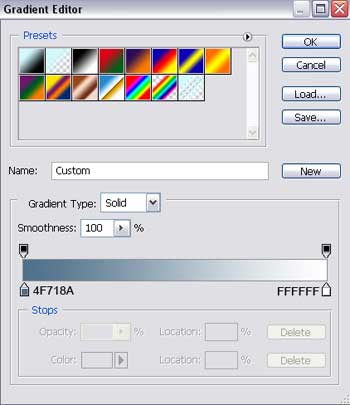
Gradient’s parameters:

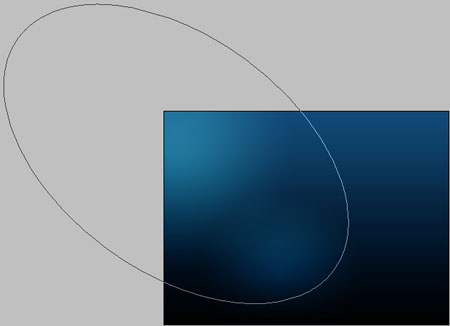
Select then the Ellipse Tool (U) and draw a flare on the background reserved for representing the site.

The layer’s parameters:
Fill 0% on the layers.
Blending Options>Gradient Overlay
Gradient’s parameters:

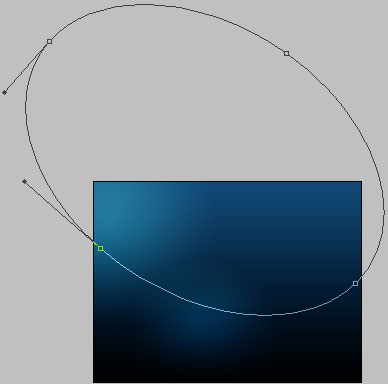
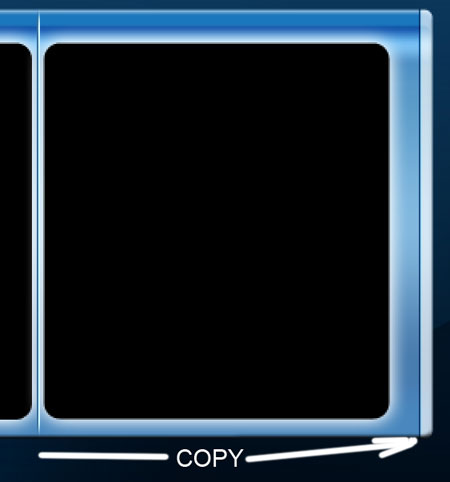
 Make a copy of the last made layer and select the Free Transform option to enlarge the copy and place it the way it is shown below.

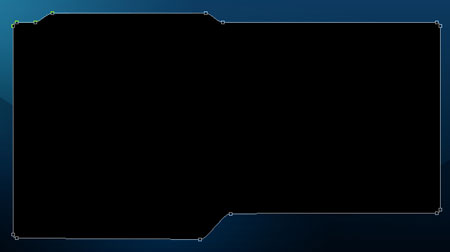
Applying the same instrument, we need to represent a kind of illumination effect on the background’s top.
The layer’s parameters:
Fill 0% on the layers.
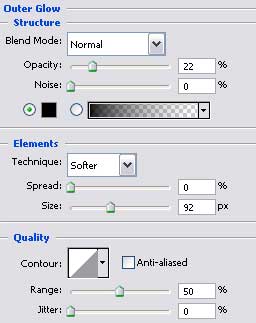
Blending Options>Outer Glow
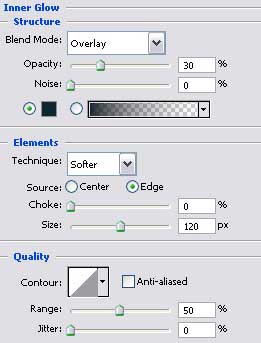
Blending Options>Inner Glow
Blending Options>Gradient Overlay
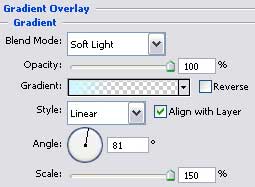
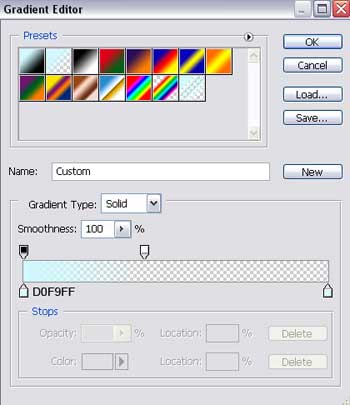
Gradient’s parameters:
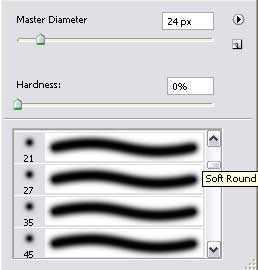
 Create now the primary layer of the site’s sections, choosing the Rounded Rectangle Tool (U) and adding several tops also with the Add Anchor Point Tool. The shape should be corrected with the Convert Point Tool.

The layer’s parameters:
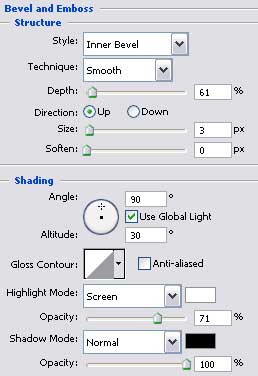
Blending Options>Bevel and Emboss
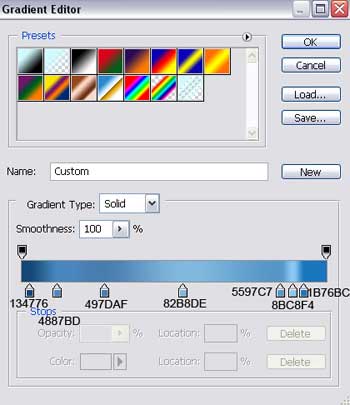
Blending Options>Gradient Overlay
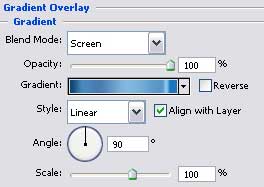
Gradient’s parameters:

We need to represent on the picture’s right side a layer reserved for the buttons of the mobile menu. The layer should have the white color. The operation may be done with the Rectangle Tool (U).

The layer’s parameters:
Fill 65% on the layers.
 Press on the Alt button and make a mouse’s click between the layers and the recently made will lay over the previous one.

Make a copy of the earlier made layer designed for the site’s sections, placing it on the top of the layers’ palette. Select the Free Transform option to move the copy downside. Using the Rectangle Tool (U) and holding simultaneously the Alt button we need to cut out partially the copy.
The layer’s parameters:
Fill 0% on the layers.
Blending Options>Gradient Overlay
Gradient’s parameters:
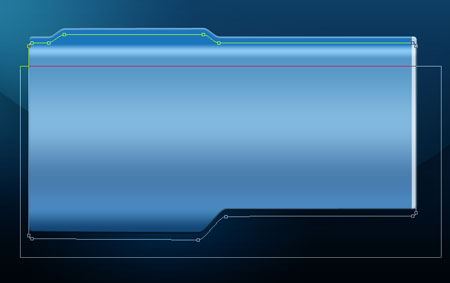
 Next we need to create a window designed for additional information. So we’ll need to take the Rounded Rectangle Tool (U) for the operation in case. The corrections on the window’s shape, it’s possible to do with the Convert Point Tool.


The layer’s parameters:
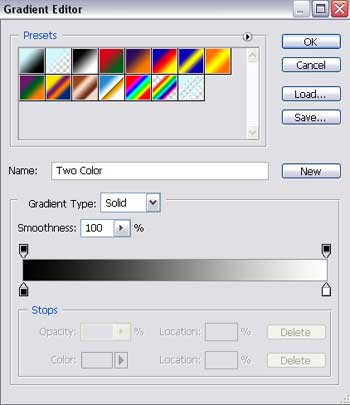
Blending Options>Gradient Overlay
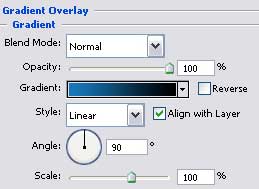
Gradient’s parameters:
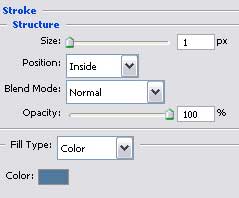
Blending Options>Stroke
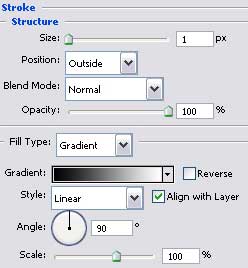
Gradient’s parameters:

Using the Rounded Rectangle Tool (U), try to represent the layer reserved for the section colored in black.


The layer’s parameters:
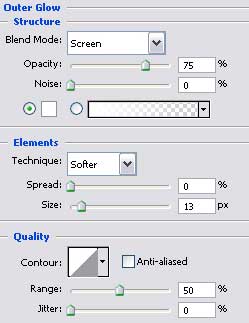
Blending Options>Outer Glow

Make a copy of the last made layer and choose the Free Transform option to place the copy like it is shown on the next picture and narrow it out horizontally.

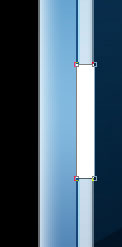
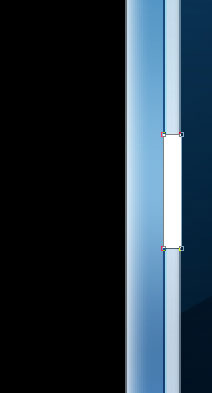
Create a new layer. Now we need to draw a vertical line between the sections. Choose two colors for it and the Pencil Tool (B).

The Eraser Tool (E) will be helpful in erasing the elements we don’t need on the picture.


Make a copy of the last made layer and choose again the Free Transform option to move the copy to the right side to the layer’s edge, under the button reserved for the mobile palette.

Now we need to draw the button reserved for the mobile palette, selecting the Rectangle Tool (U).
The layer’s parameters:
Blending Options>Gradient Overlay
Gradient’s parameters:
Blending Options>Stroke

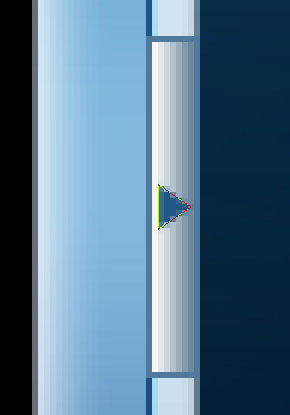
Take the Custom Shape Tool (U) and represent a pointer on the created button that would have the color # 205884. The pointer should be turned over with usual option – Free Transform.

Page: 1 2
Comments