
3D layers in motion
3D layers in motion
Setting up a basic 3D animation in Adobe® After Effects® 6.5 requires some basic knowledge of multiple views and moving layers in three-dimensional space, or X-, Y-, and Z-axis. It’s really much easier than it sounds, and this tutorial will introduce you to some of those basic controls.
In this tutorial, I used two single-layer Adobe® Photoshop® files—one, a 600×600 image of a film reel, and the other a 500×500 image with the stylized text “Midnight Movie.” You’ll need similar Photoshop files to complete this tutorial, although any round object and any text will do.
Throughout this tutorial, we’ll refer to the parts of the composition as the “film reel layer” and the “text layer.”
Get started
-
Start a new project file in After Effects and import the two single-layer Photoshop files as composite files to preserve the transparent layers.
-
Create a new composition, 640×480 NTSC, drag the film reel composition file from the Project window onto the Comp 1 window, and resize the layer to 70% (Figure 1).

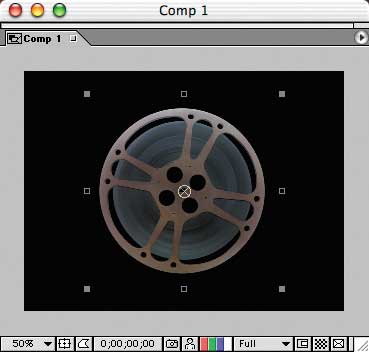
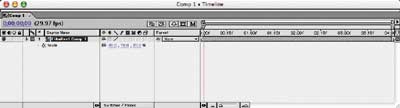
Figure 1: Import and place the film reel composition and resize the layer.
-
Select the film reel layer, right-click/Ctrl+click it in the Comp 1 window, and select 3D Layer from the context menu. This will convert the layer to a 3D layer, using the transparent space of the Photoshop layer as the defining edges in 3D. This layer can now be moved in all three directions, as shown with the X-, Y-, and Z-axis arrows in the middle of the layer.
-
To make the third dimension more predominant, we’ll add the ability for this layer to cast shadows when we shine a light on it. Drop down the settings for the layer and open Material Options. Turn the Casts Shadows option on.
-
Duplicate the layer in the Timeline window (Cmd/Ctrl+D) and press the A key to reveal the Anchor Point settings on both layers.
-
Right-click/Ctrl+click the Comp 1 window tab to bring up the context menu and select Switch 3D View > Left.
-
On the top layer, set the Z-axis Anchor Point to –20. On the bottom layer, set the Z-axis Anchor Point to +20. This will separate the two layers at the center point, creating a simulated film reel (Figure 2).
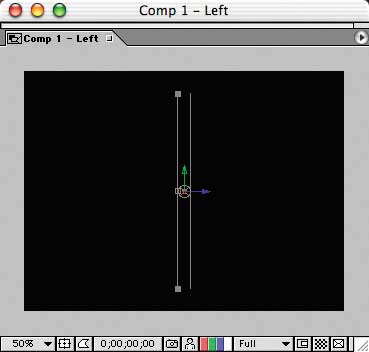
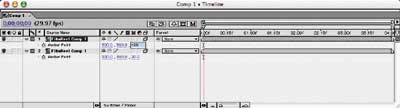
Figure 2: Offset the anchor points at the center core to simulate two halves of a film reel.
Comments