
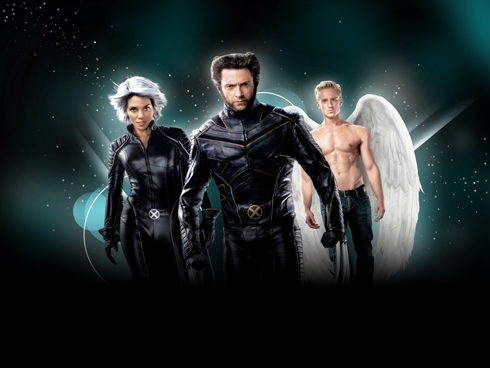
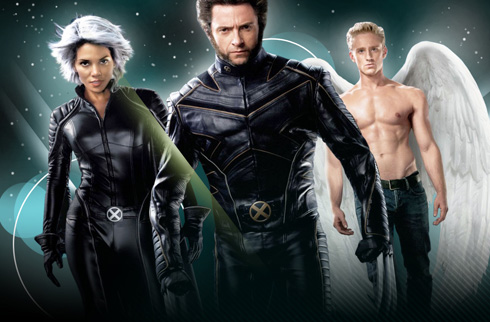
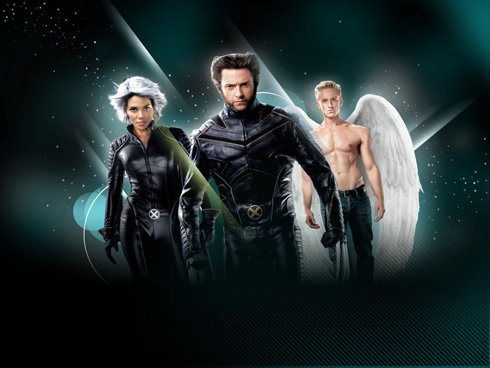
X-MEN movie poster
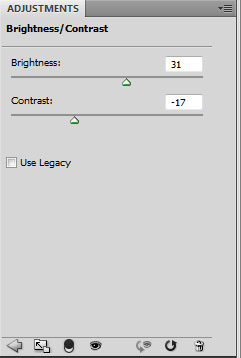
Make a click on the bottom part of the layers’ panel on the selection from here: Create new fill or adjustment layer>Brightness/Contrast
Take the usual standard brush mentioned above and try to paint the right lowest picture’s corner, choosing the #004F52 color.
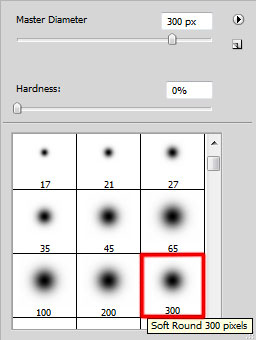
Now represent a pattern by creating a new file of 6x6px/72dpi. Use here the Pencil Tool (B) (brush 1 px) of black color. The background is absent.

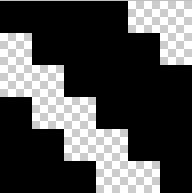
Edit>Define Pattern
Create one more new file of 640x480px/72dpi which background should be removed. Select then Edit>Fill (the earlier saved pattern). Move this file on our picture. Select Free Transform and press SHIFT button to stretch out the texture on the whole picture.
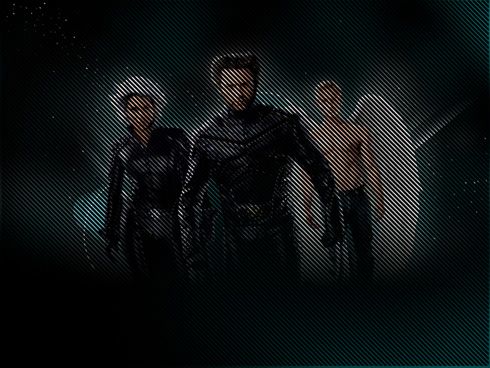
Make mouse click on the same layer on Add a Mask selection from the bottom part of the layers’ panel and select a standard brush of black color to clean out the whole zone, except the right lowest corner.
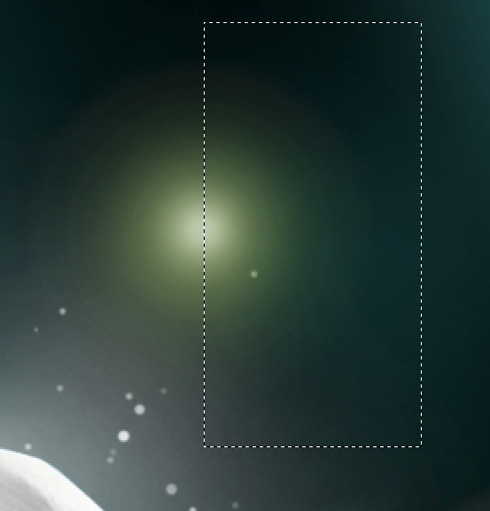
Next we’ll represent several rays the same way we did earlier. Create a new layer where we’ll apply the standard brush. Firstly we need to draw a spot of a big diameter, colored with #728359.
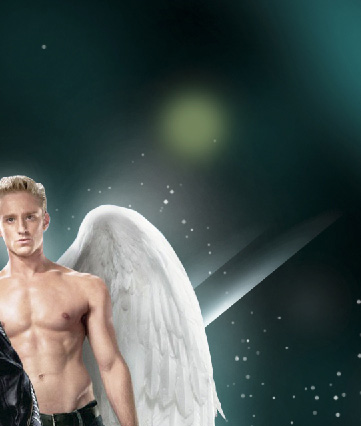
Reducing the brush’s diameter, insert a highlight of white color on the central part.
 Apply the same method we did with the spot cutting.
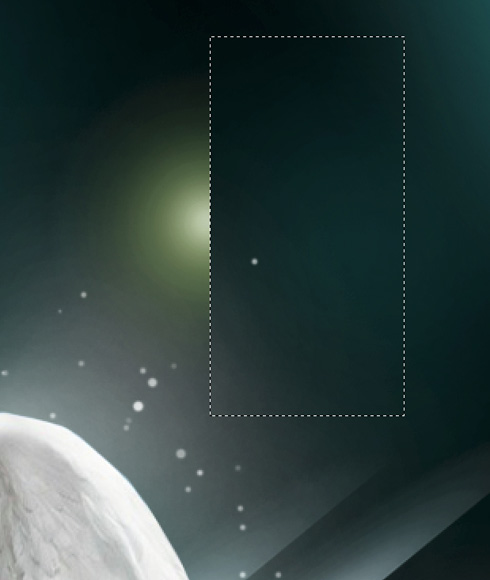
Using the Free Transform option, press horizontally and stretch out by vertical side the element. Place it the same way demonstrated below:
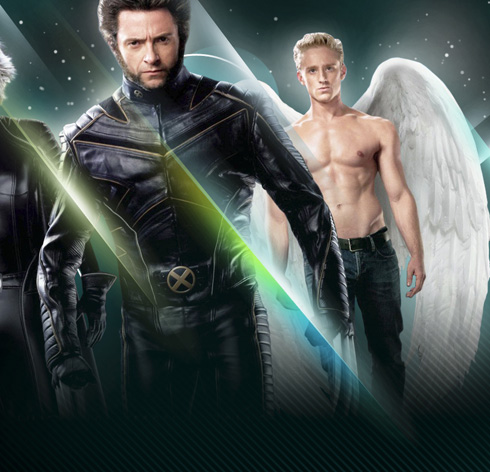
Using the same method and a brush of white color, try to make several more rays.
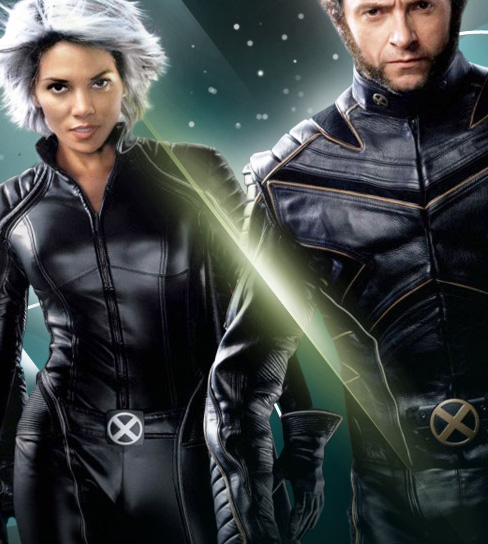
We’ll represent two more rays, one of them processed with a blue brush. The other one should be of yellow color with a big white inside highlight. The blue ray should be placed on the right side and the yellow one turned over and situated close to the earlier made one.
Make two copies of the white ray. Select after that the Free Transform option to enlarge the size, placing one copy as below:
Turn around one more copy and place it near the earlier placed ray. Choose then the layer’s option Lock Transparent Pixel and a standard brush (Opacity of 40%) to paint the ray with the next colors – dark-blue, green and orange ones as it is pictured below:
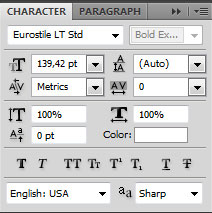
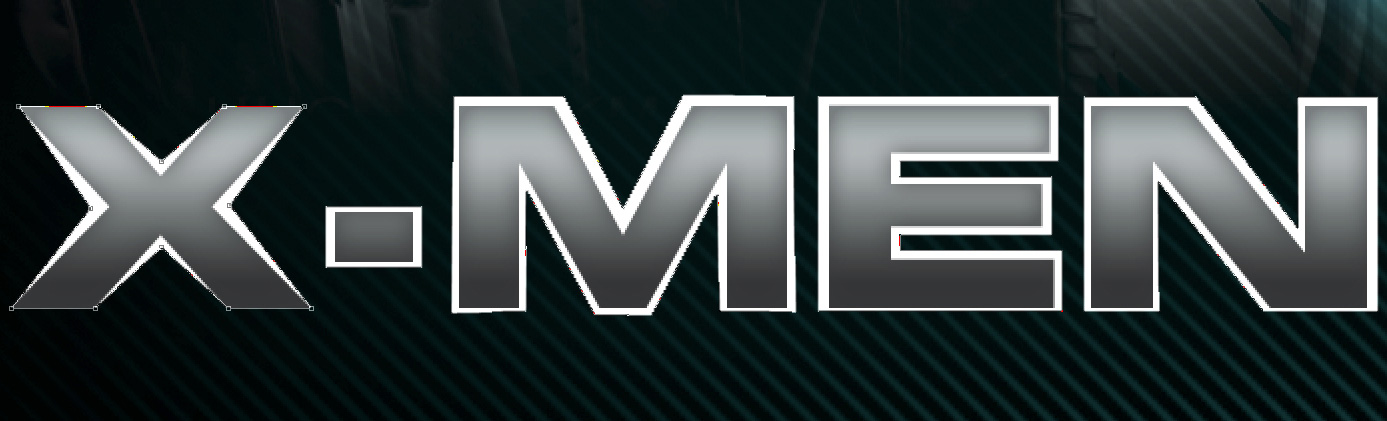
Insert the text we need to have on the picture now:

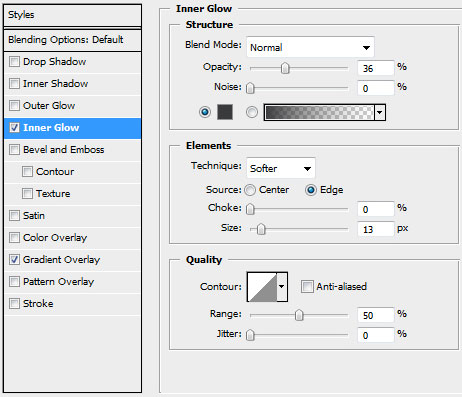
Make a copy of the layer having the text on it. Make a right click on the Convert to Shape option, on the layer situated lower. Get back to the top text’s layer and choose for it the next demonstrated parameters: Blending Options>Inner Glow
Blending Options>Gradient Overlay
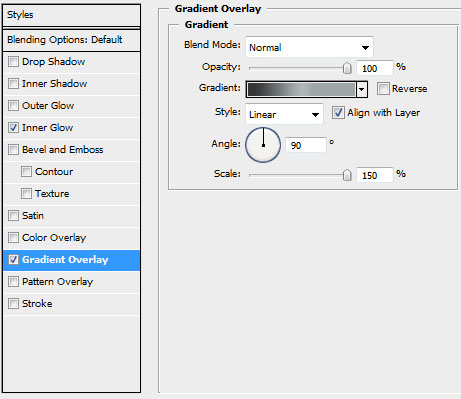
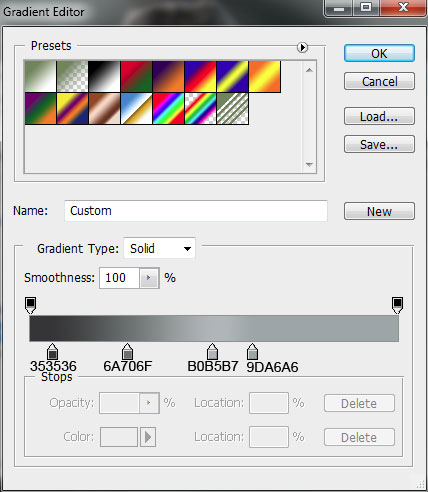
Gradient’s parameters:

Continue with the changed text’s layer situated lower. Select here the Convert Point Tool to stretch out the tops in a way for the layer to come out lower than the top text’s layer:
Create a new layer above the converted text’s layer. Here we’ll need the standard brush of gray color to represent several shadows that will be useful for creating the impression of volume.

Press Alt button while clicking between the converted text’s layer and the brush’s layer (on the layers’ panel).
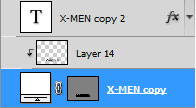

Make a copy of the layer containing the brushes; press Alt button and click between the layers, applying on this copy – layer the parameter from here – Blending mode-Vivid Light
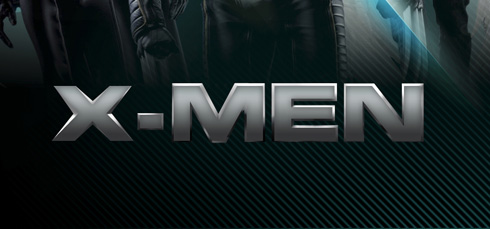

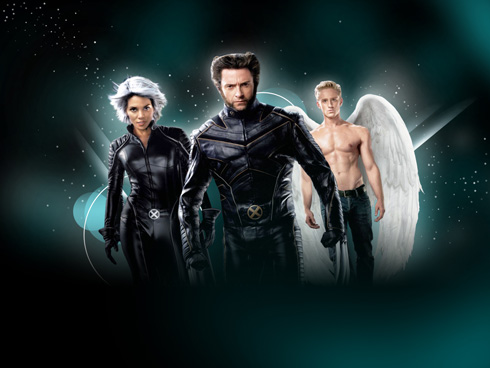
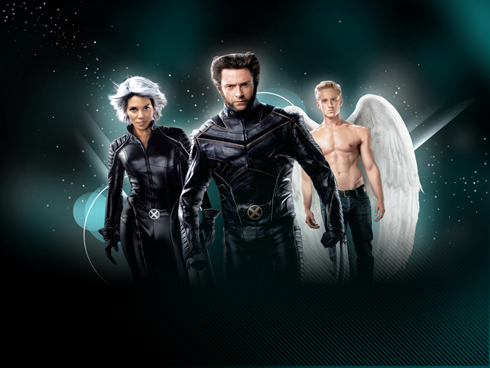
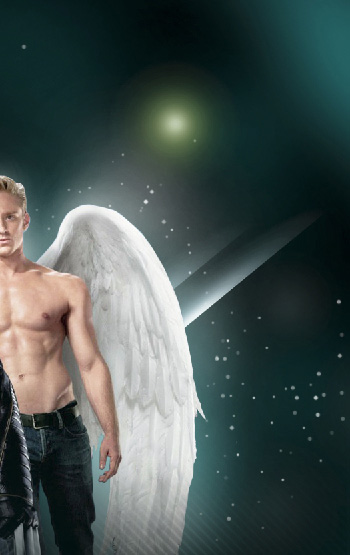
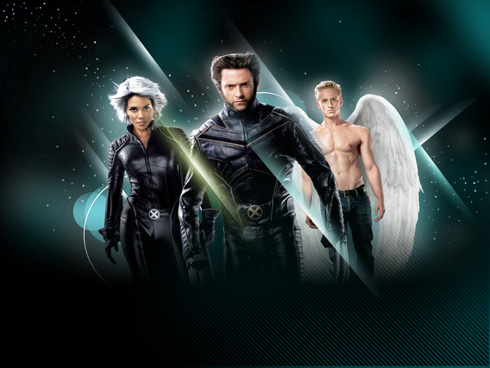
The final result!
View full size here.
Page: 1 2
Comments