
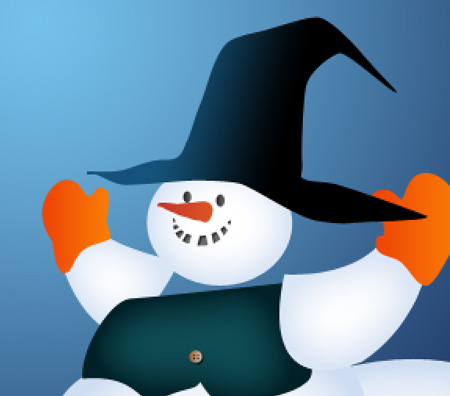
We wish you a Merry Christmas
Make a copy of the last made layer and choose the Free Transform option to place the copy exactly the way shown below:

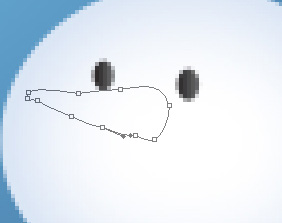
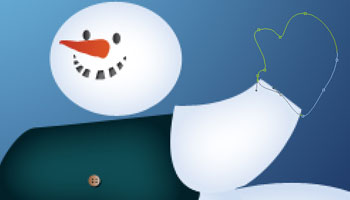
Next we shall draw the snowman’s nose with the Pen Tool (P), which shape may be corrected with the same Convert Point Tool.
The layer’s parameters: Fill 0%
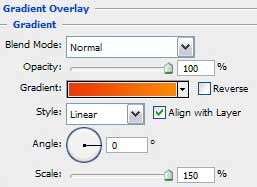
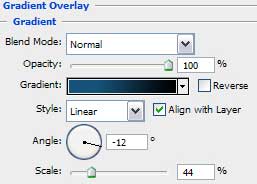
Blending Options>Gradient Overlay
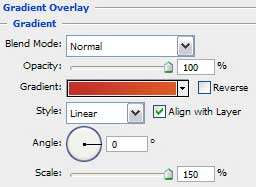
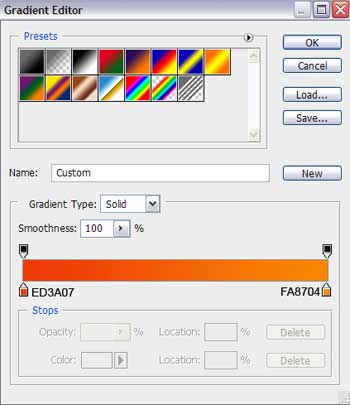
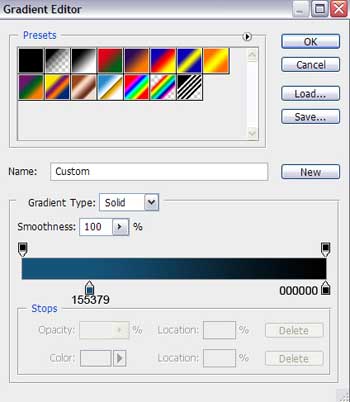
Gradient’s parameters:


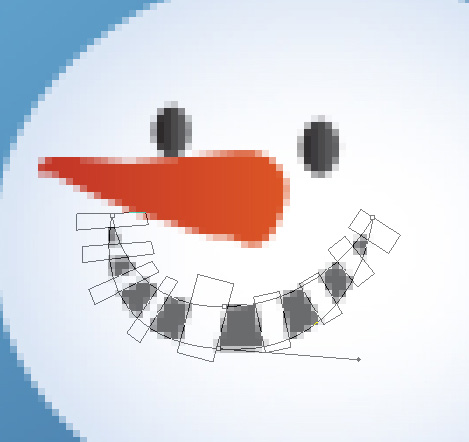
It’s time to represent the snowman’s mouth, applying the Ellipse Tool (U) and the color #6A6B6D. Firstly represent the basic element of the mouth and then select the Convert Point Tool to low down the top part of the ellipse. Press then Alt button when using the Rectangle Tool (U) to cut out the unnecessary parts. The instrument may be turned over with Free Transform option.
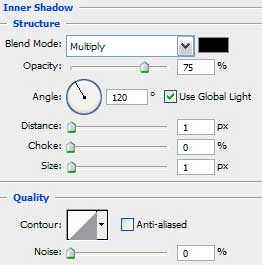
The layer’s parameters: Blending Options>Inner Shadow

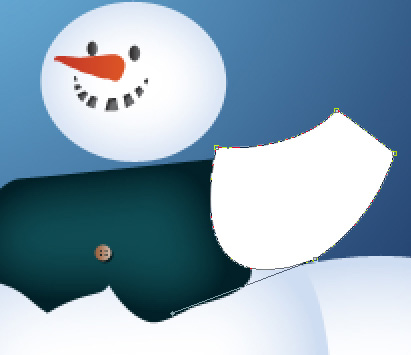
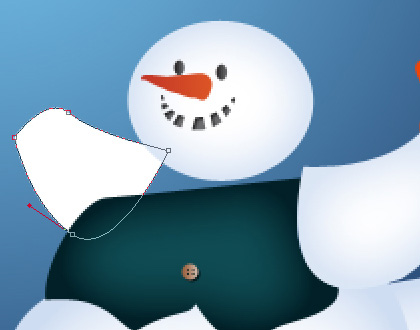
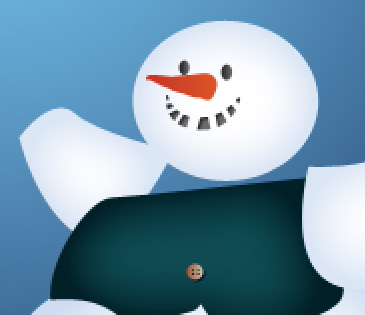
Next we have to represent the snowman’s right arm of white color too. In this case we’ll take also the Pen Tool (P) and Convert Point Tool for applying the necessary corrections on the drawn element.
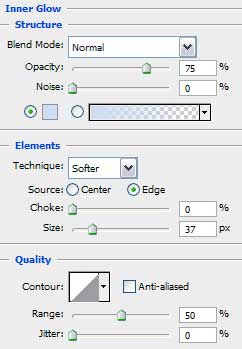
 The layer’s parameters: Blending Options>Inner Glow
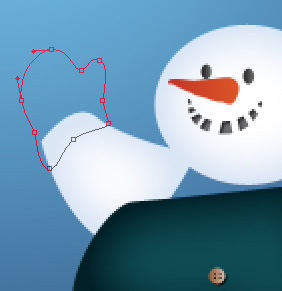
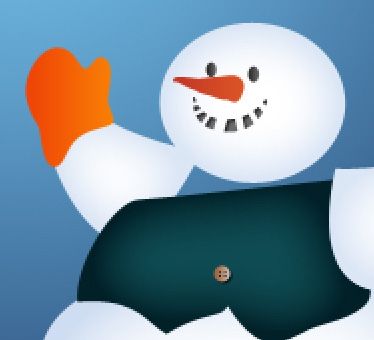
On the made hand we’ll add the mitten with the Pen Tool (P) which shape may be corrected with the Convert Point Tool.
The layer’s parameters: Blending Options>Gradient Overlay
Gradient’s parameters:

Use the last applied method for drawing the left arm, placing this layer lower than the layer containing the snowman’s jacket (on the layers’ panel).
The layer’s parameters: Blending Options>Inner Glow
Select the last applied method to represent the second mitten:
The last mitten’s layer’s parameters are the same with the first one:
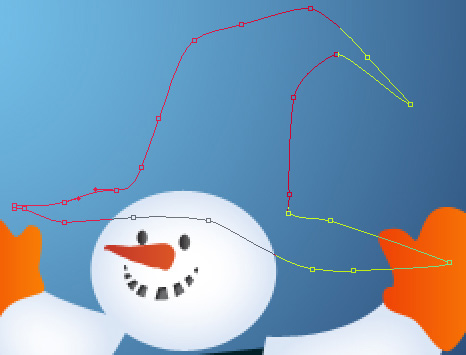
Next we have to picture the hat on the snowman’s head, applying the Pen Tool (P) and Convert Point Tool for introducing the appropriate corrections on the hat’s shape:
The layer’s parameters: Fill 0%
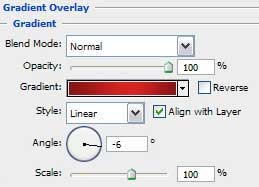
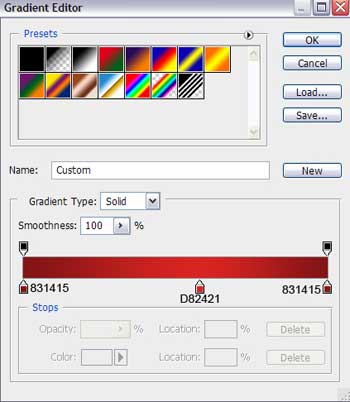
Blending Options>Gradient Overlay
 Gradient’s parameters:
We shall represent on the hat a small hatband, choosing the previous tools too.
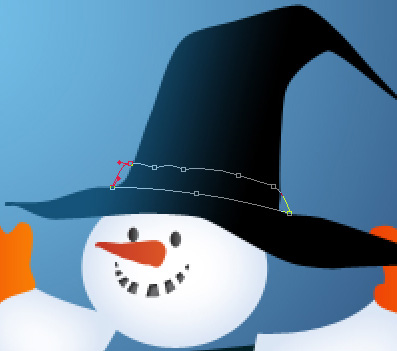
The layer’s parameters: Fill 0%
Blending Options>Gradient Overlay
Gradient’s parameters:

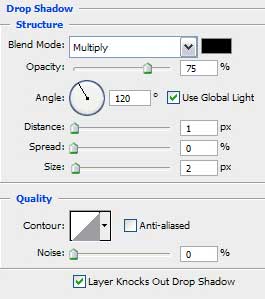
It’s time to make the scarf for the snowman. Select firstly the Pen Tool (P) to represent the primary layer, colored with #F3CE58 and then the Convert Point Tool will be helpful in making the corrections on the scarf’s size. This layer needs to be placed lower than the head’s layer on the layers’ panel:

The layer’s parameters: Blending Options>Drop Shadow
Comments