
We wish you a Merry Christmas illustration
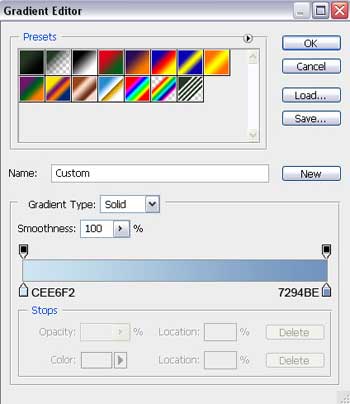
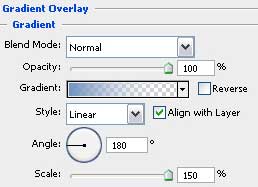
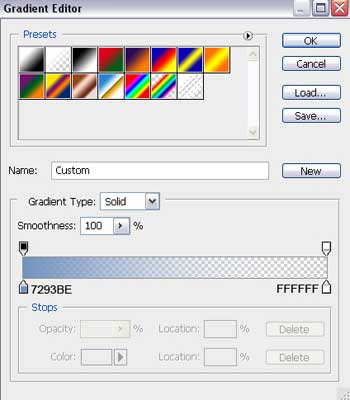
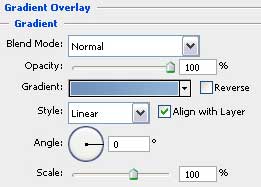
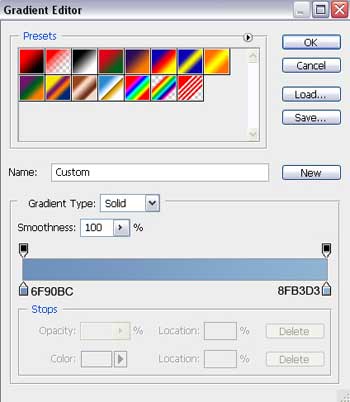
Gradient’s parameters:

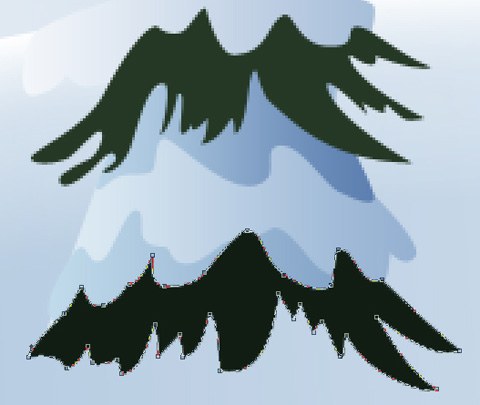
Using the Pen Tool (P), represent the next layer of the fir tree, having the color this time #111D13
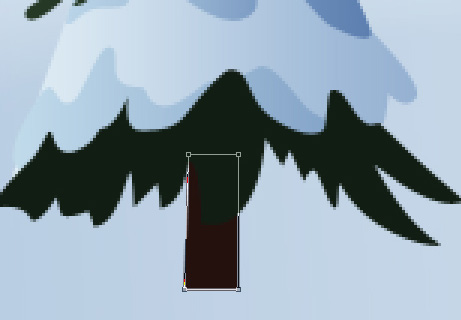
Next we’ll pass to representing the trees’ trunk, colored with #24110E. For creating this element, we’ll use the Rectangle Tool (U). Place this layer lower than all the layers belonging to the fir tree (on the layers’ panel).

 For our convenience, we should combine in a group all the layers composing the fir tree (press Ctrl button to mark the corresponding layers and hold on left mouse’s button while moving these layers on Create a new group selection). Make six copies of this group and select the Free Transform option to change the copies’ sizes, if necessary, and their placement.
Now we’ll make the shadow under the fir tree, using the Ellipse Tool (U). After that we’ll select the Delete Anchior Point Tool to erase one of the ellipse’s tops. Make the necessary corrections on the element, by choosing the Convert Point Tool.

The layer’s parameters: Blending Options>Gradient Overlay
Gradient’s parameters:

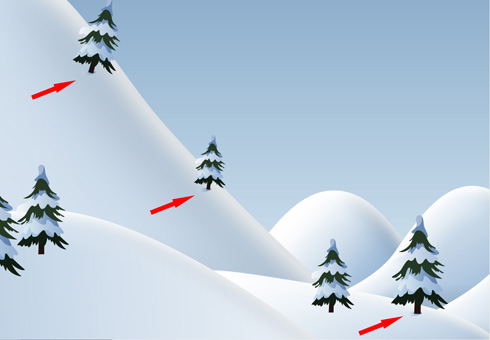
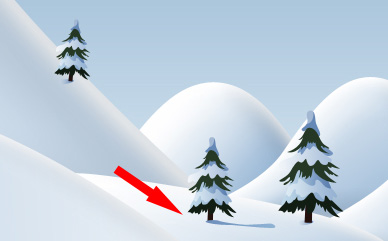
Make three copies of the layer, containing the fir tree’s shadow and select after that the Free Transform option to place the copies under marked trees from below. The layers with the shadows should be placed lower than the layers, composing the demonstrated trees (on the layers’ panel).
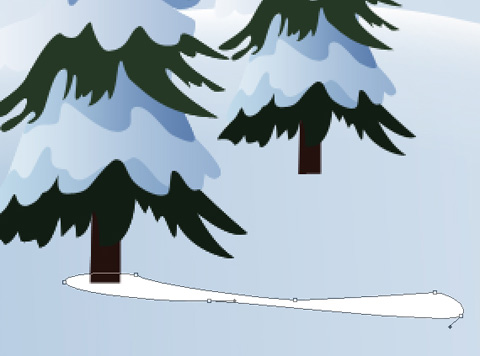
Next apply the Pen Tool (P) for representing a very long shadow, coming under the tree. Its shape may be corrected, as usually, with the Convert Point Tool. Place this layer lower than the fir tree’s layers, the shadow belongs to.
The layer’s parameters: Blending Options>Gradient Overlay
Gradient’s parameters:

Make two copies of the recently made layer, containing the long shadow. Select Free Transform option to make the changes on the copies’ sizes, placing them out the way shown below. Place the layers with the shadows lower than the fir trees’ layers, the shadows are situated under.

Apply the next parameters for the shadow’s copy, marked below:
Opacity 50%
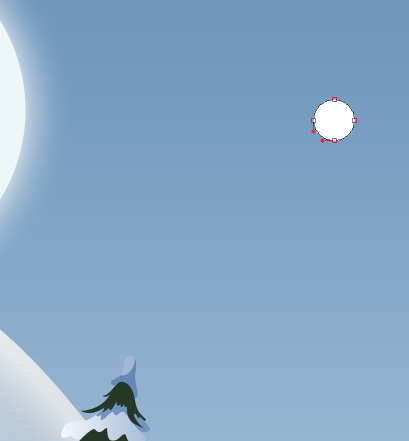
 Using the Ellipse Tool (U), it’s possible to introduce in the picture the falling snow of white color.
The layer’s parameters: Fill 20%

Make a lot of copies of the last made layer and select the Free Transform option to change the elements’ sizes and their placement on the picture.

Using the same instrument, try to make several white patches inside the falling snow.


Apply now the Custom Shape Tool (U) to represent several white snowflakes of different sizes.
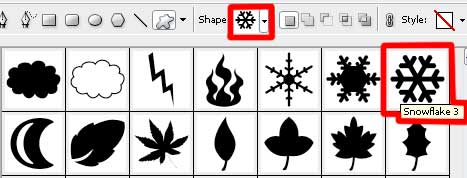

All the snowflakes have the parameter, indicated below: Fill 50%

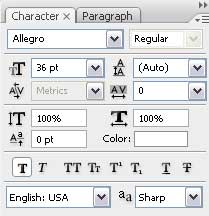
Write now the inscription, containing the holiday congratulation.

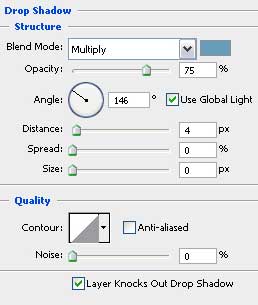
The layer’s parameters: Blending Options>Drop Shadow

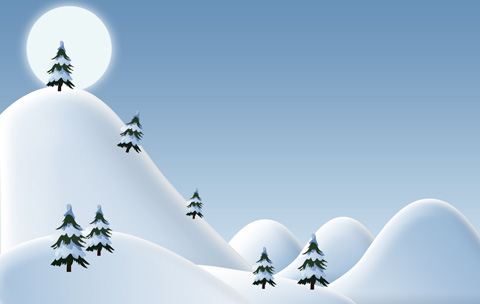
The picture is finished!
View full size here.
Comments