
Use lighting effects to make a beautiful artwork in Photoshop CS5
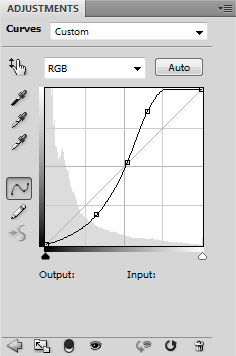
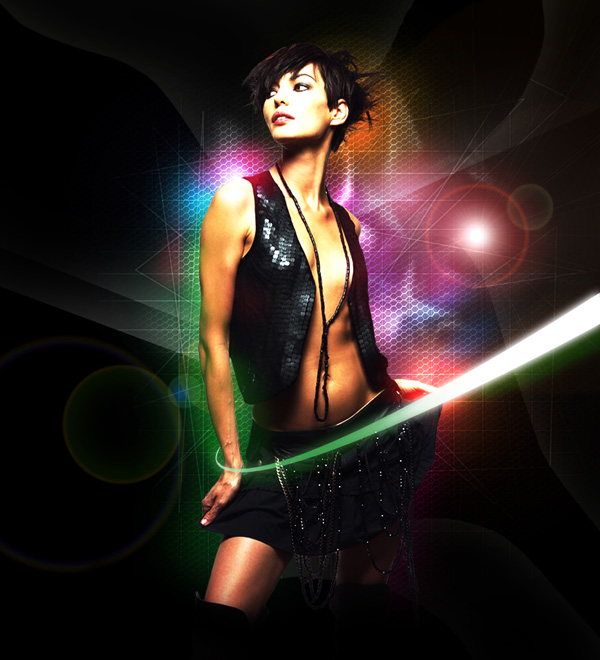
Click Create new fill or adjustment layer from bottom part of the Layers panel and click to Curves to adjust the curve shape as shown to make a little color corrections.
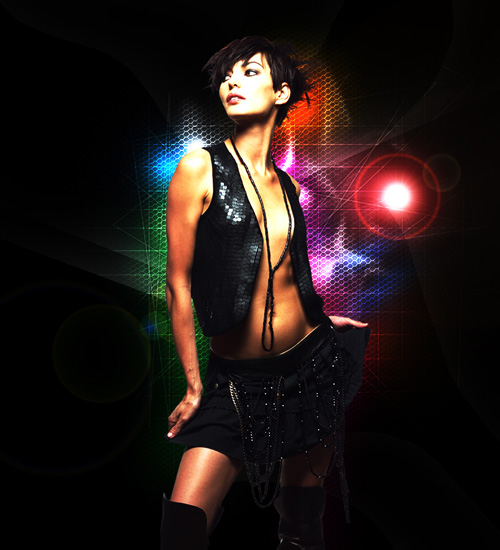
We’ve got the next result:
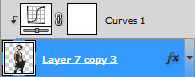
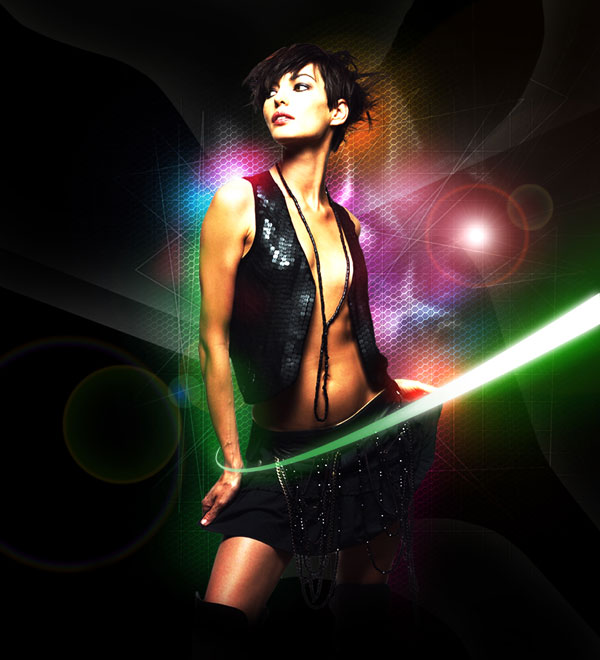
Hold down Alt (Windows) or Option (Mac OS) and click between Curves adjustment layer and girl’s layer in the Layers panel to create a clipping mask.

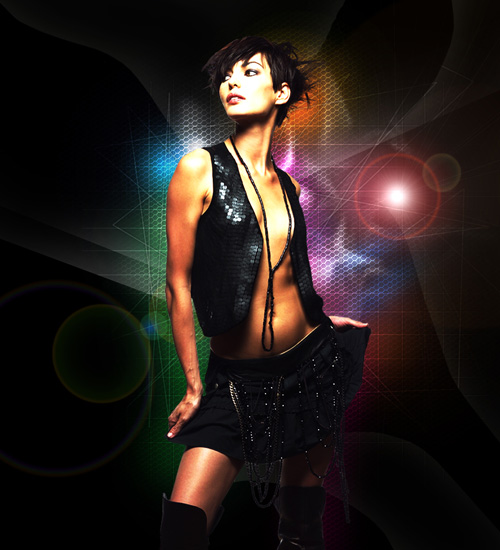
We’ve got the next result:
Choose the Pen Tool (P), set the drawing mode on Shape Layers in Options bar and draw a ray of green color.
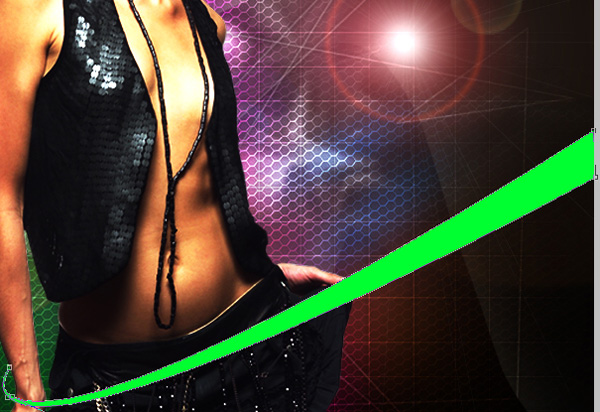
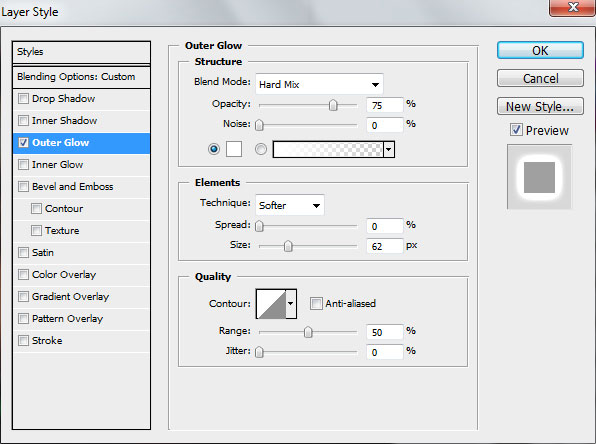
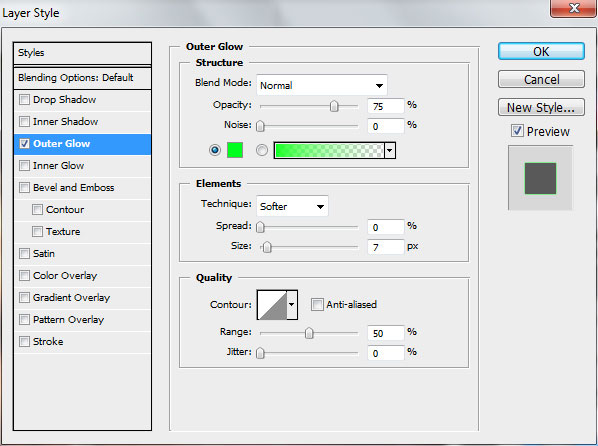
Set Fill to 44% for this layer and click on Add a layer style icon from bottom part of the Layers panel and select Outer Glow.
We’ve got the next result:
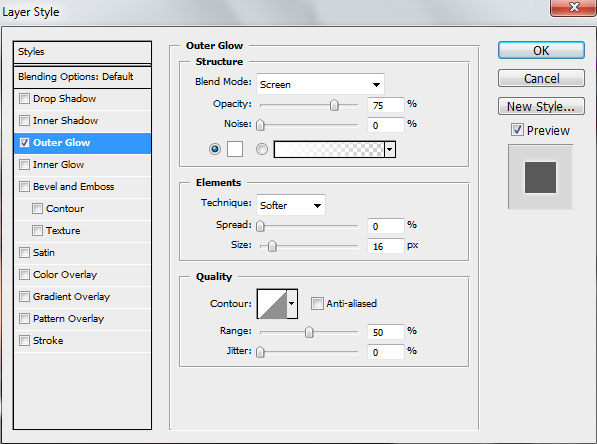
Make a copy of the last represented layer, the layer’s color should be changed on the white one and make the next changes on Outer Glow settings.
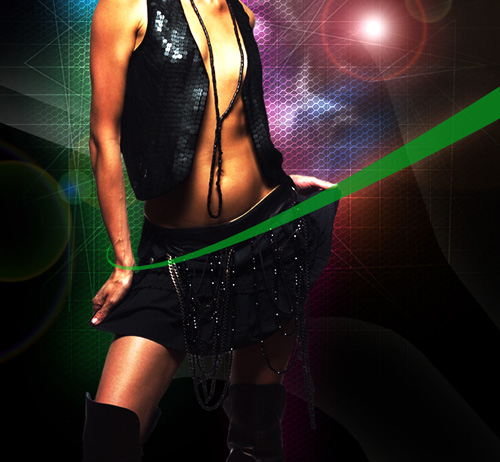
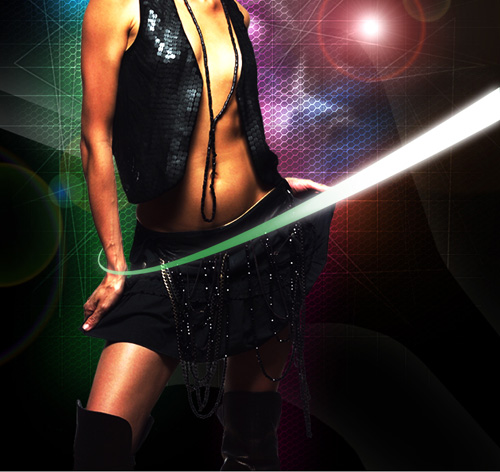
We’ve got the next result:

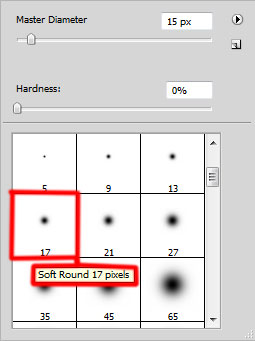
Insert the mask on the layer by choosing Add layer mask on the bottom part of the Layers panel and choose the Soft Round brush of black color (set Opacity to 20% in Options bar).
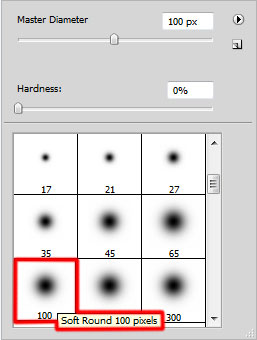
Use this brush to hide the ray in the zone of the girl’s waist.
Create a new layer and select the Soft Round brush of black color to dark out the girl’s boots.

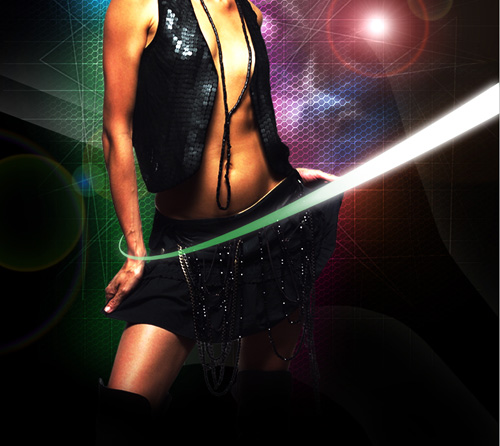
We’ve got the next result:
On the next new layer we’ll apply again the Soft Round brush to paint the next zones on the girl’s waist. The Opacity value is on 20%.
Set the Blending mode for this layer to Color Dodge.
Next we’ll make another new layer and apply here the Soft Round brush to represent the ray’s light.

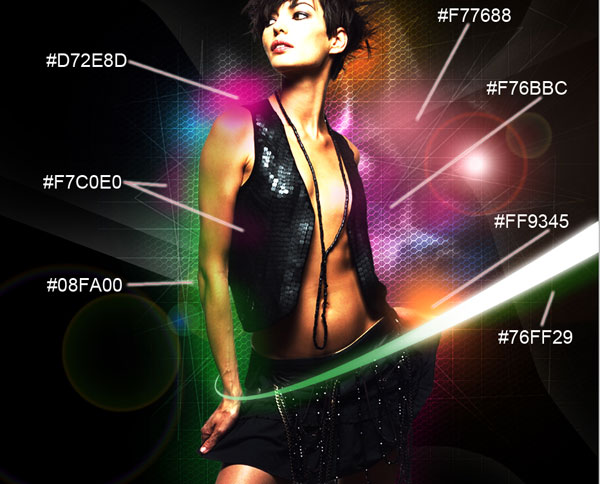
The brush’s color is #02FF02 and Opacity – 10%.
Create a new layer, choosing for it the same Soft Round brush applied before to represent three highlights of white color (Opacity – 10%).
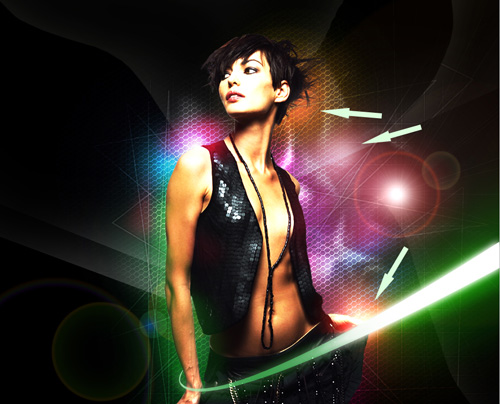
Create a new layer and select the Soft Round brush with Opacity – 10%.

Use green and white colors to draw the sparks around the ray.
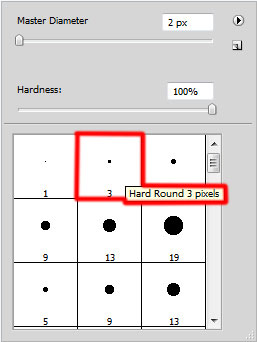
Choose the Pencil Tool (B) on a new layer to represent two green lines.
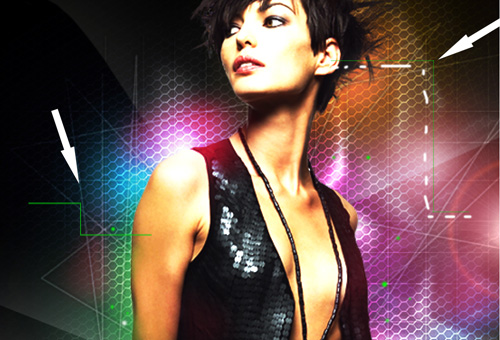
We’ve got the next result:
Insert the mask on the layer by choosing Add layer mask on the bottom part of the Layers panel and choose the Soft Round brush of black color.
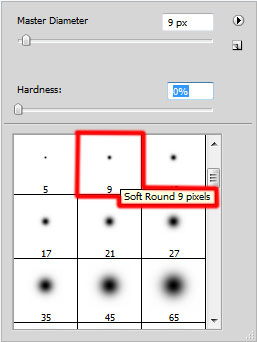
Use this brush to paint in the mask to hide the green lines in a way as to represent dotted lines.
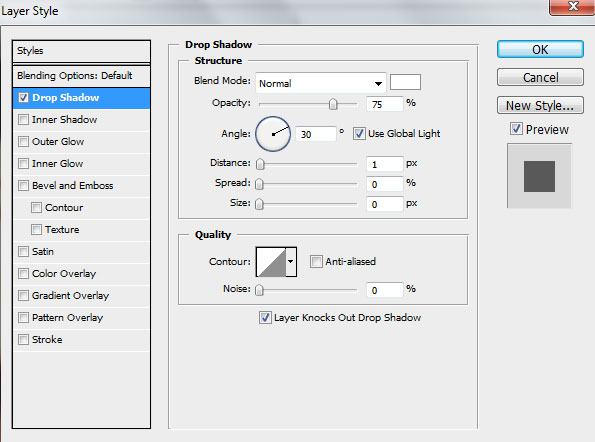
Click on Add a layer style icon from bottom part of the Layers panel and select Drop Shadow.
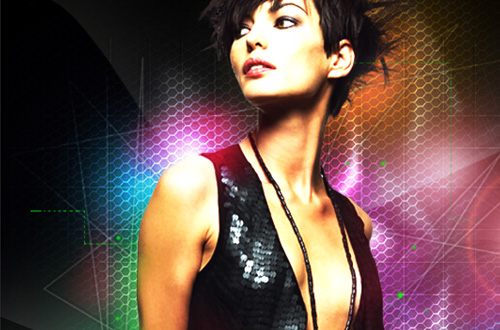
We’ve got the next result:

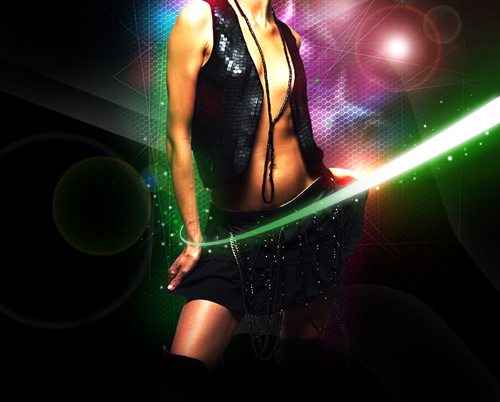
Create a new layer and apply the Soft Round brush of white color to insert by small dot on the ends of the dotted lines.
We’ve got the next result:

Click on Add a layer style icon from bottom part of the Layers panel and select Outer Glow.
We’ve got the next result:

Create a new layer and use here the Rectangular Marquee Tool (M) to represent 4 rectangle selection and then select the Paint Bucket Tool (G) to fill the selection with white color.

Using the Free Transform (Ctrl+T) command, place the layer with the lines the same way demonstrated below:
Set the Blending mode for this layer to Overlay.

Make a copy of the last made layer containing the lines and select the Free Transform (Ctrl+T) command to place the copy as it is shown on the next picture. Set Fill to 22% for this layer.
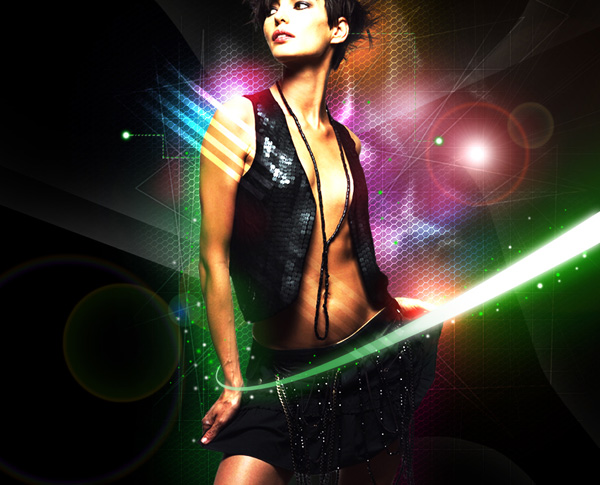
Click Create new fill or adjustment layer from bottom part of the Layers panel and click to Curves to adjust the curve shape as shown to make a little color corrections.

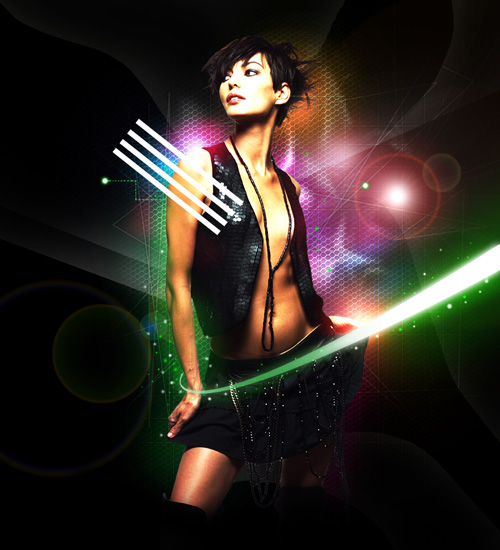
We’ve got the next result:

View full size here.
Download free Layered PSD file.
Page: 1 2
Comments