
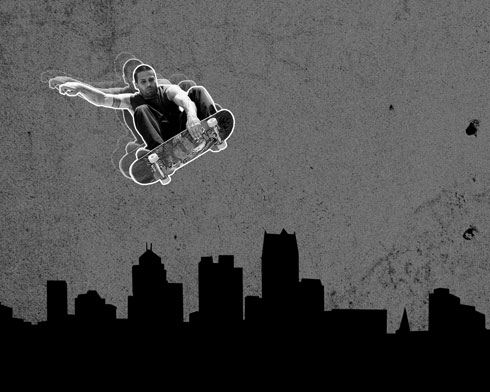
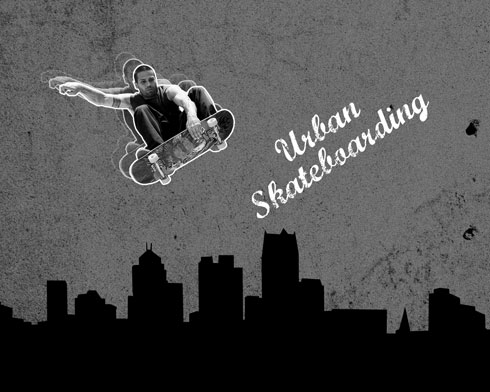
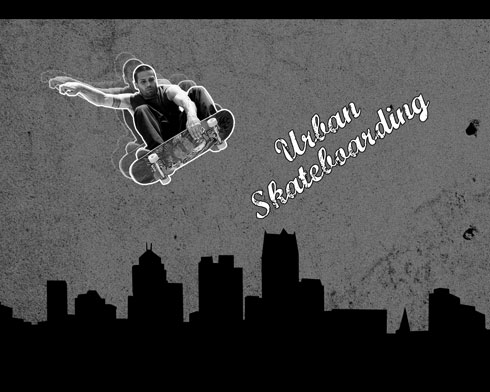
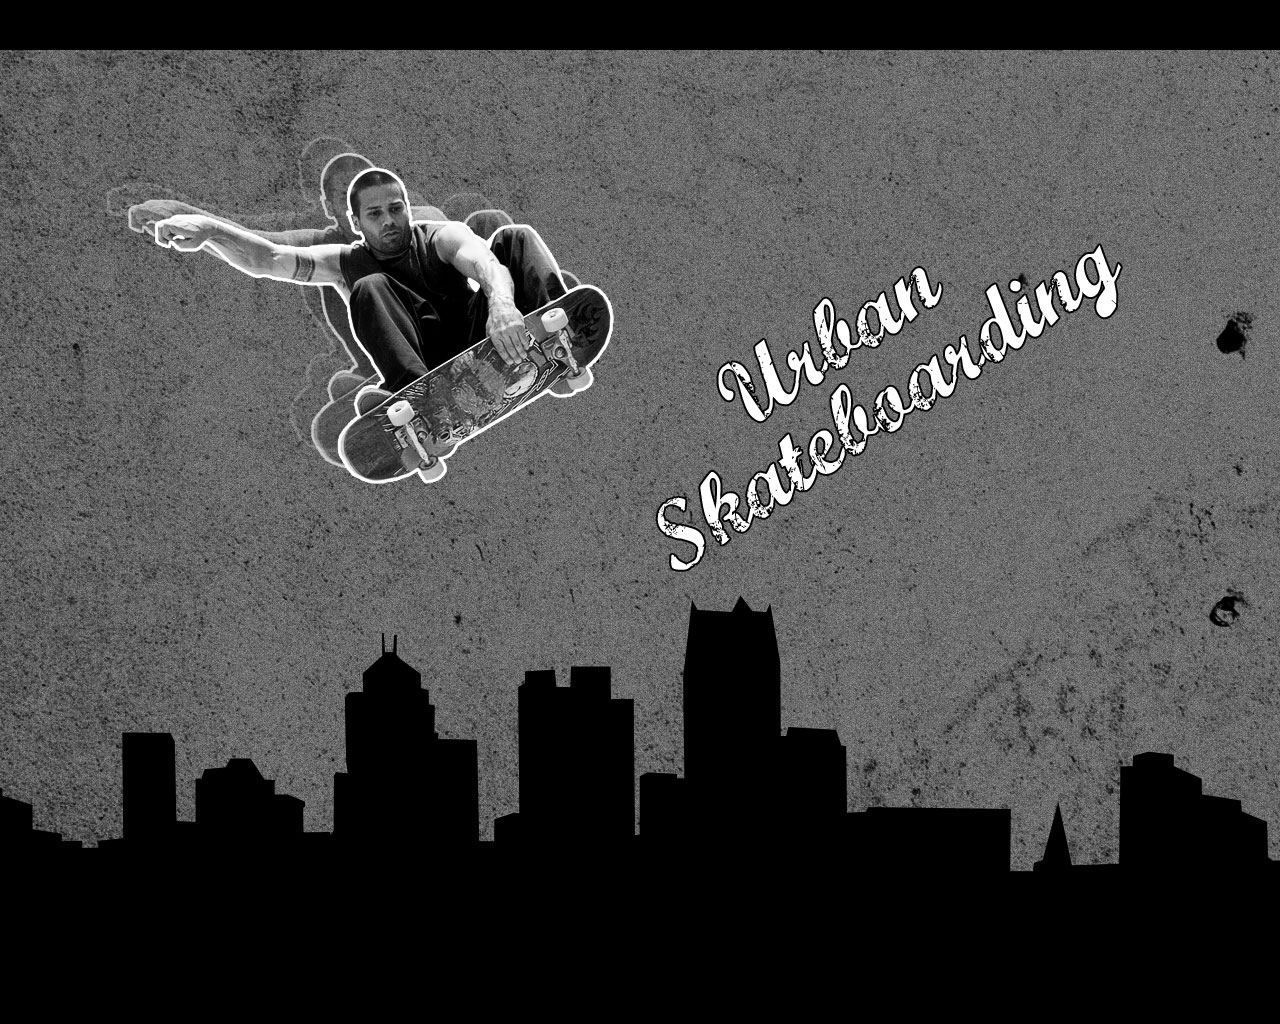
Urban Skateboarding
Use different Opacity’s parameters for the layers placed under the original one:
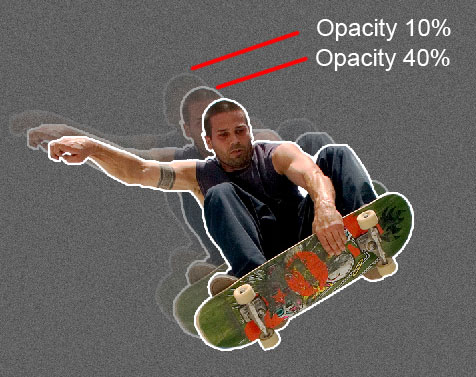
Merge down all those three layers in a single rasterized layer. Press Ctrl button to mark out the necessary layers and then press CTRL+E. The Free Transform option will be applied for the layer we’ve got and don’t forget to make it smaller a little.
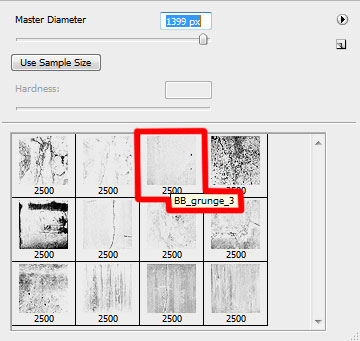
Download a set of ready to use brushes for Adobe Photoshop, named: BB_HighRes_Grunge_Textures.
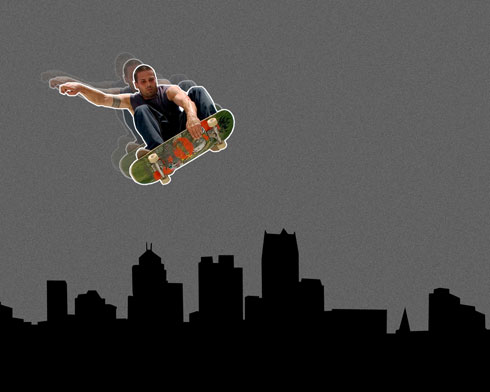
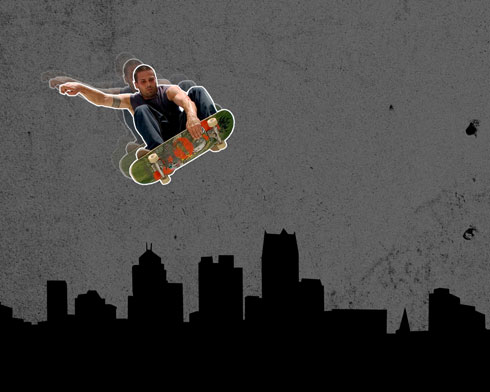
Create a new layer where we have to apply the brush out of the downloaded set. This layer with the brush needs to be placed lower than the layer containing the skateboarder and the layer with the city’s silhouette. The brush in this case has the black color.

Make a mouse click on the bottom part of the layers’ panel on the option from here: Create new fill or adjustment layer>Hue/Saturation 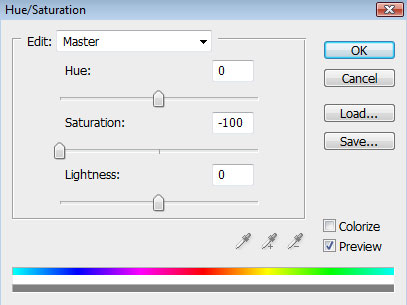

Now let’s make a click on the same bottom part of the layers’ panel, but this time on a different option: Create new fill or adjustment layer>Brightness/Contrast 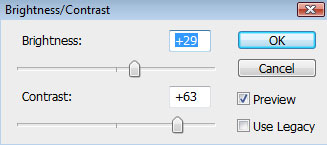
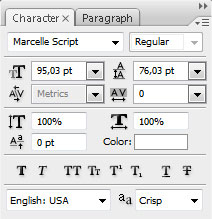
Insert now the text we want to have on the picture (I used Marcelle font), keeping the demands from the next demonstrated table. The text also needs to be inclined a little, applying the Free Transform option.
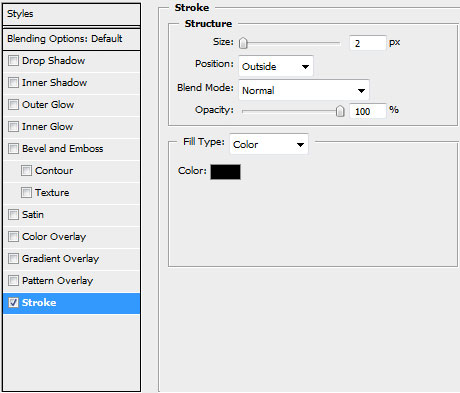
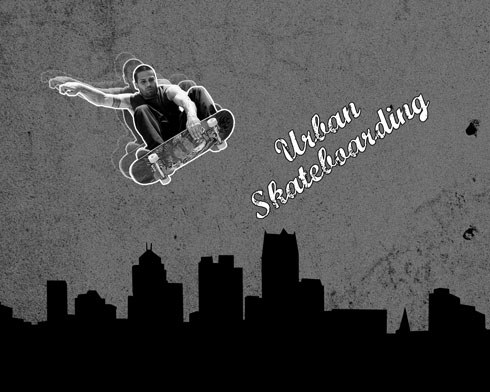
Set the next indicated parameters for the text’s layer: Blending Options>Stroke
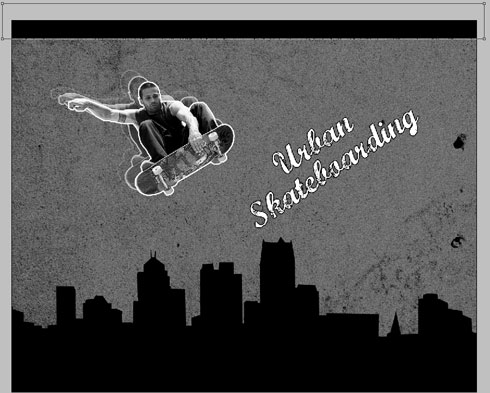
The last step includes inserting a thin black stripe on the top part of the picture, selecting for this operation the Rectangle Tool (U).
That’s it!
View full size here.
Page: 1 2
Comments