
The Orange Sky
Using Smudge Tool, we make some branches smoother.

Let’s make the background softer. We will copy the layer with the background, and we will apply filter Blur – Gaussian Blur to a copy.
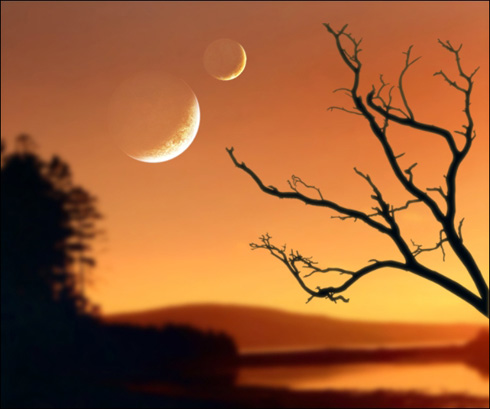
We have to reduce Opacity of the layer up to 50 %. Now distant trees do not look more precisely, than near to us.
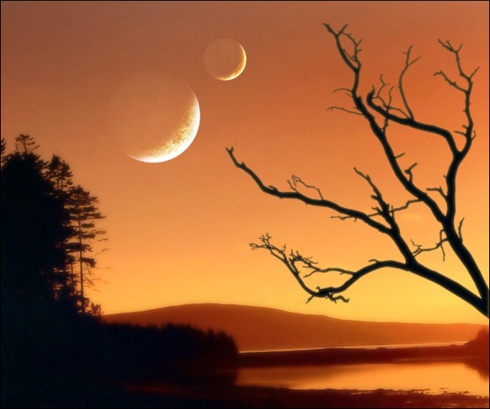

Let’s add on the sky some shining stars. I used a simple brush of white color, changing the size with 1 up to 4 pixels. Do not overdo, all should be accurate and with taste.

Now we make the duplicate of a layer with stars, and we will apply to it filter Gaussian Blur.

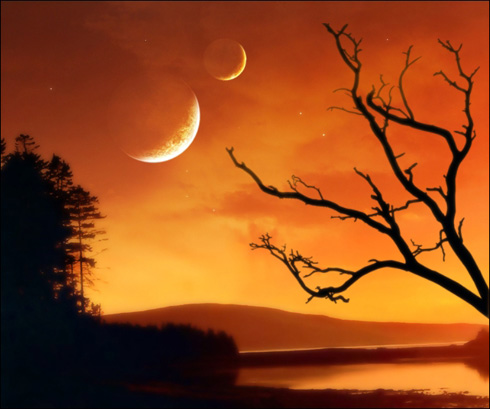
Let’s find a suitable texture of clouds (http://resurgere.deviantart.com), and we’ll copy it on a new layer. It will add beauty to our sky; will make it more perfect and more interesting. We will put such the size, that the texture would lie down exactly a top of a firmament.
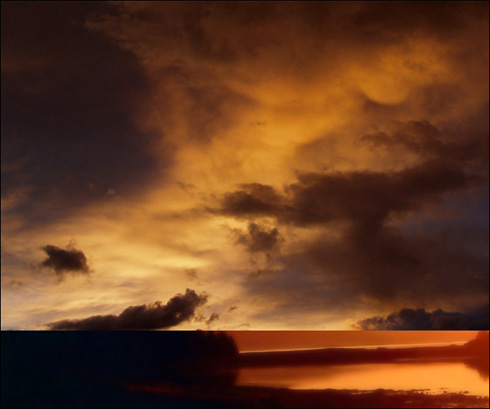
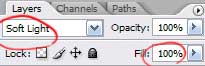
We change Blending Mode of a layer on Soft Light.
By means of Eraser Tool and Smudge Tool we will correct the area at mountains where the texture terminates.
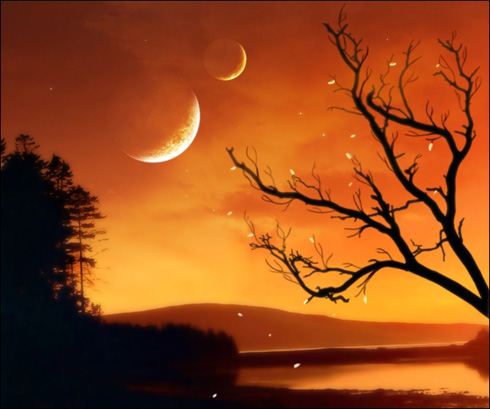
Let’s make little bit more fine boughs on the tree. We draw them by means of an ordinary brush, the size of 2-3 pixels.

We change color on brightly yellow (almost white) and we will draw petals. Some petals in flight to the ground, others are on a tree.
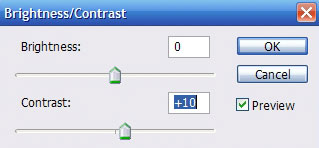
For the further work we have to save the collage in a format jpg, and to open it by Photoshop. In menu Image – Adjustments – Brightness/Contrasts we will put adjustments, as on picture
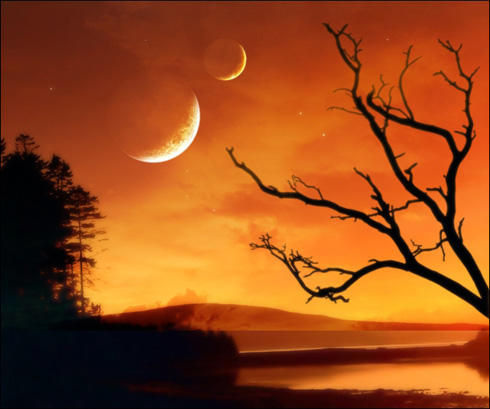
We put last touches. By Dodge Tool (Midtones, 100 %) we will clarify the area of planets on which rays of light fall.

By means of Burn Tool (Midtones, 50%) we will black out the top part of a firmament.

We choose Dodge tool (the same adjustments), and clarify horizon.
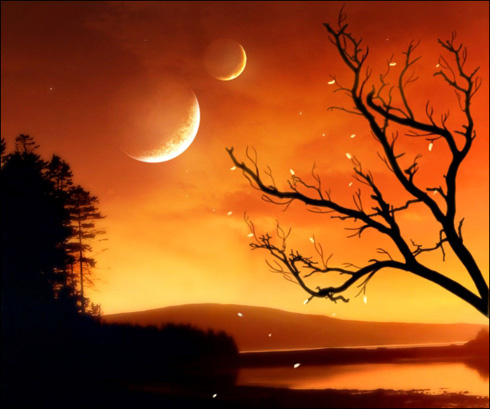
Well, that’s all. The collage is ready. Don’t afraid to experiment. I hope, you have learned something useful to yourselves.
View full size here.
Page: 1 2
Comments