
The amazing spiderman
Make a copy of the last made layer and choose for the copy different parameters, the ones you may see below:
Fill 0%, Blending Options>Bevel and Emboss 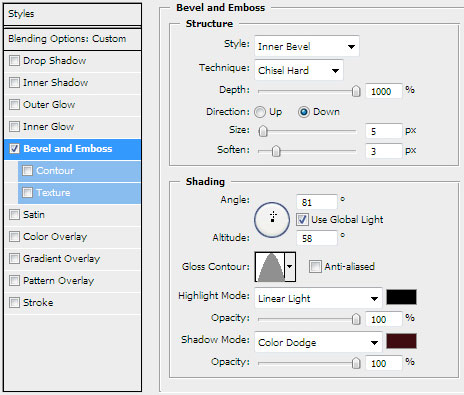
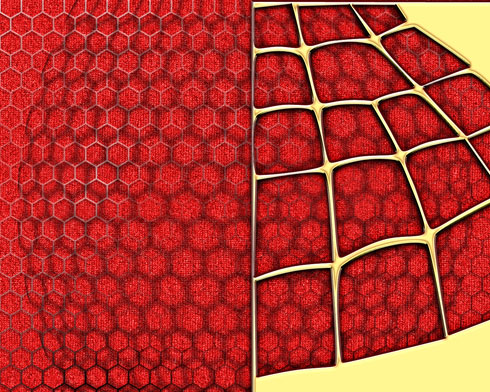
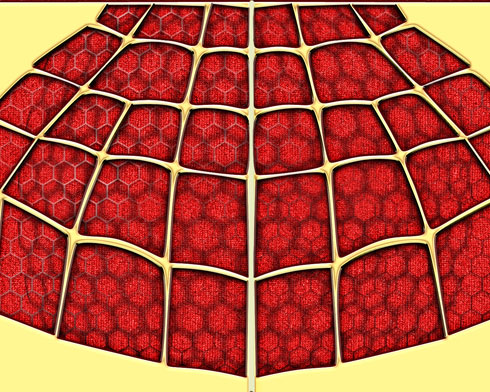
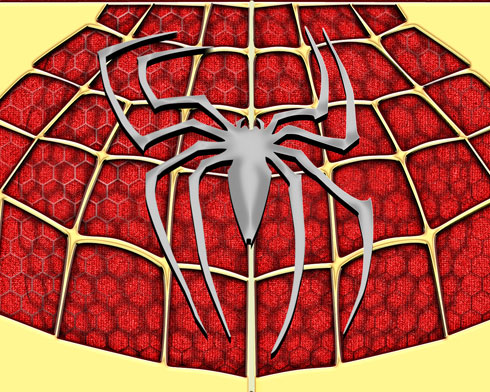
Next we have to combine in a group all the layers composing the both web layers (press Ctrl button to mark out the corresponding layers and then hold on the left mouse’s button when moving the marked layers on Create a new group selection). Make a copy of the last represented group; choose Free Transform option to turn around the copy, placing it the same way from below:
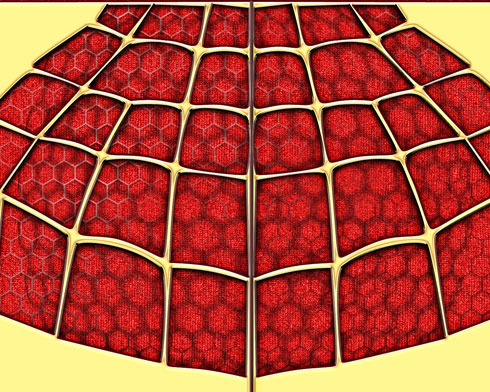
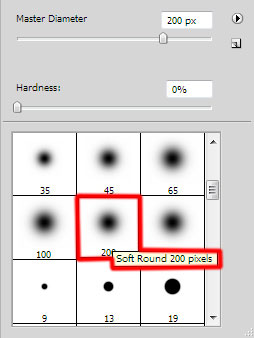
On the next new layer (Create new layer) we’ll select the standard brush and paint out the dividing zone between the web’s halves. The color is # E9ECC 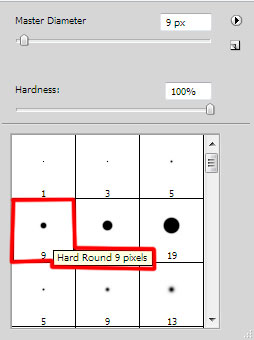

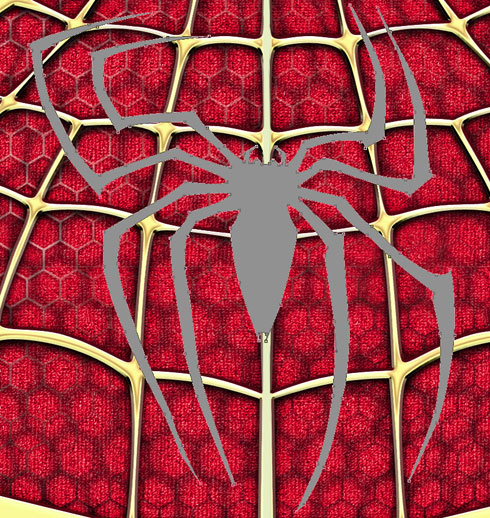
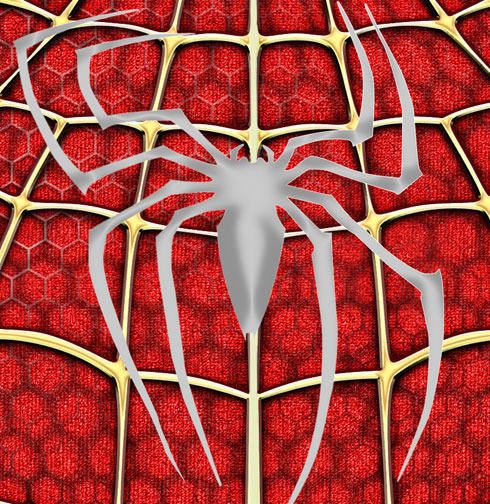
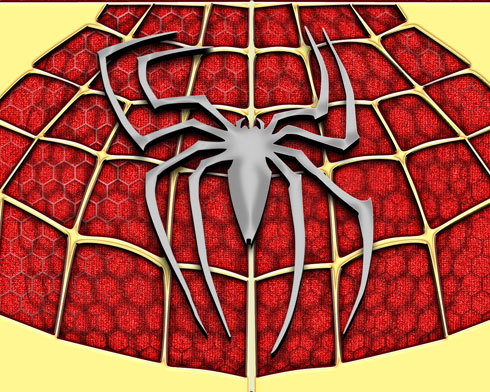
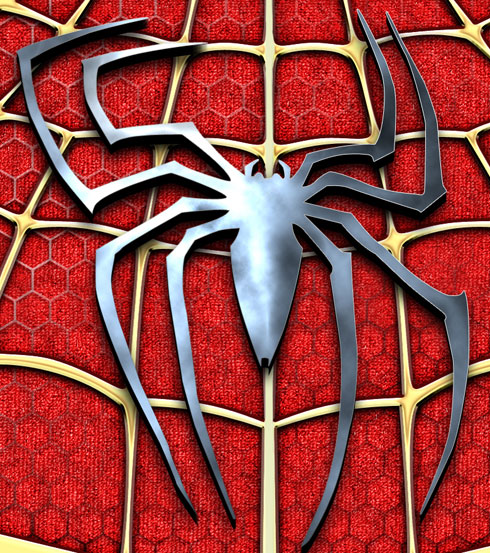
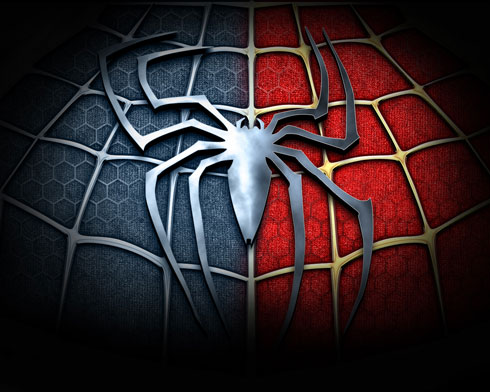
Next we’ll represent the spider, using the Pen Tool (P) and the Convert Point Tool and the color #929292 for the layer.
The layer’s parameters: Blending Options>Satin 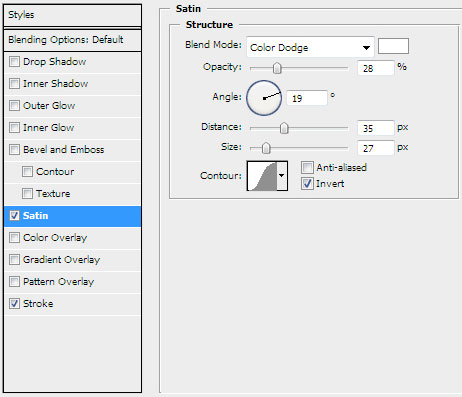
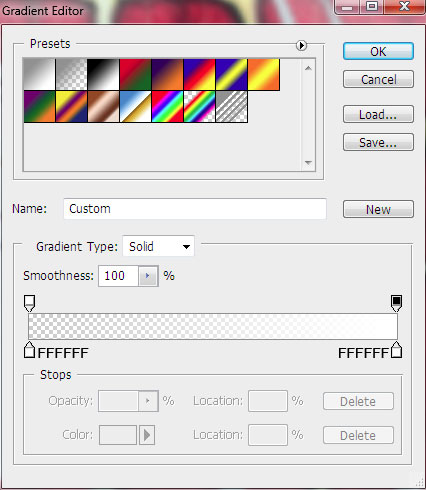
Blending Options>Stroke
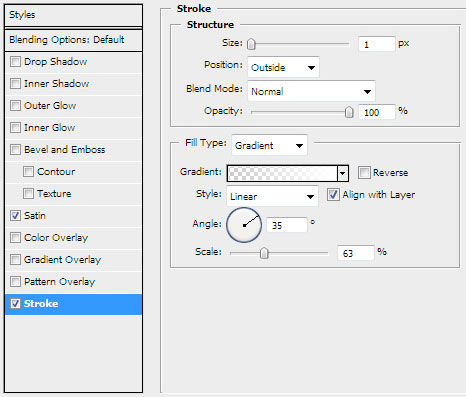
Gradient’s parameters:
Next we’ll rasterize the spider’s layer. In this case we’ll represent a new layer (Create new layer) above the spider’s layer and press Ctrl button to mark out both layers and then press CTRL+E. Using the Paint Bucket Tool (G), fill the rasterized layer with black color. Applying the Free Transform option, it’s possible to displace a little the layer down. This last made layer needs to be placed lower than the previous one on the layers’ palette.
The layer’s parameters: Blending Options>Drop Shadow 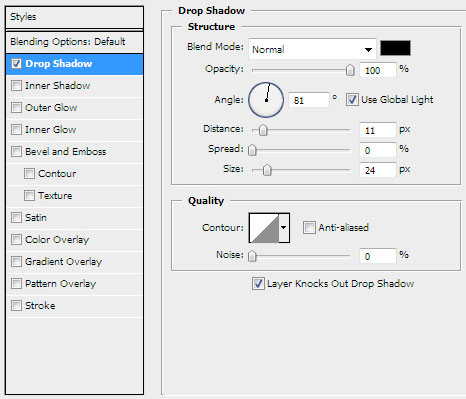
Create a new layer that must be painted in #75899F color. Choose for this layer the selection Filter>Render>Clouds 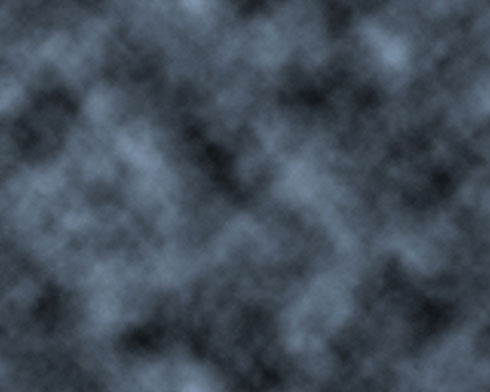
Using the Dodge Tool (O), try to make lighter the zone containing the clouds’ texture.
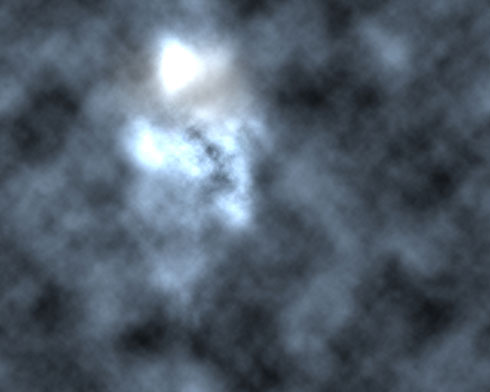
Press Alt button while clicking between the layers containing the clouds’ texture and the spider’s layers on the layers’ palette.
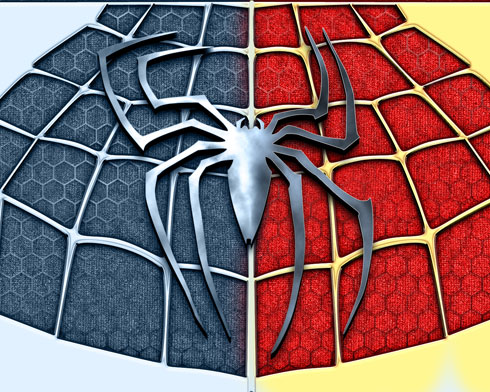
The next new layer we’ll process with the Paint Bucket tool (G) and the color #a9c3d 
Choose the parameters from below for the last made layer: Blending mode-Color 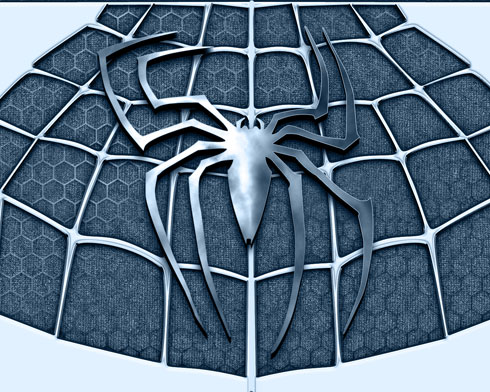
Make a click on the bottom part of the layers’ panel on the same layer on Add a Mask selection and select for it a standard brush (Brush Tool (B)) of black color to clean out the right half of the picture:

Next we’ll represent one more new layer (Create new layer) where must be chosen the earlier mentioned standard brush of black color to dark out the picture’s edges:
Finished!
View full size here.
Page: 1 2
Comments