
Thailand Beach Wallpaper
Choose here the Hue/Saturation option and set the next indicated parameters:
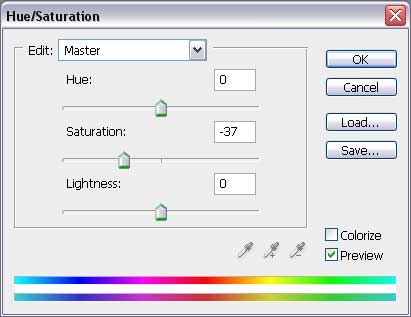
This way we’ll minimize the color’s intensity:
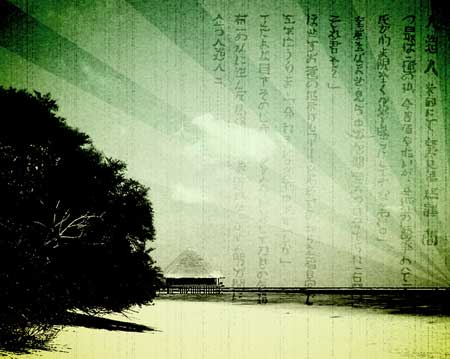
Choose the same option we did earlier:
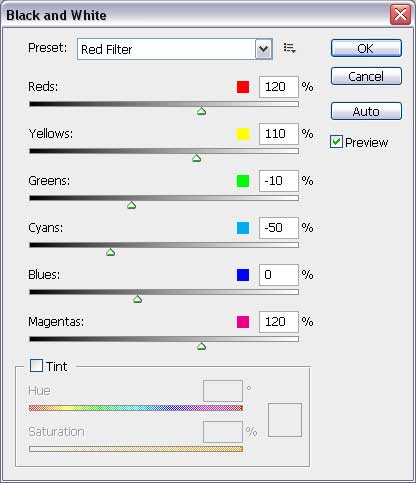
 Select the Black &White option and the next parameters:

Make a mouse’s click on the layer’s mask on this layer also:

Choose after that the Lasso Tool (L) to draw a tear contour continuously.
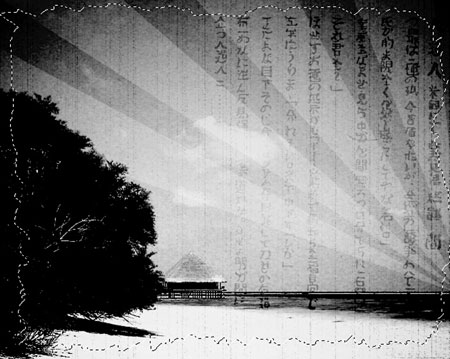
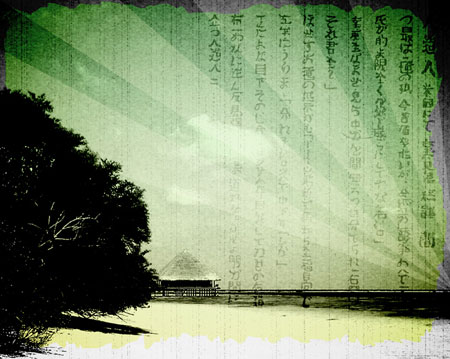
Select the Inverse option for the marked zone:
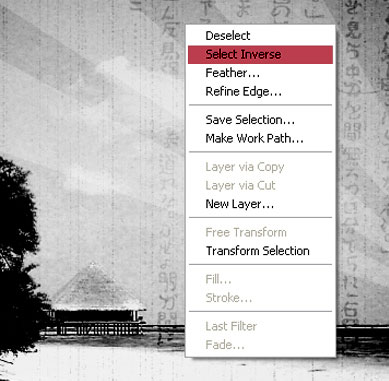
… and press the next buttons’ combination Ctrl+Backspace for the picture to get colored, except its edges:
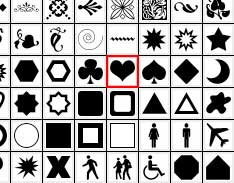
Select now the Custom Shape Tool (U) – Heart Card.
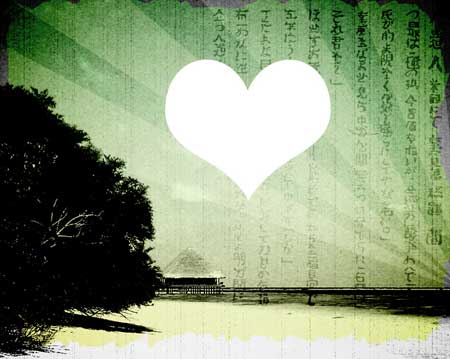
Place the shape the way it is indicated on the next picture.
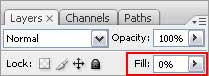
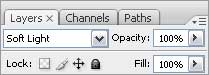
Fill 0% on the layers:
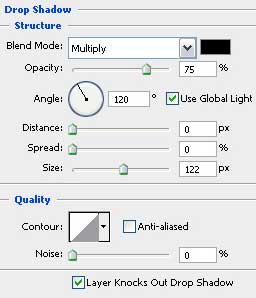
 Select the Blending Options – Drop Shadow:
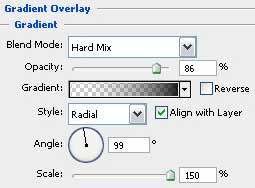
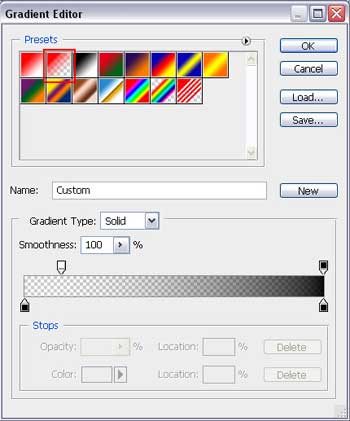
Blending Options>Gradient Overlay
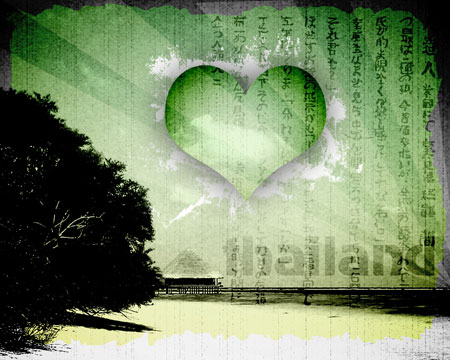
The next picture shows the result on this stage:
Create a new layer now and place it under the heart’s layer and then we’ll try to find in Internet a set of ready to use brushes Thin Ink.
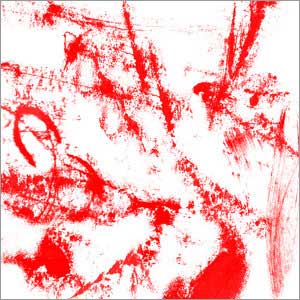
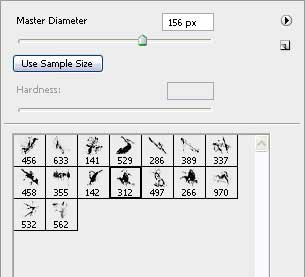
Insert on our picture several patches of white color. After that we’ll apply the Eraser Tool (E) to move off the unnecessary elements, covering the heart especially.

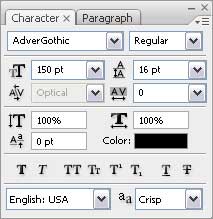
The last thing we have to do now is to fill the picture with Thailand inscription. The text’s parameters are demonstrated next table:
Apply the next shown parameters for this layer:
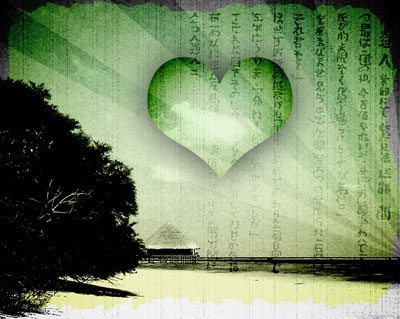
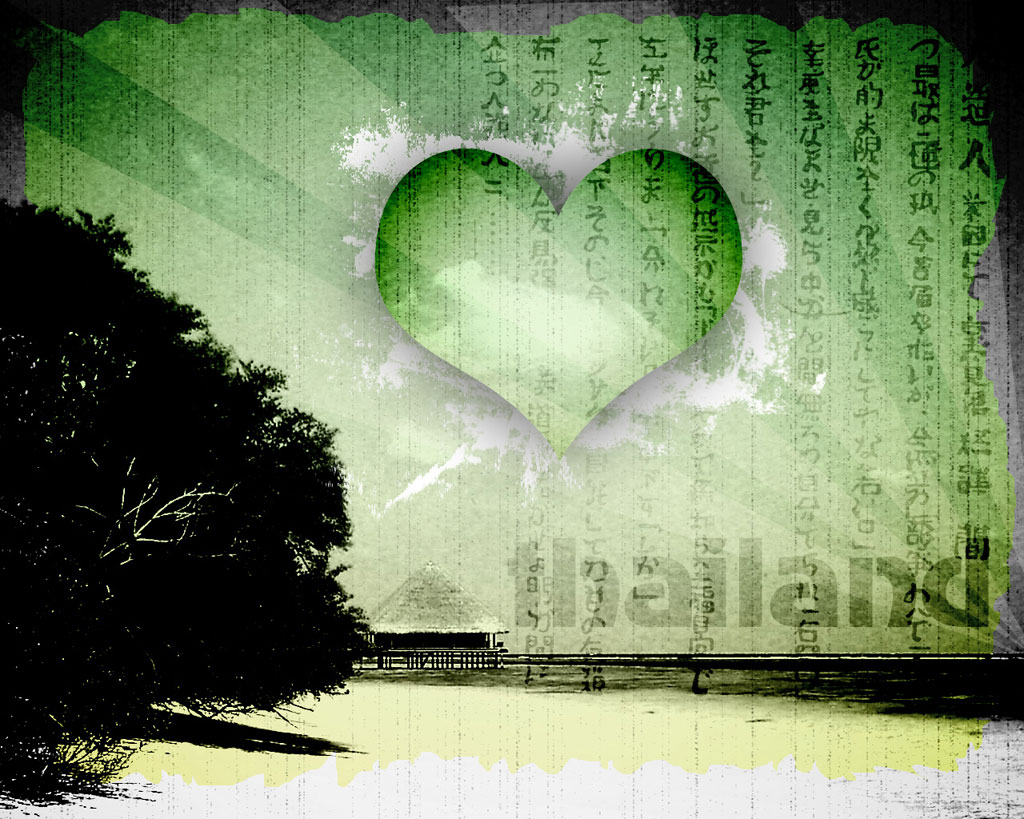
It’s the picture we have got:
Finished!
View full size here.
Page: 1 2
Comments