
Texas Rangers desktop wallpaper
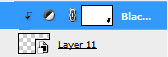
Press Alt button and click between the layers containing the Black & White effect and the revolver’s layer (on the layers’ panel).

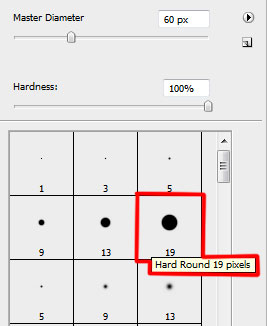
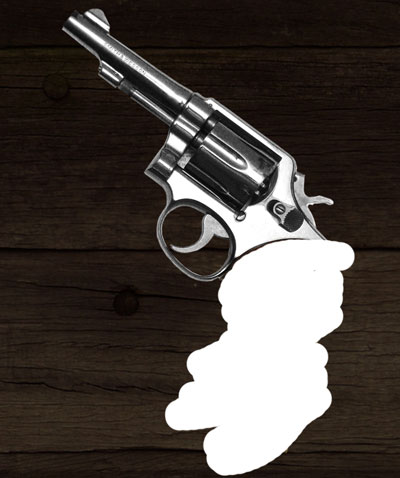
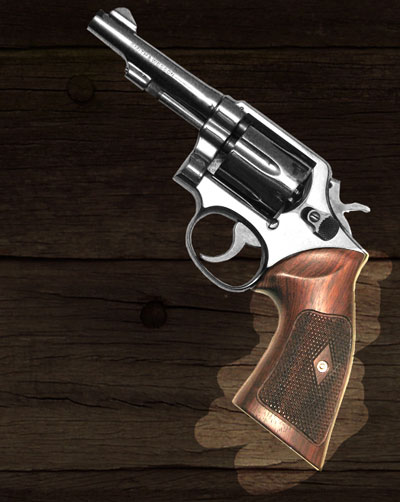
Create a new layer and apply a standard brush of white color to paint the indicated zone below of the revolver’s handle:
The layer’s styles:
Blending mode-Overlay
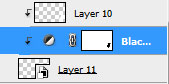
Press Alt button and click between the layers on the layers’ panel:

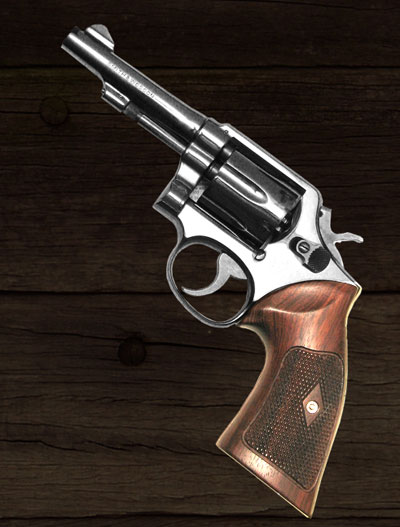
Put together the revolver’s layer into a rasterized layer (press Ctrl button and mark out the layers, pressing finally CTRL+E).
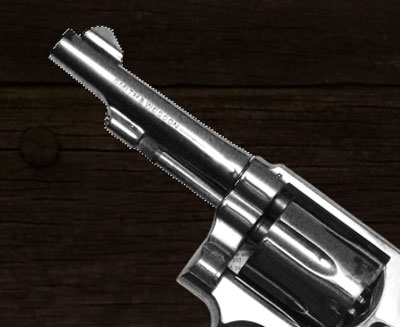
Move off the revolver’s muzzle, choosing the Lasso Tool (L) for this operation and make a copy of the new layer by clicking on Layer via Copy. Place the layer with the revolver lower than the shield’s layers (on the layers’ panel).
Using Free Transform option, place the muzzle’s layers and the revolver’s one the same way indicated below:

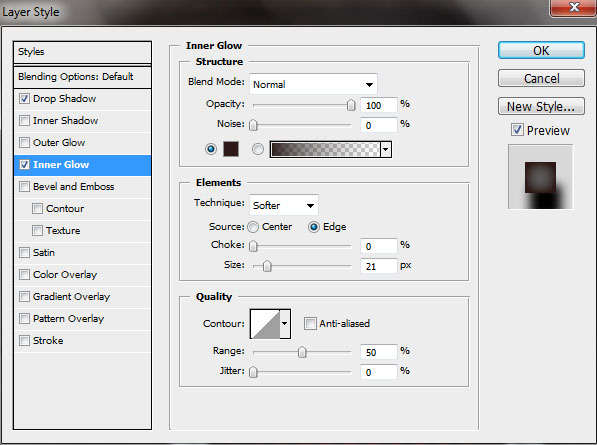
Select the next demonstrated styles for the layer containing the muzzle and the revolver:
Blending Options>Drop Shadow

Blending Options>Inner Glow

Make a copy of the layer containing the revolver and the muzzle and select after that the Free Transform option to turn over the copy, situating it the same way from below:

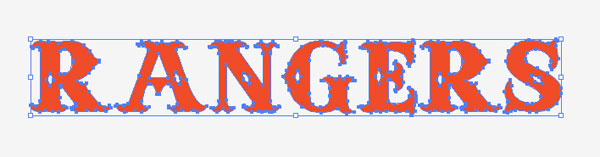
On the next stage we need the Adobe Illustrator. Using the Anderson Four Feather Falls font type next the word RANGERS in Adobe Illustrator.


Make a copy of the text and place the copy lower. Mark out the text’s copy with the Selection Tool (V) and finally press CTRL+SHIFT+O.
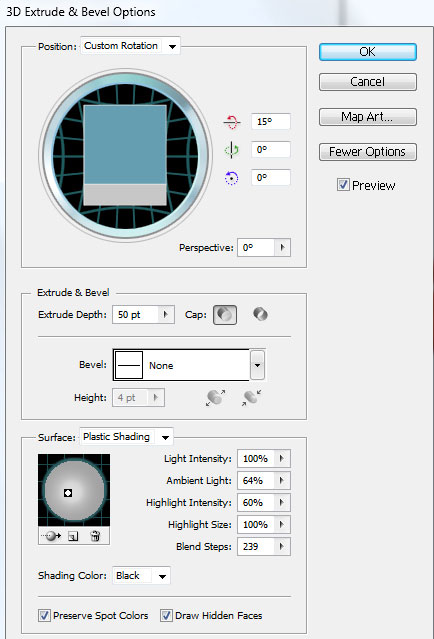
Select also the next solution for the last made layer: Effect>3D>Extrude&Bevel

Press CTRL+C (in the Adobe Illustrator) and get back to the Adobe Photoshop program to press CTRL+V.

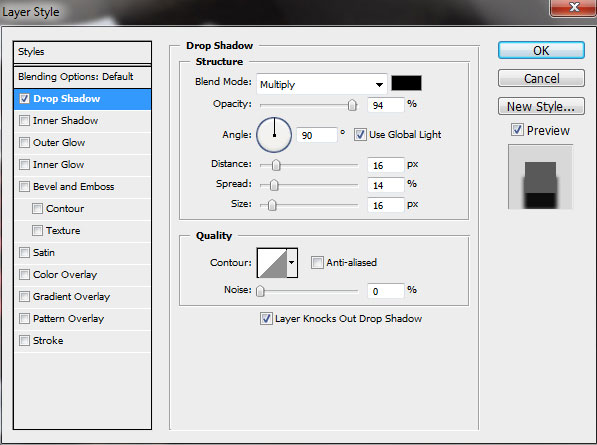
Select the next demonstrated styles for the made layer:
Blending Options>Drop Shadow

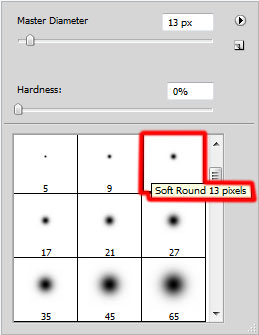
Create a new layer and apply a standard brush to paint the shadows under the letters. The unnecessary parts must be cleaned out with the Eraser Tool (E), choosing the color for the brush – #380403

Press Alt button and click between the shadows’ layers and the text’s layer on the layers’ panel:

Comments