
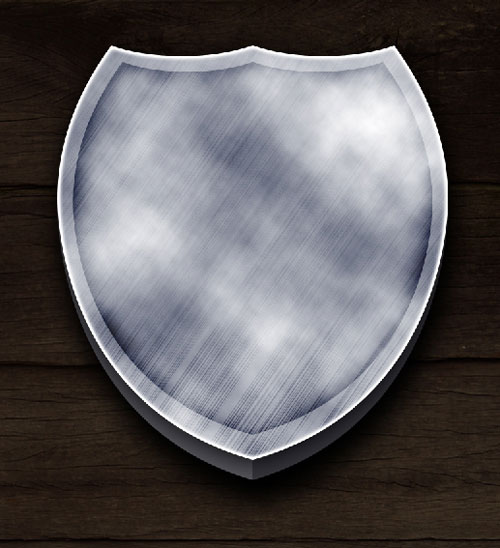
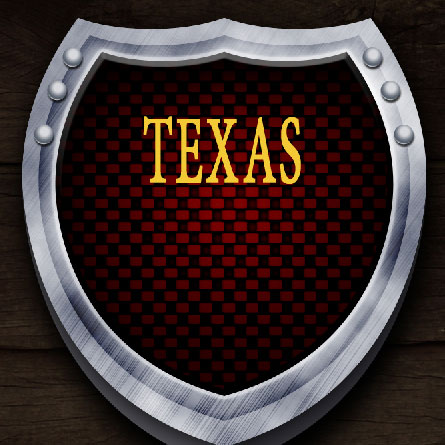
Texas Rangers desktop wallpaper
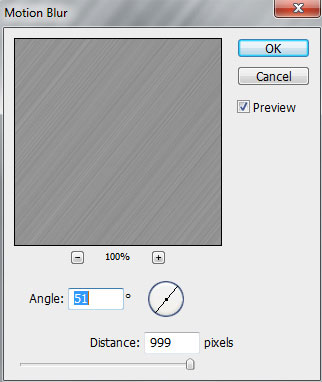
Set the next demonstrated parameters on the same layer: Filter>Blur>Motion blur

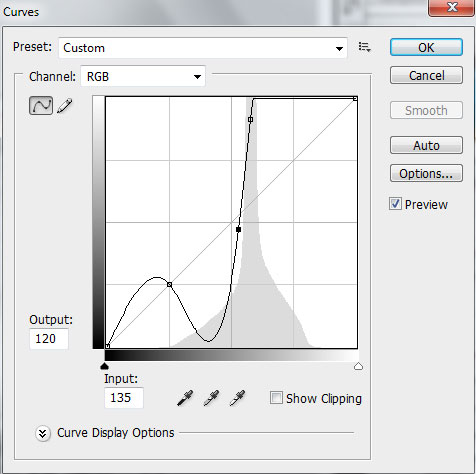
Press on the next combination of buttons: CTRL+M
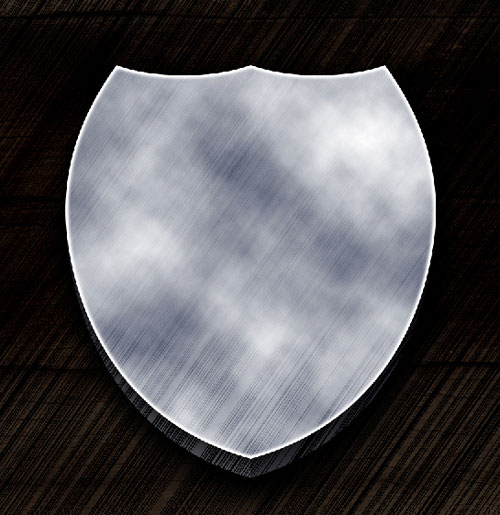
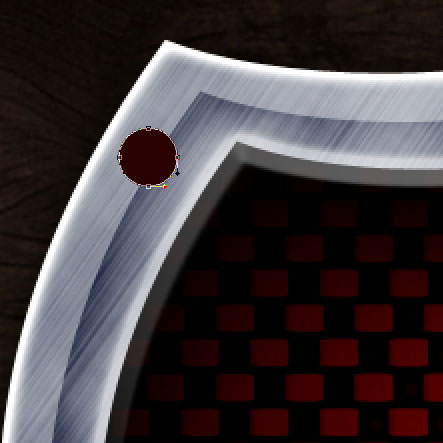
Using the Free Transform option, lift up the layer on the shield’s level:

Set the next demonstrated parameters for the made layer:
Fill 50%
Blending mode-Color Burn
Press Alt button and click between the layers on the layers’ panel:
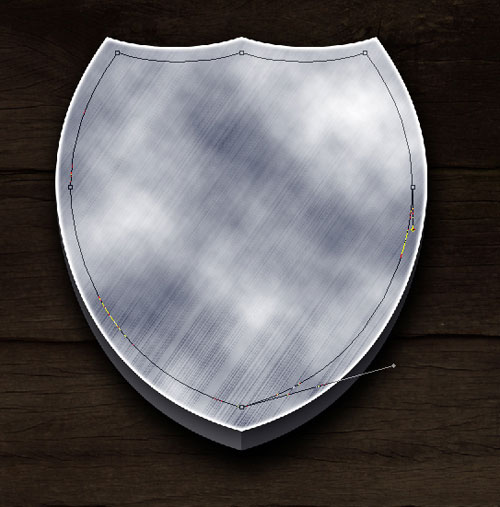
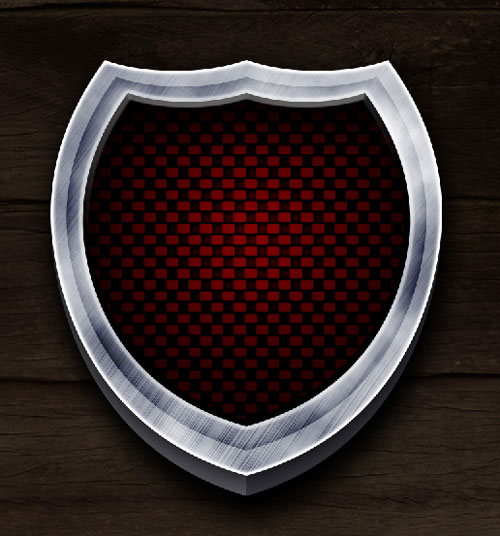
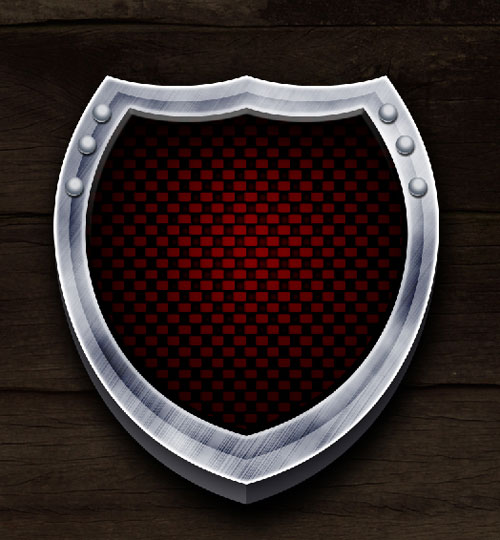
Using the earlier applied instrument, Custom Shape Tool (U), try to represent the next shield’s layer:
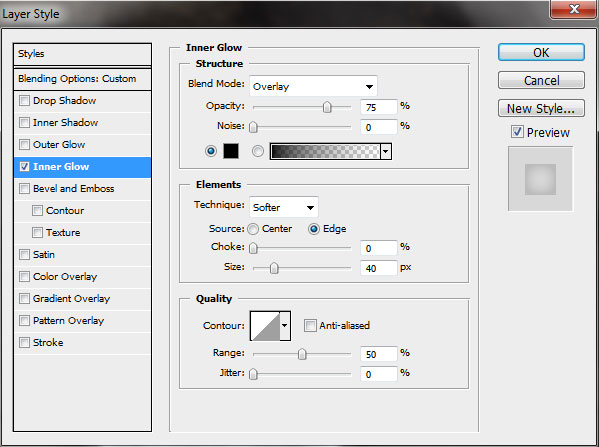
The layer’s parameters:
Fill 0%
Blending mode-Pin Light
Blending Options>Inner Glow
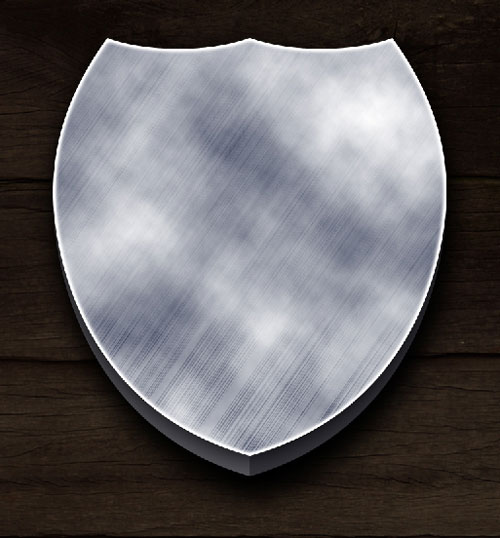
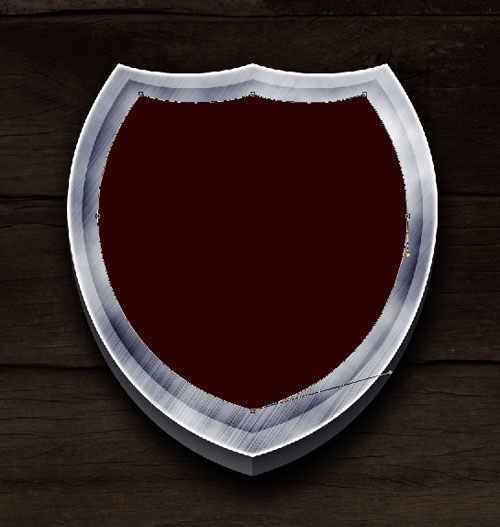
Make a copy of the last made layer and choose Free Transform option to make the copy smaller, changing the layer’s parameters, giving it the color #2A0200
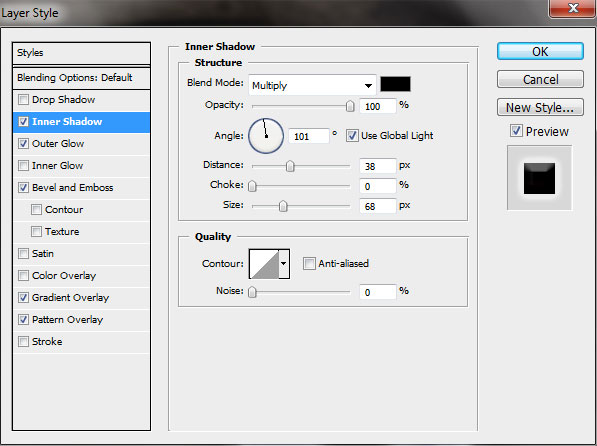
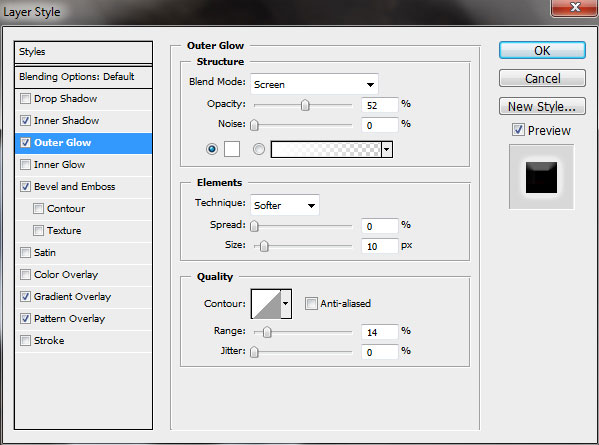
The layer’s styles:
Blending Options>Inner Shadow
Blending Options>Outer Glow
Blending Options>Bevel and Emboss
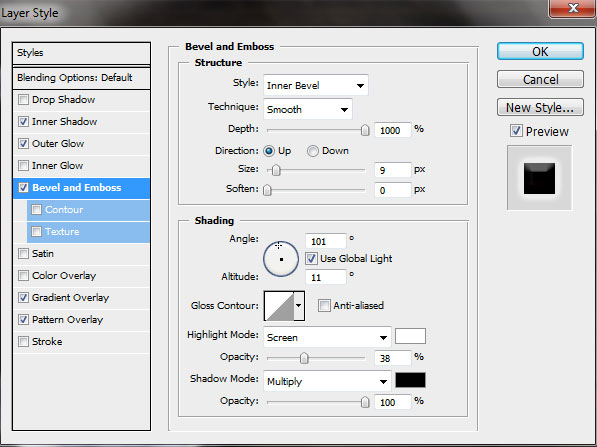
Blending Options>Gradient Overlay
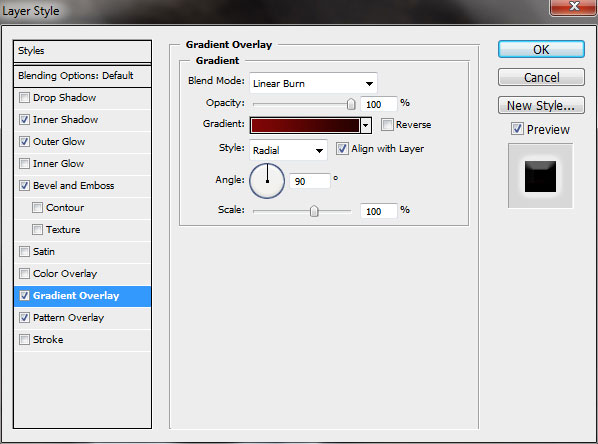
Gradient’s parameters:

Blending Options>Pattern Overlay

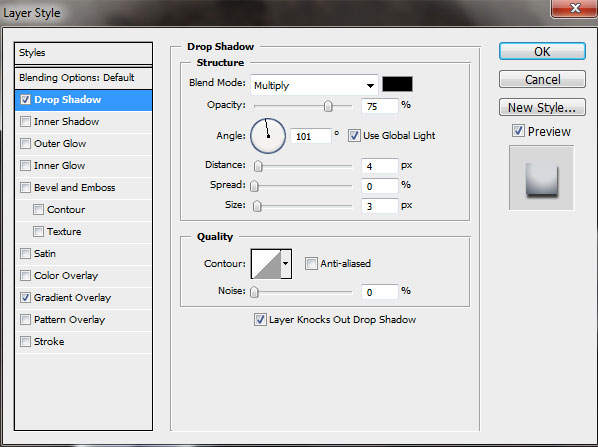
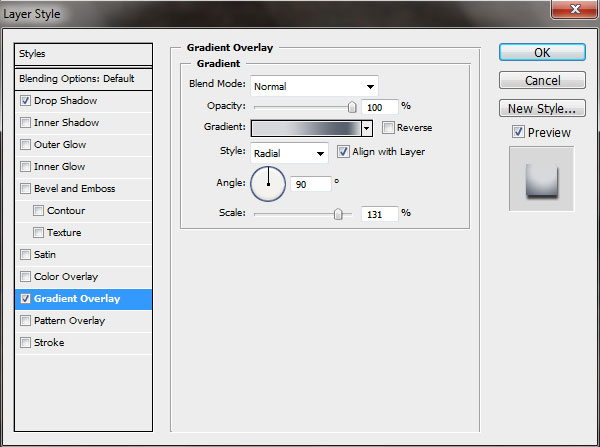
Using the Ellipse Tool (U), try to represent a metallic rivet for our shield.
The layer’s styles:
Blending Options>Drop Shadow
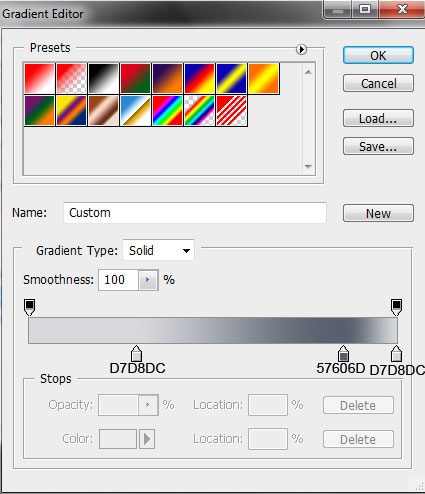
Blending Options>Gradient Overlay
Gradient’s parameters:
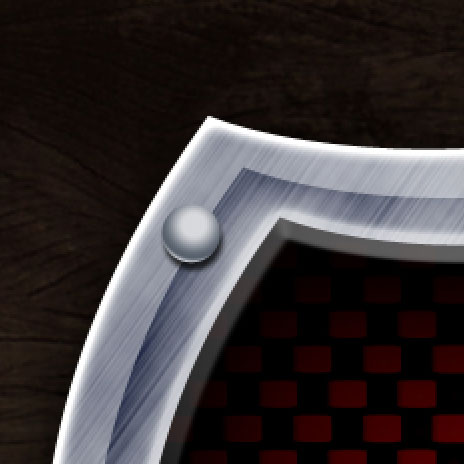
Make five copies of the earlier made layer and choose the Free Transform option to place the copies the same way as it is represented on the picture.
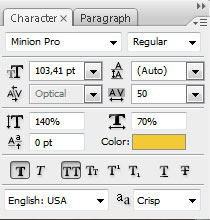
Insert the text inside the shield.
Comments