
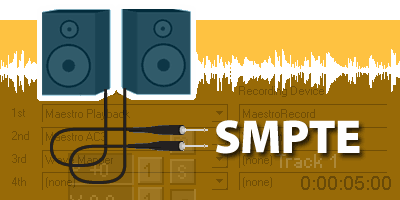
Synchronize multitrack sessions with SMPTE devices
Synchronize multitrack sessions with SMPTE devices
If you use SMPTE devices such as hardware sequencers and tape machines, you can synchronize them with multitrack sessions in Adobe® Audition™. Audition sends and receives SMPTE timecode via MIDI timecode (MTC). To convert SMPTE to MTC, you need a MIDI interface with a SMPTE input.
Multitrack sessions can be either SMPTE masters or SMPTE slaves. In this tutorial, you’ll configure a session as a SMPTE slave that responds to timecode generated by an external hardware device.
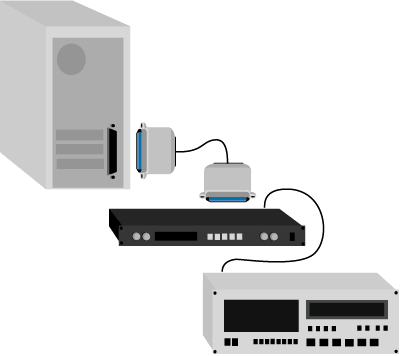
1. Connect your MIDI interface to the computer.
Connect your MIDI interface to the computer. Most MIDI interfaces connect via a USB or serial port.
To avoid system conflicts, always use the latest drivers for hardware devices like MIDI interfaces. To download and install the latest drivers, see the hardware manufacturer’s website.
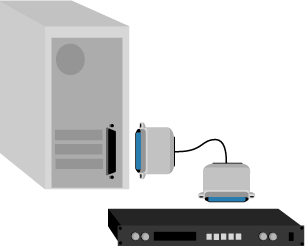

2. Connect your SMPTE devices to the MIDI interface.
Connect your SMPTE devices to the SMPTE input of the MIDI interface. The interface will pass timecode from the SMPTE master device to the computer.
3. Select the MIDI input device.
In Adobe Audition’s Multitrack View, choose Options > Device Properties, and click the MIDI In tab. From the SMPTE Slave Device menu, select your MIDI interface, and then click OK.
To also synchronize a MIDI sequencing application, select the same MIDI input device in that application.
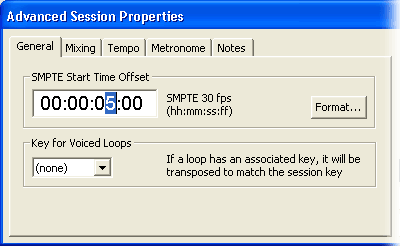
4. Specify an offset time to ensure tight synchronization.
Select Options > SMPTE Start Offset, and make sure that your offset time is at least 5 seconds after the timecode’s start time. For example, if the timecode starts at 0:00:00:00, set the offset to 0:00:05:00 or higher. This lead time lets Adobe Audition fully synchronize with timecode before playback begins.
If you want to track Adobe Audition’s level of synchronization, select View > Status Bar > SMPTE Slave Stability. As a session plays, the status bar displays the synchronization percentage. Percentages above 80% are sufficient.
5. Enable SMPTE slaving and play the synchronized session.
Select Options > SMPTE Slave Enable. Most transport controls become disabled because Adobe Audition is waiting for a SMPTE signal to synchronize with. Start SMPTE timecode from the SMPTE master device. When the offset time is reached, Adobe Audition begins playing in sync with all connected SMPTE devices.
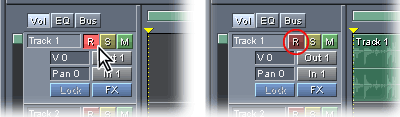
You can also record specific tracks in sync with SMPTE. First, click the Arm Track button in the track controls for each track, and then start timecode from the SMPTE master device. When you finish recording, again click the Arm Track buttons to protect the new tracks from future recording.
Comments