
Sun Day Design
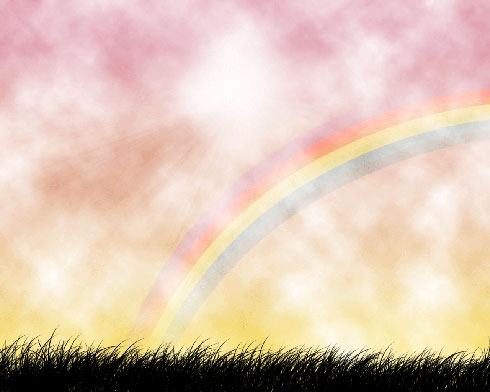
You must get the next result on this stage:
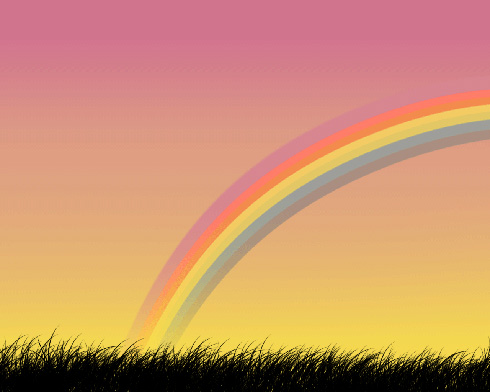
Using the brush of yellow color, try to add on the picture more mist between the layer with the grass and the one with the rainbow:
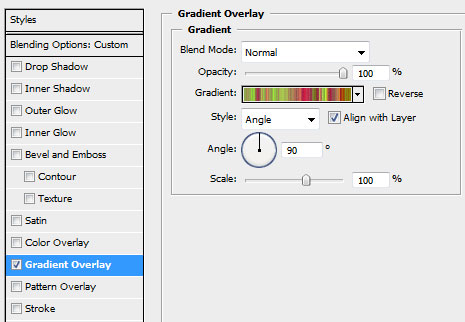
Applying the Rectangle Tool (U), make a new rectangle, applying the next Blending Options:

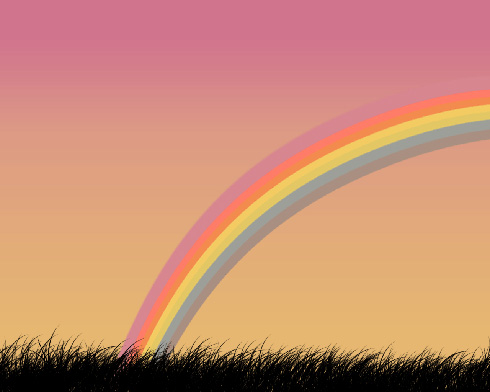
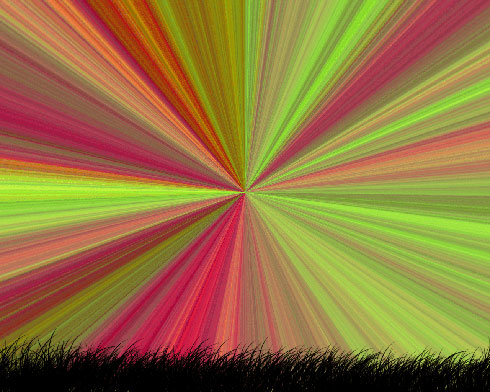
It’s the result we must get, but the color of the lines is not so important:
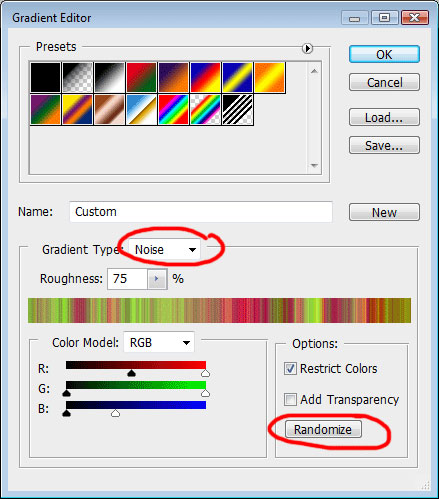
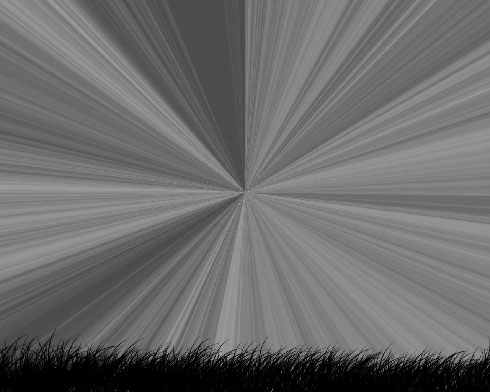
Provide the same rasterizing operation that we did with the rainbow’s layer. Press Ctrl+Shift+U, making it this way a monochromatic one.
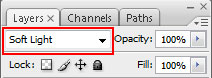
Set the same Blending Mode shown below:
Applying the Eraser Tool (E), try to move off those parts of the layer demonstrated next picture:
Make a spot of white color, choosing the brush for this operation:

Select the Paint Bucket Tool (G) to fill the new layer with white color and then insert on the layers’ panel the mask containing the cloud effect (Filter>Render>Clouds)

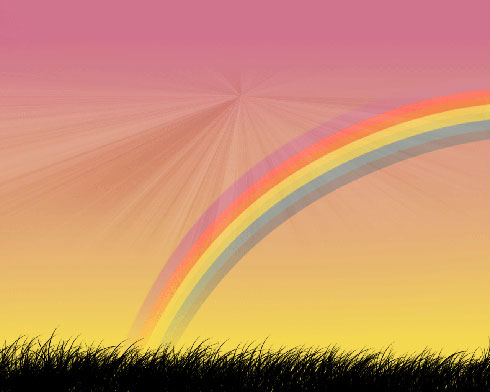
You must get the same result from below:
Using the Eraser Tool (E), try to move off the unnecessary parts to give the clouds a corresponding shape.

Next insert a vector character out of the own library.

… and several butterflies with the Custom Shape Tool (U) 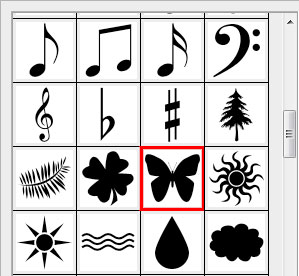
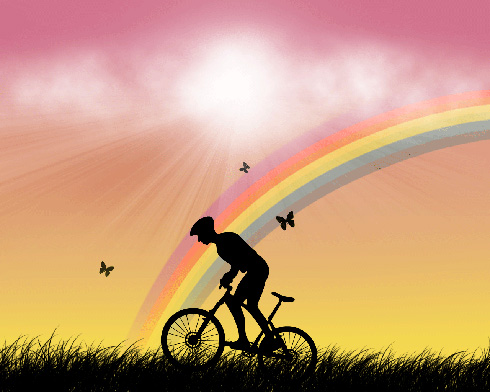
The picture is finished!
View full size here.
Page: 1 2
Comments