
Summer Night Wallpaper
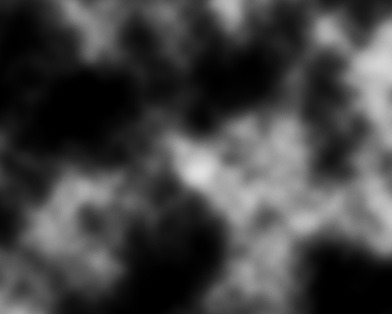
We should get the same result as in the image below:
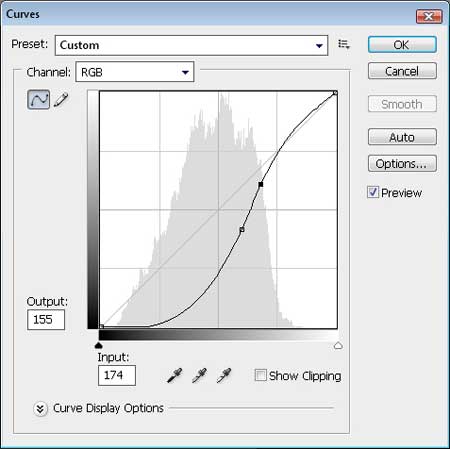
Using the next combination of buttons Ctrl+M (Curves Dialog box), add some contrast on our image, using the Contrast adjustment.
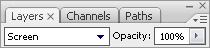
Set the parameters now on the Layers’ palette.

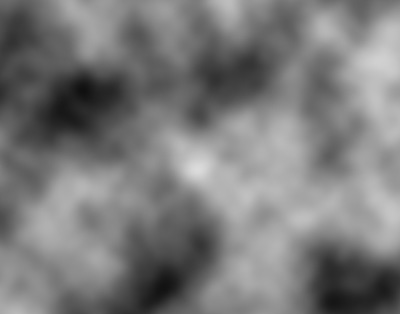
Applying the Free Transform option, we have to stretch out horizontally the clouds and narrow them out on their vertical position for them to be visible only on the top rectangle.

Make a copy of this layer and press on the next combination of buttons on the layer in case Ctrl+L (Levels Dialog box)
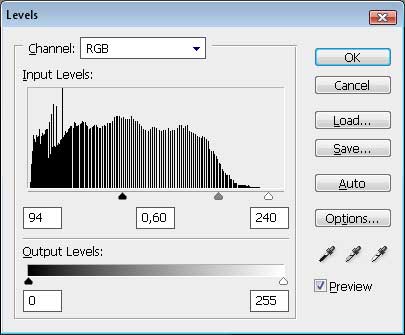
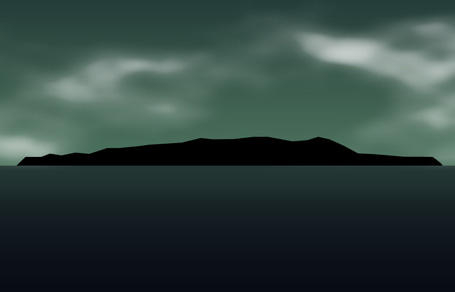
That’s the picture we need to have at this moment.

Select now on a new layer the Polygonal Lasso Tool (L) and represent a kind of hilly element on the land surface. After that we’ll select the Paint Bucket Tool (G) to paint in black the new element.
Comments