
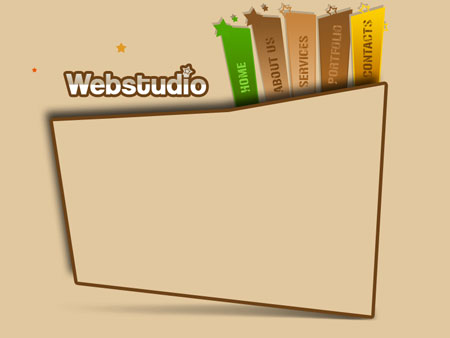
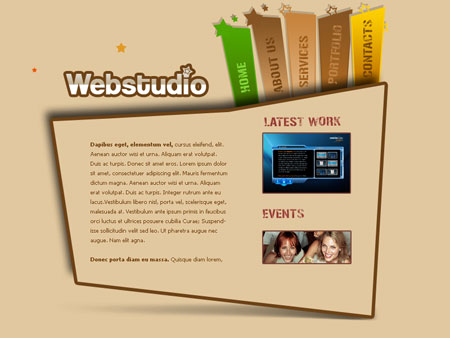
Stylish WebStudio Web Layout
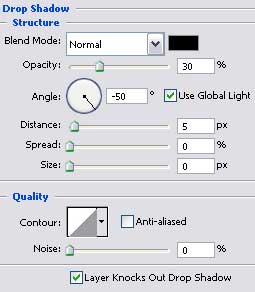
The small stars (the green one and the brown one) have also the equal parameters:
Blending Options>Drop Shadow

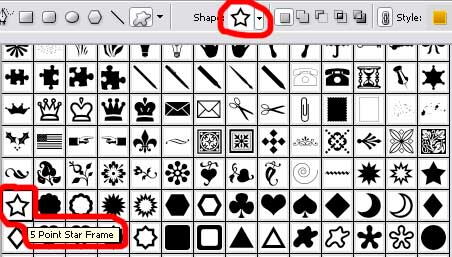
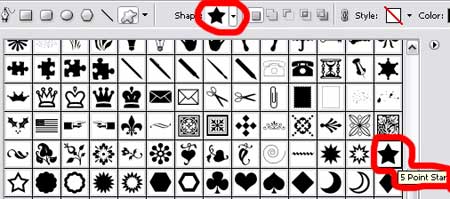
Select the same Custom Shape Tool (U) to represent the stars with the openings (the layer of the lowest yellow star should be placed lower than the yellow menu’s button).
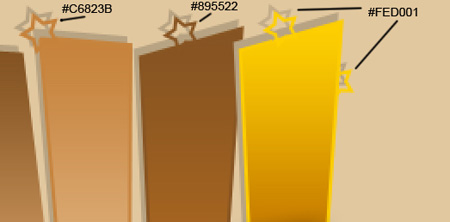
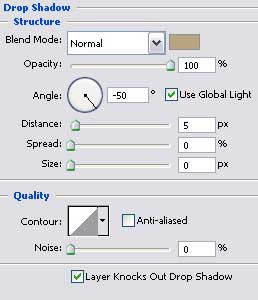
The layer’s parameters for the stars containing the openings are equal for all of them:
Blending Options>Drop Shadow


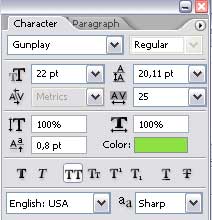
We need to write now the site’s title:
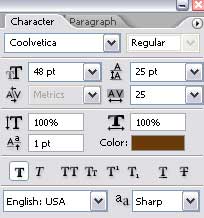

The layer’s parameters:
Blending Options>Gradient Overlay
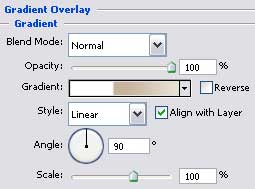
Gradient’s parameters:

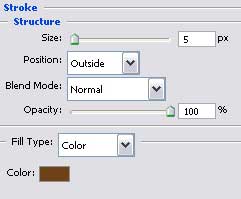
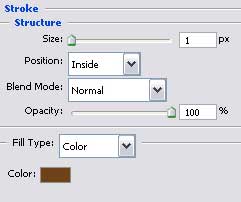
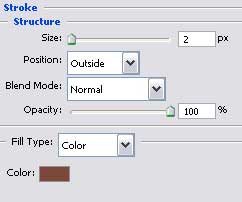
Blending Options>Stroke
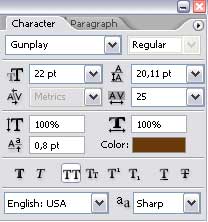
 We’ll add above the “i” letter in the Webstudio word a small star, colored in #D1C5B0, selecting for this operation the Custom Shape Tool (U). Turn the figure over with Free Transform option.

The layer’s parameters:
Blending Options>Stroke


We’ll make a click on the right mouse’s button on the recently made star’s layer (on the layers’ palette). Choose the Create layer option and mark out the particularly separate layer. Using the Eraser Tool (E), try to delete those elements shown below:

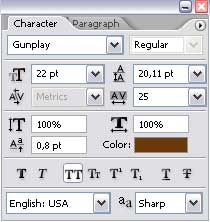
Make a copy of the recently made star and select the Free Transform option to make the copy smaller a little.

The layer’s parameters:
Blending Options>Stroke


Write the titles for the menu’s buttons situated on the site’s header. Incline the text a little, applying the well-known option – Free Transform.
(home)
(about us)

(services)

(portfolio)
(contacts) 
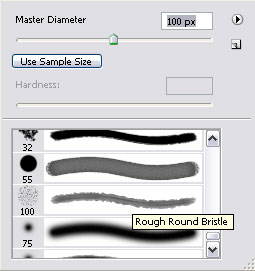
Mark out each layer containing the button’s title and then make a mouse’s click on the layers’ palette on Add layer mask option. Next step includes choosing the Brush Tool (B). Apply a darker brush for the lighter inscriptions and for the darker inscriptions we’ll use a lighter brush. The Opacity should be on 90% on each layer on the layers’ palette.
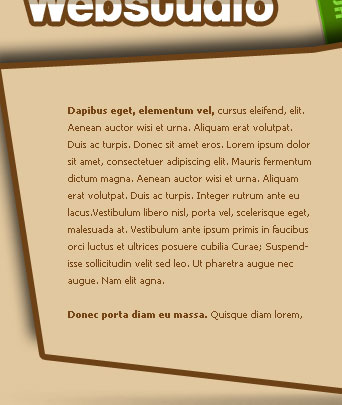
Insert the necessary text on the site’s section, keeping the demands from the next tables:
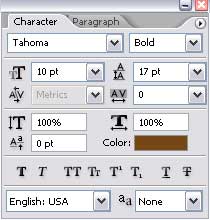
(the bold text)
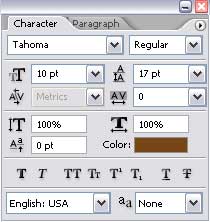
(the usual text)
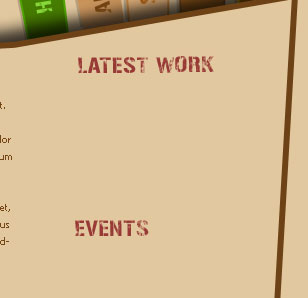
Insert also the titles of the site’s sections:

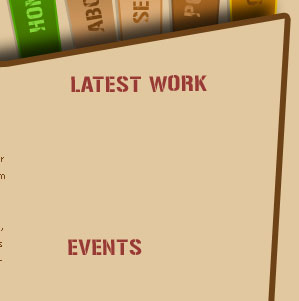
Using the same operation, described earlier when creating the site’s menu, we’ll process out the sections too (applying the brush on the text). The brush is the same and the color is the same with the background’s one.
Introduce the screenshots of the works:
The layer’s parameters:
Blending Options>Stroke
Finished!
View full size here.
Page: 1 2
Comments