
StarCraft Interface Design
April 4, 2008 | 0 comments
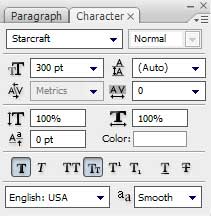
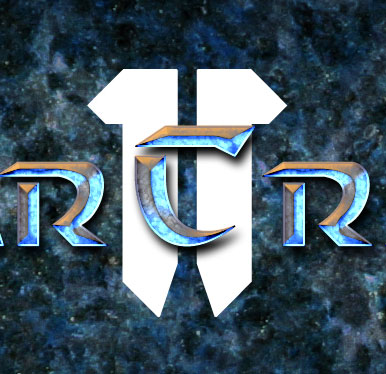
Now we should insert the number “1” under the made inscription and then make a copy of the figure’s layer. Select after that Free Transform option to turn over the copy, placing the figures’ layers as it is demonstrated next image:
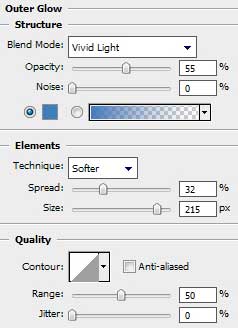
Apply the same parameters for both figures’ layers: Blending Options>Outer Glow
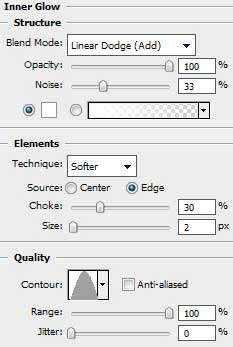
Blending Options>Inner Glow

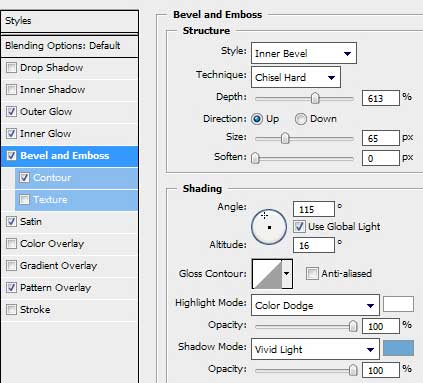
Blending Options>Bevel and Emboss
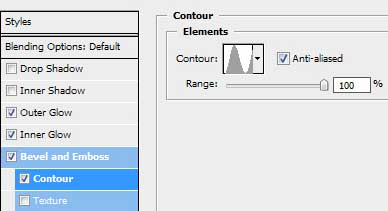
Blending Options>Bevel and Emboss (Contour)
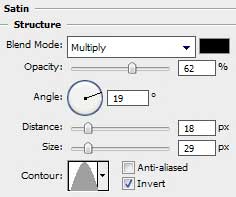
Blending Options>Satin
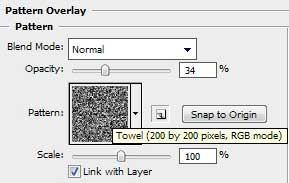
Blending Options>Pattern Overlay here we should choose the pattern out of the set Texture Fill 2

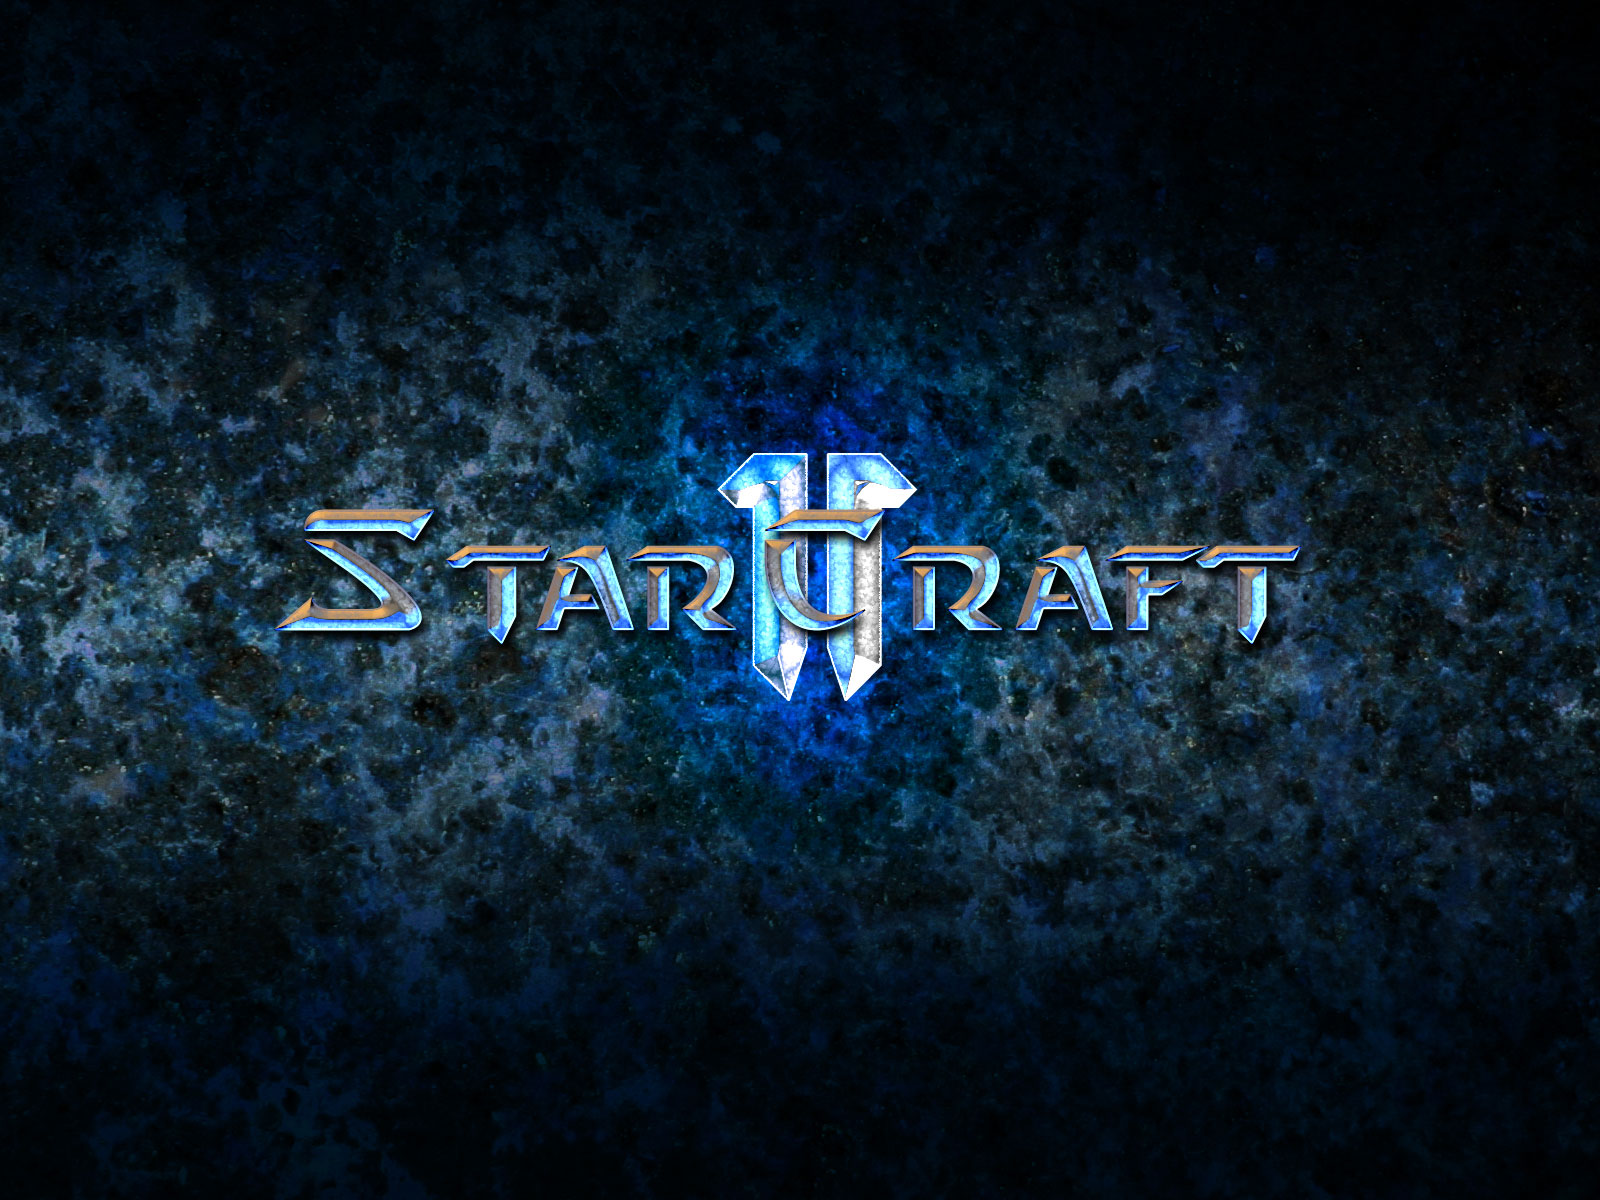
The final result is this one!
View full size here.
Comments