
Stained Glass effect with Photoshop's part 2
Now duplicate Layer 2, rename it “Light Rays 2” and bring it to the top of the stacking order in the Layers palette. As witht he previous Light Rays layer, I’ll set the blending mode of Light Rays 2 to “Linear Dodge.”
And to this layer, I’ll apply the same Radial Blur filter six times.
Finishing touches
So now I have all of the basic effect applied to this image, and all I need to do now is tweak some of my layers to get the look I want. Begin by playing around with the opacity of the light rays layers, which you can adjust in the Layers palette. Tweak things around there until you have a nice balance between the well-defined spokes of Light Rays 1 and the softer glow of Light Rays 2.
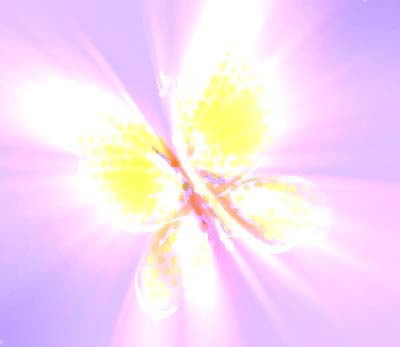
Set opacity of both layers set to 50 percent.
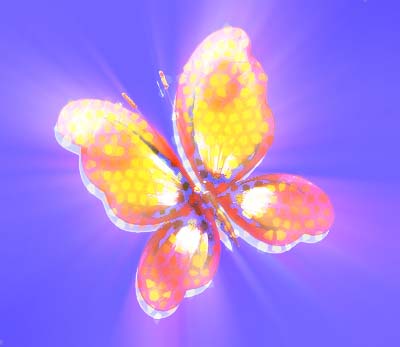
Here we have Light Rays 1 set at 25 percent, with Light Rays 2 set at 75 percent.

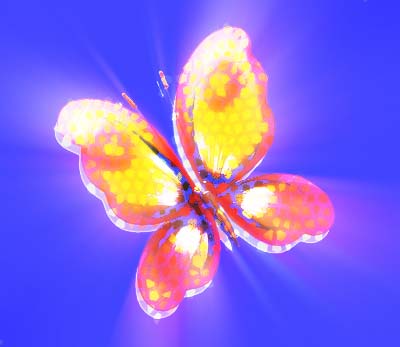
You can also go in and adjust the blending options for each layer of rays by choosing Layer > Layer Style > Blending Options and adjusting the “Blend If” sliders just as I did before. For example, if your image looks too harsh, you can switch the modes of the light rays layers to Screen, Overlay or Lighten, instead of Linear Dodge. You might also prefer to set the blending mode of Layer 2 to “Normal.” Play around with it, and you should be able to achieve the result you want.
Comments