
South Pole Effects
In this tutorial we will make South Pole design. This will be a fast one and I’m going to use Photoshop as my main
playground.
So let’s go.
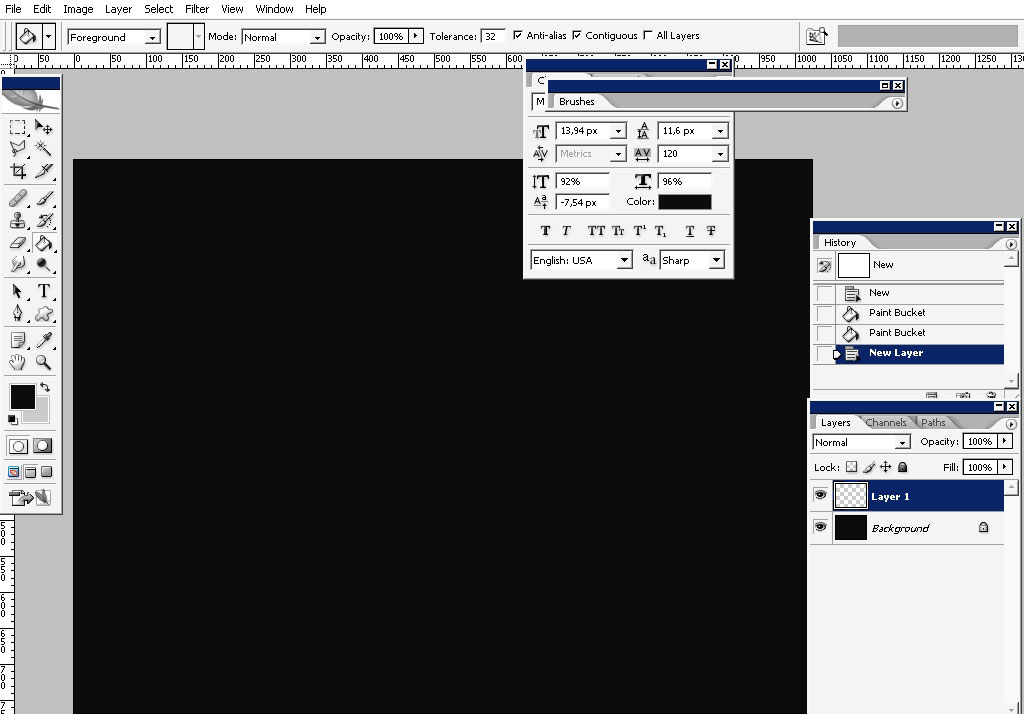
Create a 1024 x 768 document in Photoshop. Fill the background area with pure black.
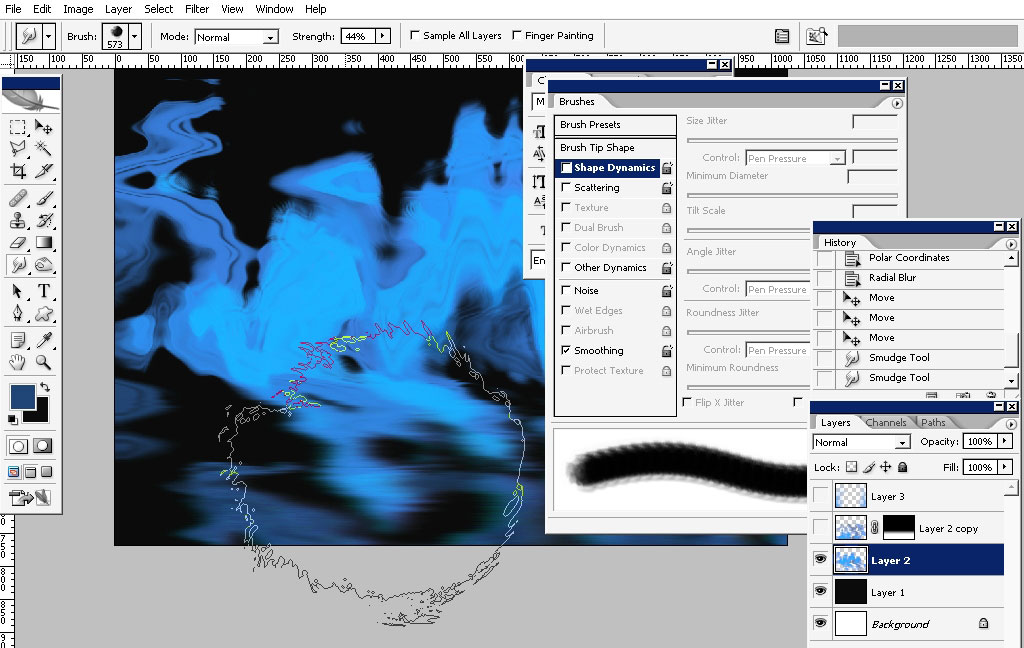
I’ll take one of my custom brushes – #93 (STAR.abr).

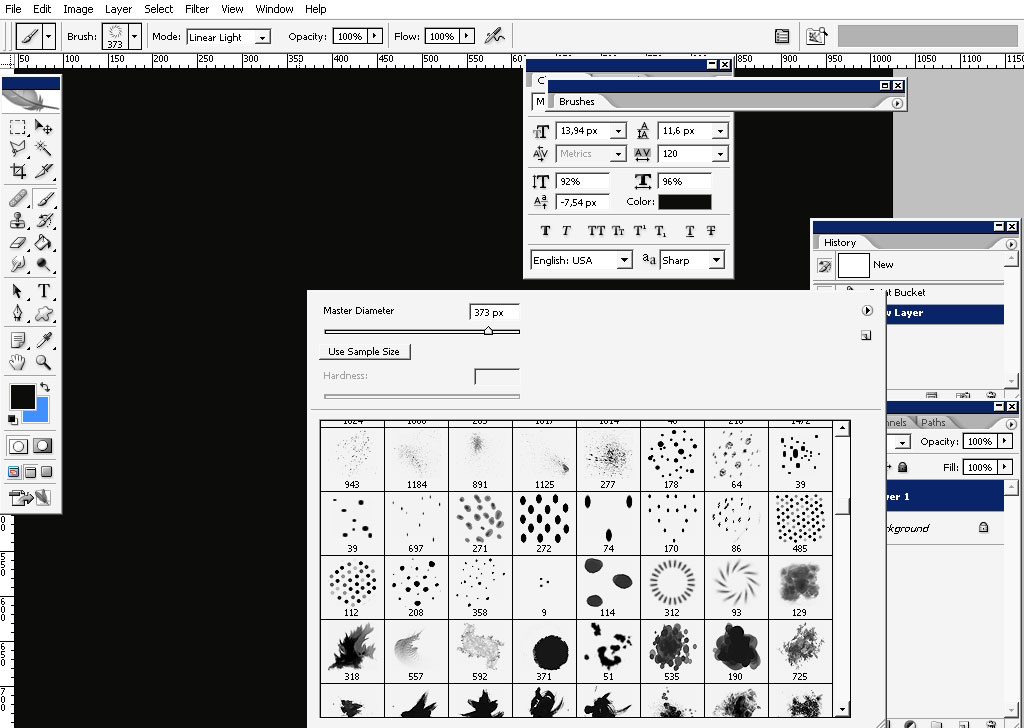
Set it right – you’d better have a tablet.
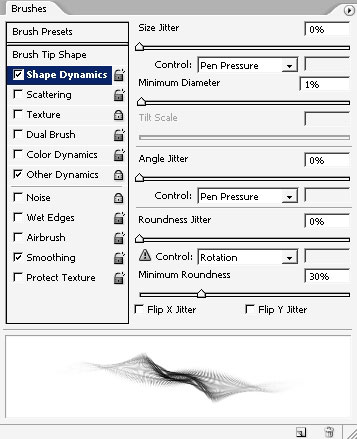
The opacity and flow jitter are set to pen pressure.
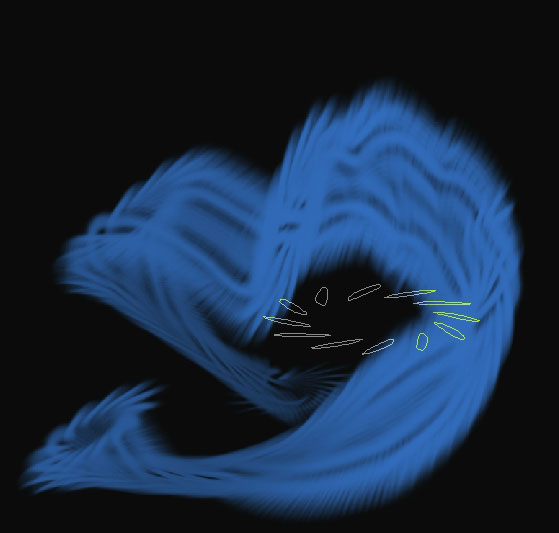
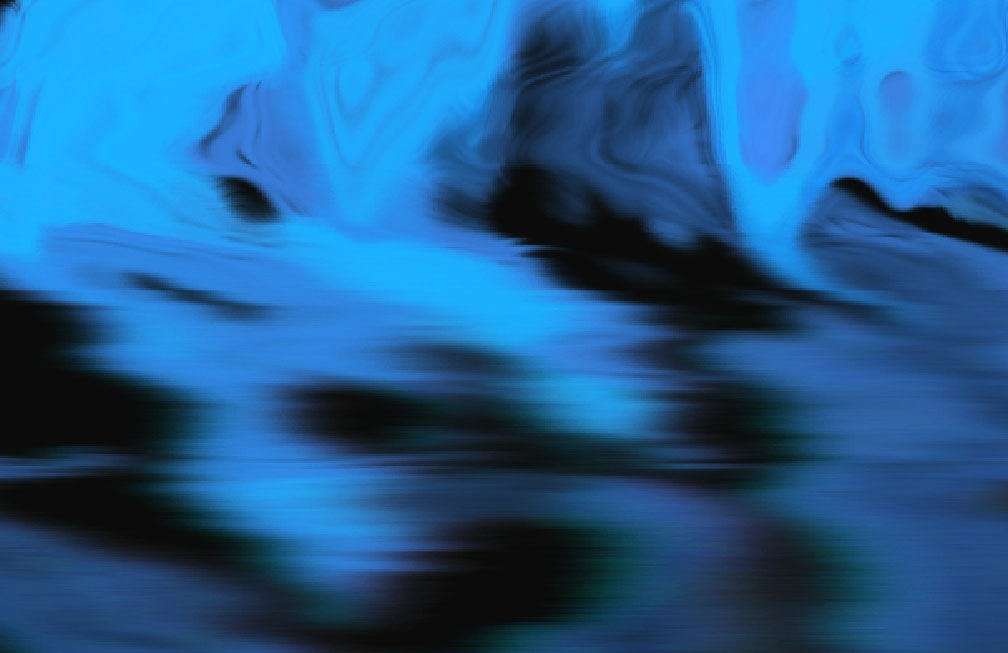
Begin to paint: I will start from abstract shapes. Something I really have no idea what it’s going to be.
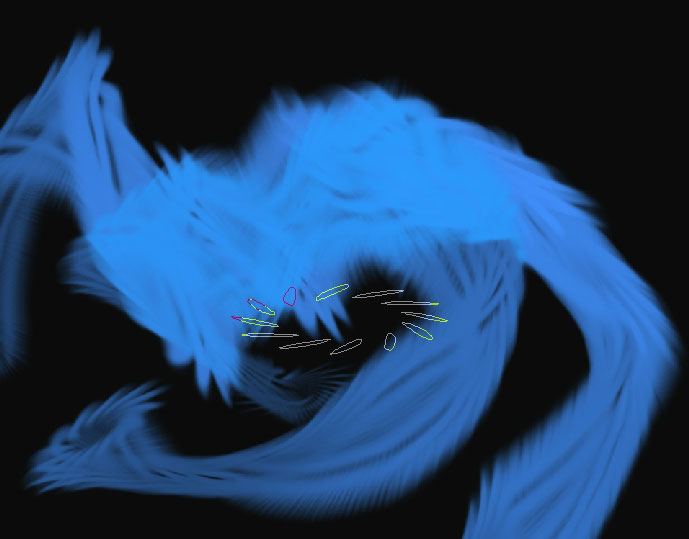
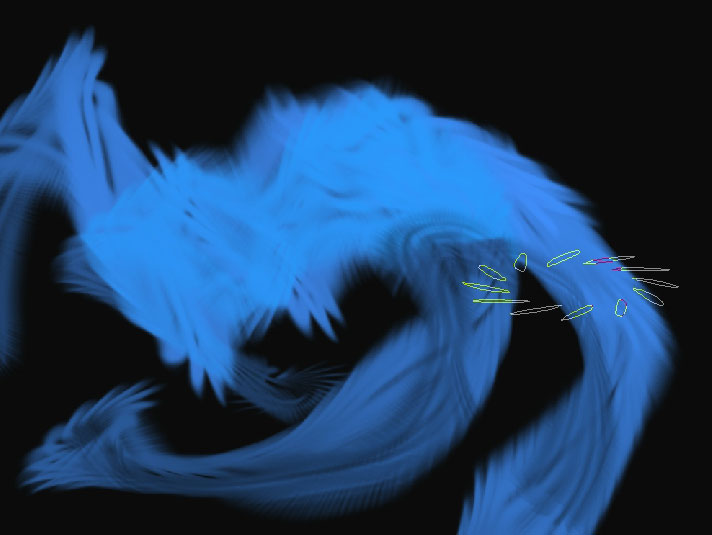
Just dropping some values of blue-mids and shadows:
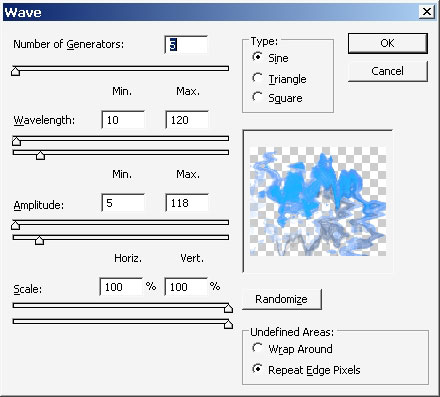
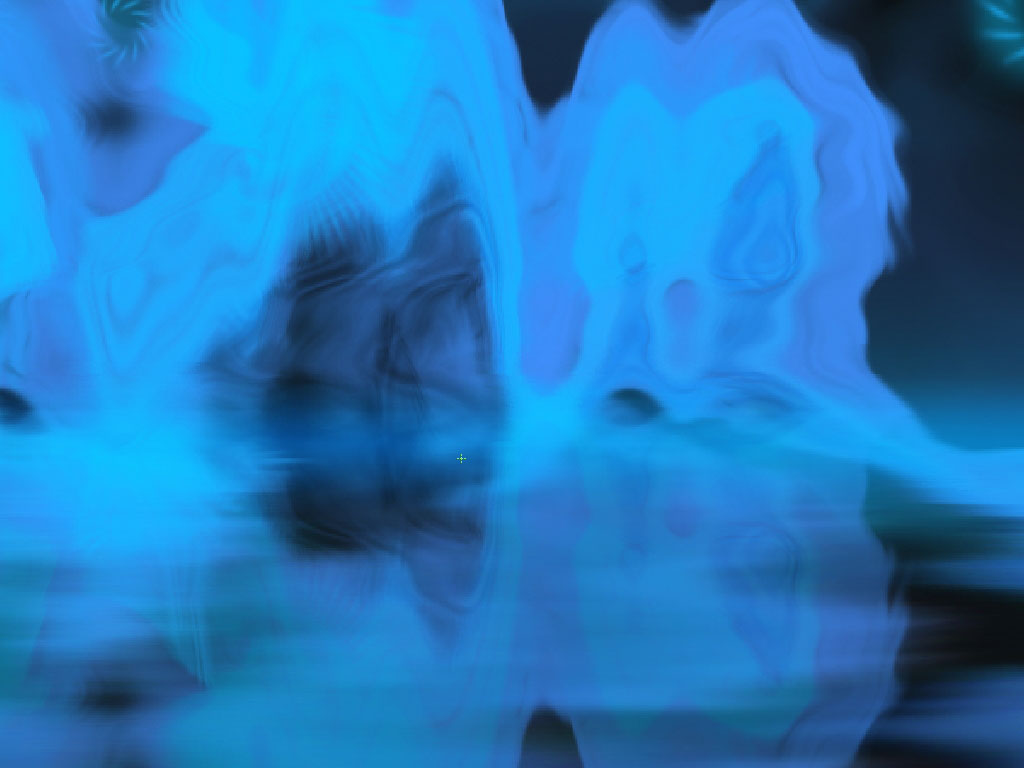
Now I found out that wave filter is really going to help my progress).
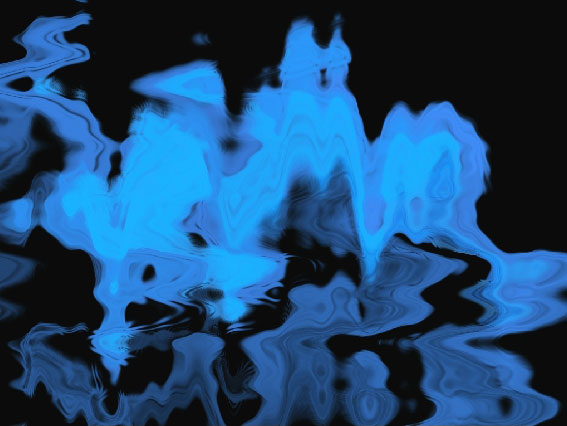
Now we have an even more abstract shape but I have an idea now. It’s really looks like and iceberg or something like this.
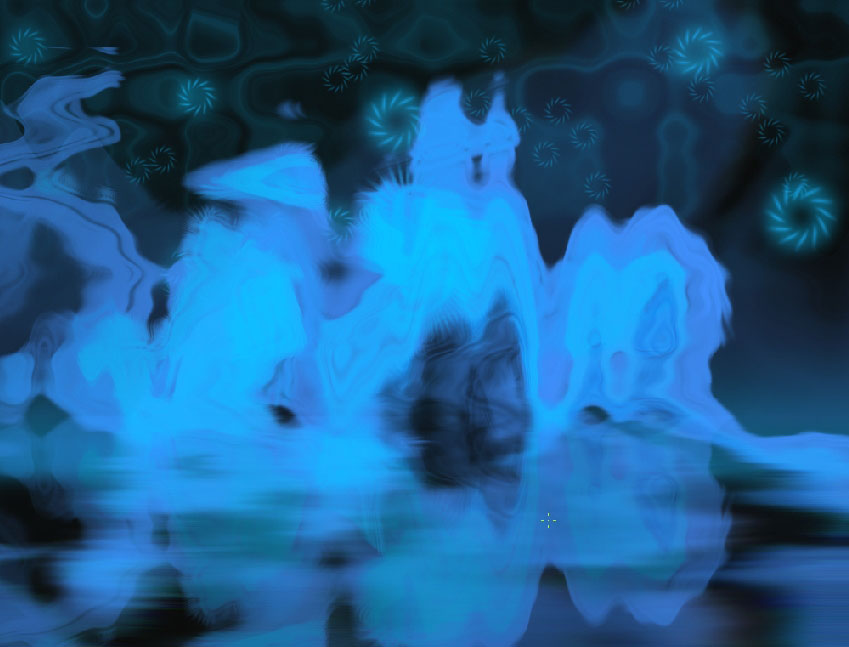
Choose smudge tool and smudge the lower part of the layer to create some king of water sim.
Now it gives a tic to your eye that this surface is not really solid.
Create a copy of this layer and create a real reflection by flipping in horizontally and then 180 degree.
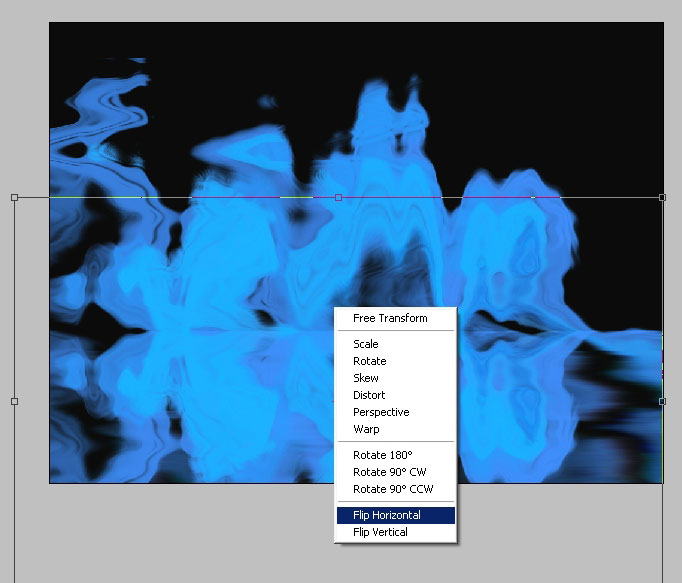
Erase the upper part because we need a reflection not to spoil all the rest of the composition.
Now I’m using the same brush which I’ve use in the beginning of the tutorial to paint some start. This time brush settings
are -like previous only scattering option is set on and set to pen pressure on the tablet.
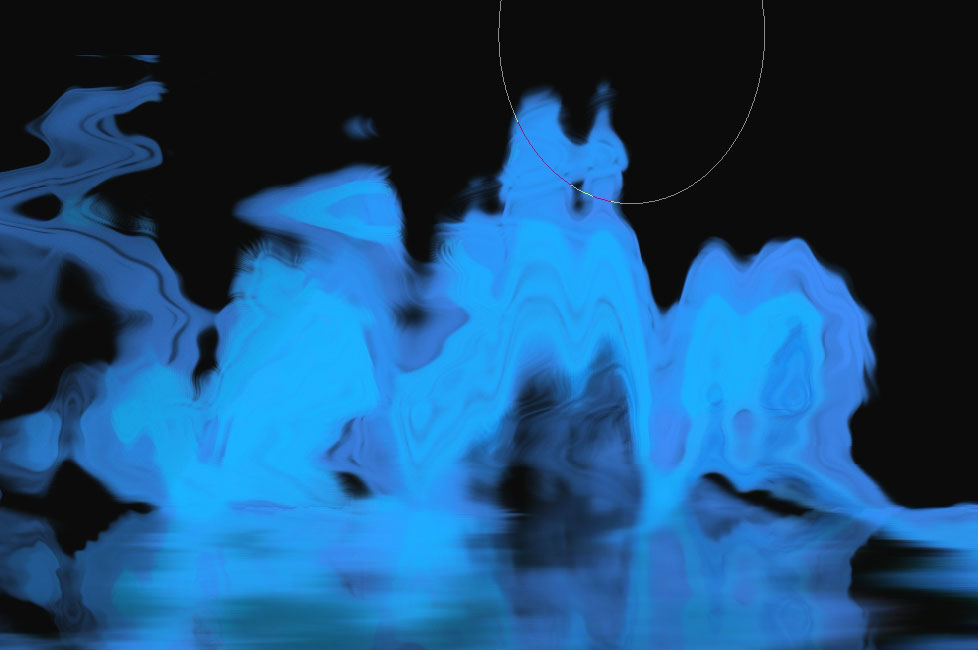
I’ve also took a soft edge brush, set the flow to about 3% to paint the atmospheric light rays.
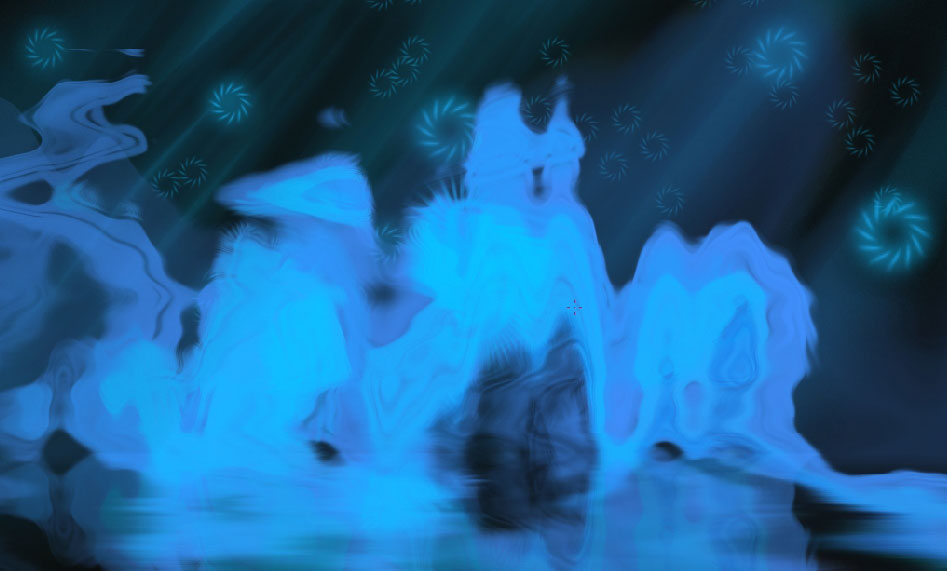
Apply wave filter to the atmospheric light to create and amazing sky surreal effect.
Now we need that horizon line to be seen. Use a reflected half transparent gradient to do this.
A little bit more atmospheric lights:

Flatten the image when you’re done.
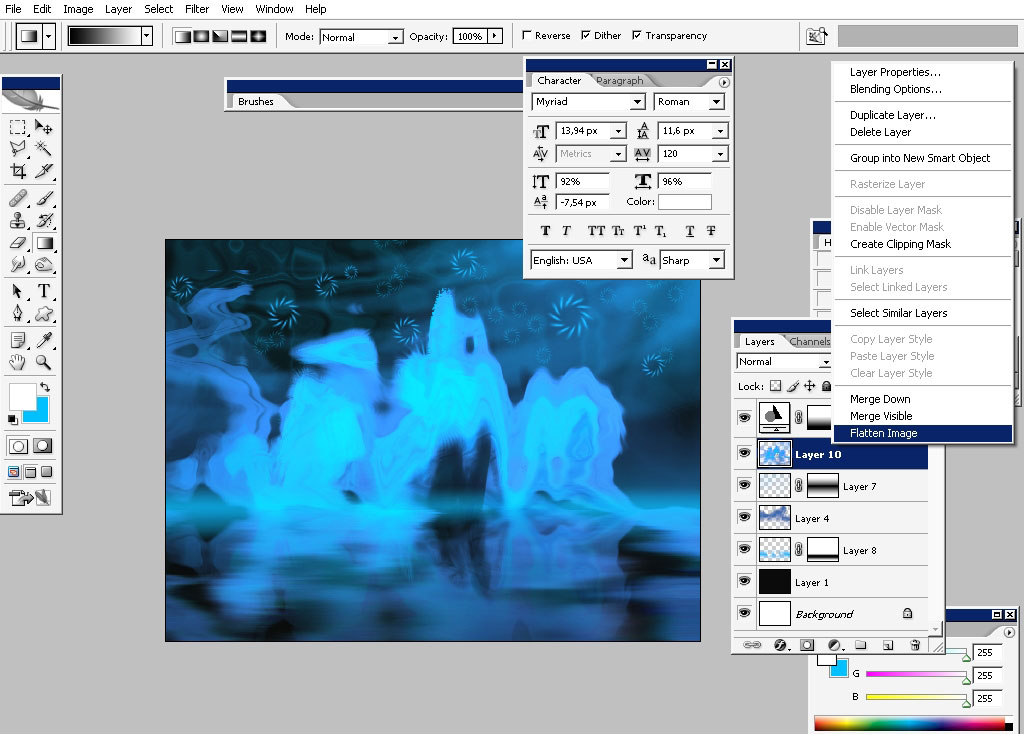
Create a copy of the layer. You did merge all the layers together before – right?
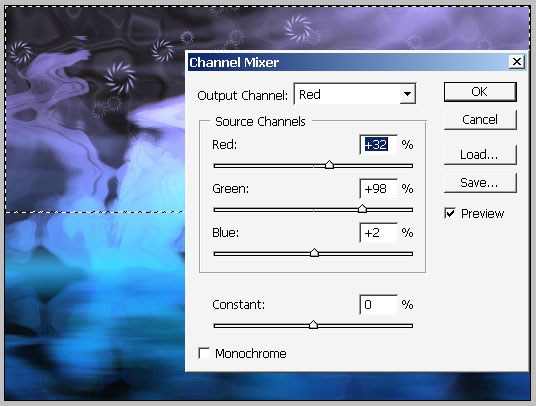
Correct the color using channel mixer. Do it on the upper part only. To blend the colors use mask or quick mask before
applying color correction.
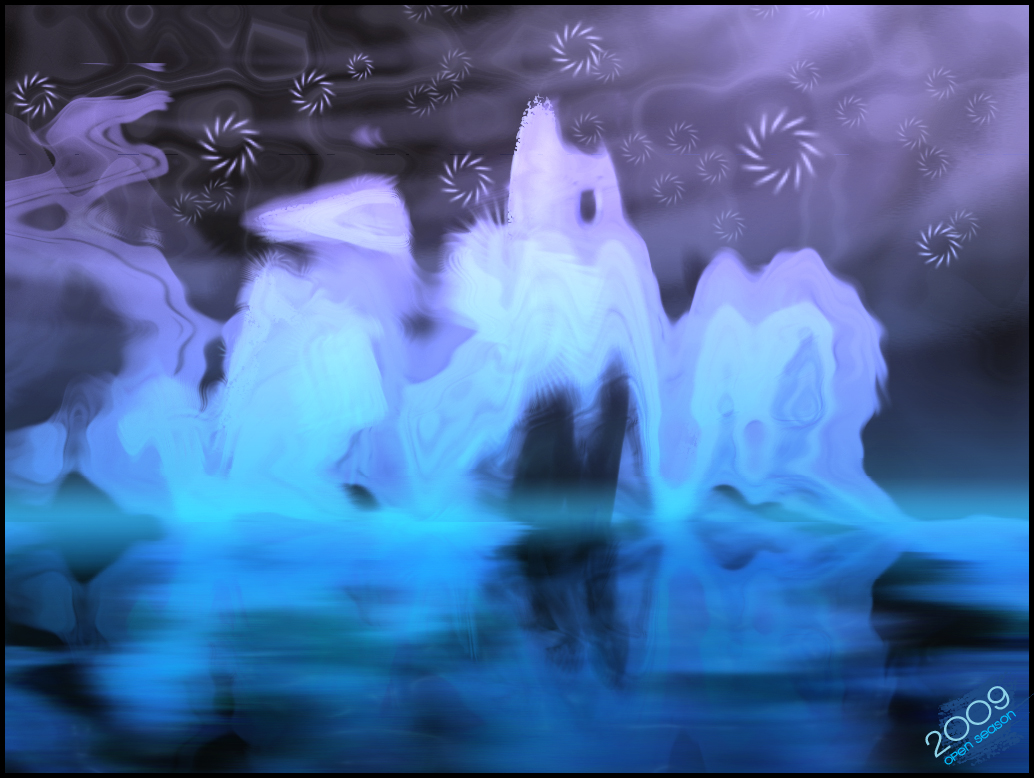
And this is it for our fast tutorial. Hope you learn something – t least figure out how the filter effects the transparent or
opaque surfaces along with different blending modes.
Comments