
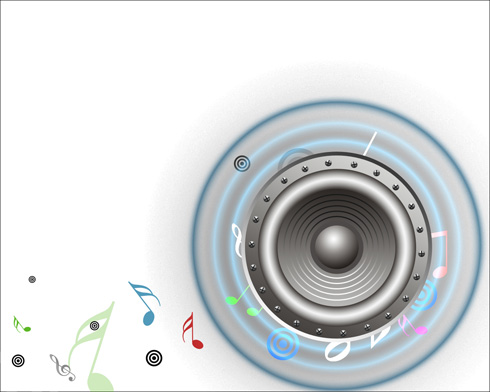
Sound system design
The layer’s parameters: Fill 0%
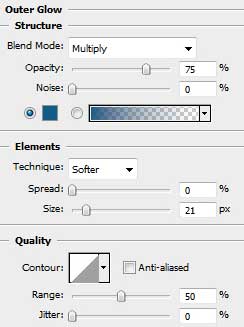
Blending Options>Outer Glow
Blending Options>Inner Glow 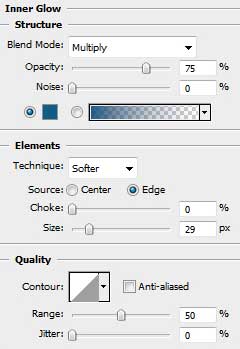

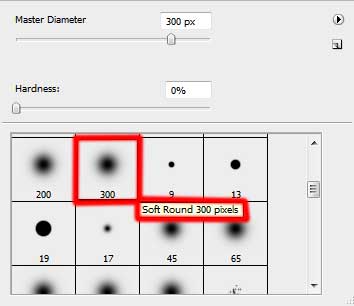
Create a new layer on which we’ll apply the Brush Tool (B) of black color (Opacity of 20%). Let’s represent a darkening with this tool. We need to position this layer lower than the loud speaker’s layers and the layers containing the sound waves (on the layers’ palette).


Create a new layer under the recently made one. Choosing the Paint Bucket Tool (G), it’s possible to add on it the white color.
Put together the layers containing the shadow’s layer and the white one. Press Ctrl button to accentuate the layers and press Ctrl +E. Set the next filter’s option for the combined layer: Filter>Pixilate>Color Halftone
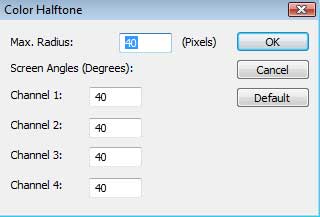
Set the next parameters for the last made layer. Fill 70%
Blending Mode-Darken 
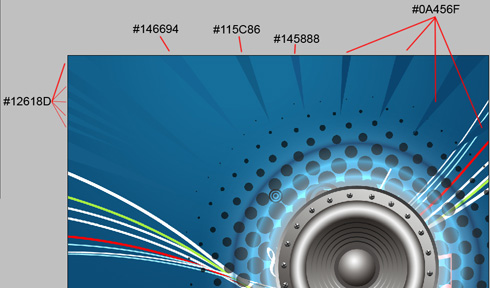
Next we need to insert several rays on the top part of the picture. The selected instrument for this operation is the Pen Tool (P). The ray’s color is #145D88
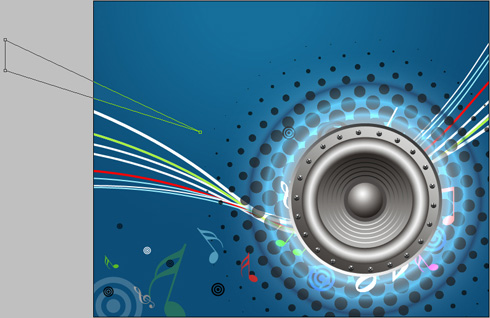
Applying the same tool, the Pen Tool (P), it’s possible to picture the rest of the rays we need to introduce on the picture.
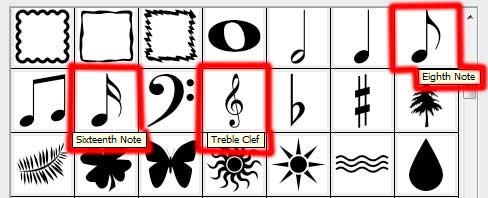
On the last stage we’ll add several more musical symbols, choosing for the manipulation in case the Custom Shape Tool (U).
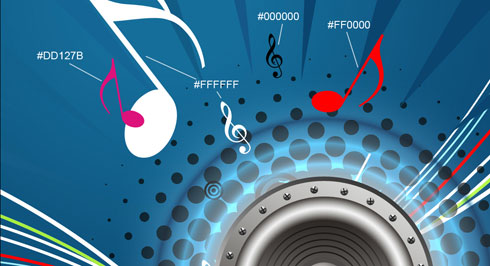

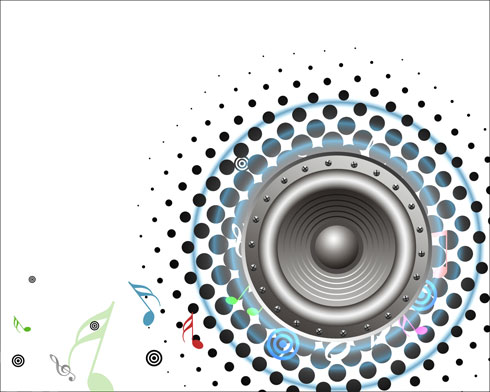
The final result!
View full size here.
Comments