
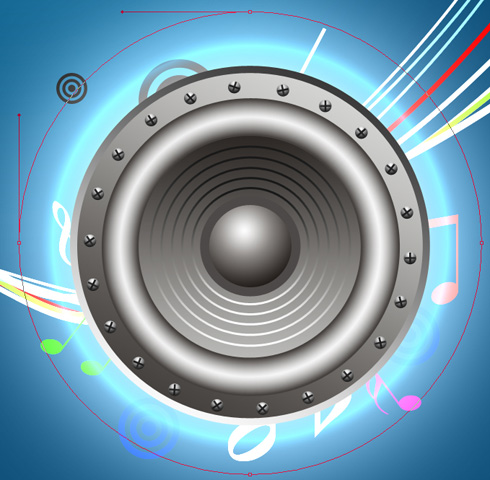
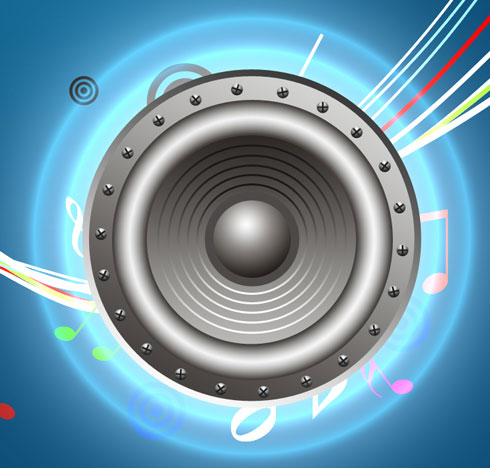
Sound system design
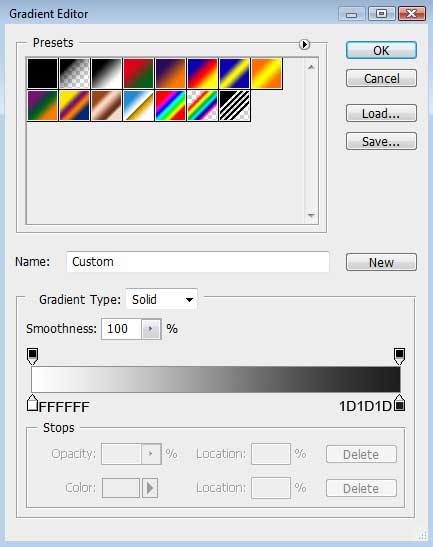
Gradient’s parameters:
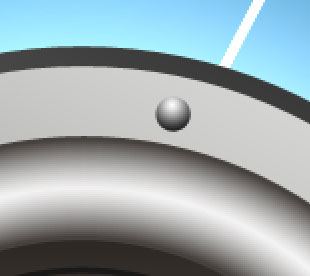
Next we shall represent an opening on the top part of the screw, selecting for this operation the Rectangle Tool (U) and the color #2B2B2B

Make a copy of the layer containing the opening and select Free Transform option to turn over the copy the same way demonstrated next image.


Getting a better result is possible when combining together the layers composing the screw and those two openings (press Ctrl button to mark out the corresponding layers and hold on the left mouse’s button to move the marked layers on Create a new group solution). Make twenty – one copies of the represented group and select the Free Transform option to turn over the copies placing them as it is demonstrated below.

Next we need to represent the sound waves around the loud speaker. This time we need to choose the Ellipse Tool (U). The new waves’ layers should be situated lower than the previous speaker’s layers.

The layer’s parameters: Fill 0%
Blending Options>Outer Glow 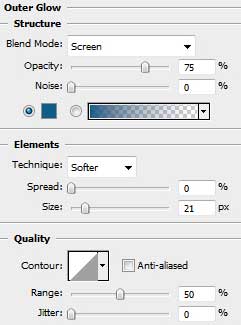
Blending Options>Inner Glow


The next wave will be represented with the same tool.
The layer’s parameters: Fill 0%
Blending Options>Outer Glow 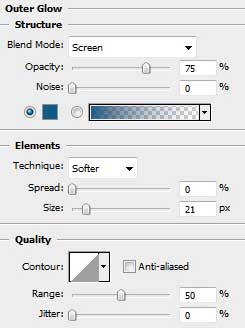
Blending Options>Inner Glow 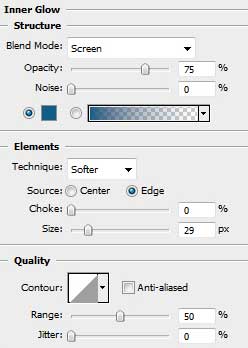
Next stage we’ll represent the third sound’s wave, applying the method described above.

Comments