
Simulated Alpha Channels – Part III
Simulated Alpha Channels
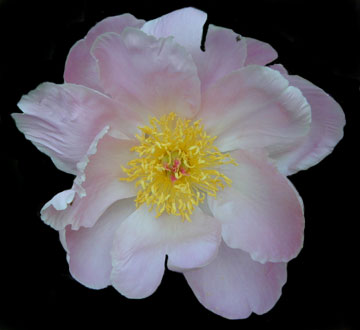
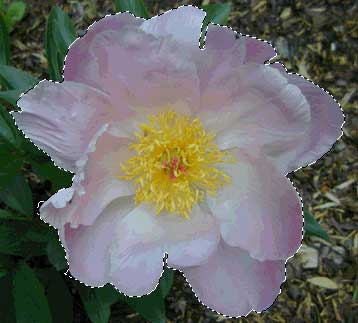
With the mask corrected, and the flower layer’s visibility turned back on, the image looked as shown below. The last step is to grab the completed alpha channel layer (click on the layer name and drag) and move it below the original image copy.
Then turn off visibility of the alpha channel layer by clicking on the eyeball icon.
Any time you want to select the flower, go to the alpha channel layer. Press the Ctrl key, and click on the alpha channel layer name. This loads the layer’s transparency mask. What that means is it selects all pixels according to their opacity.
Since the black area is where the flower is not, we need to invert the selection. In the menu bar at the top of your window, choose Select > Inverse. With the selection active, select the flower’s layer (“original image copy”).
The flower is now selected, and ready to do with as you will. In my Photoshop Combining Images tutorial in the Photoshop section, I dragged this same flower onto another image using a quick mask selection which is the equivalent of what we have just done.
What else can you do with simulated alpha channels? Regular Photoshop users can probably figure this out for themselves, but I believe you can do many things that you can do with a true alpha channel.
Lets try adding a gradient mask to the flower image. If your flower is selected, deselect it by choosing Select > Deselect, or pressing Ctrl-D. Then click on the New Layer button at the bottom of the layers palette. Drag the new layer to be at the top of the stack, if it is not there already, and then rename it, “gradient mask”.
Choose the gradient tool in the toolbox.
In the gradient tool’s options bar click the little down arrow next to the gradient thumbnail (not the thumbnail itself) to access the pop-up palette. Choose the Foreground to Transparent gradient, as shown. It’s second from the left in the top row. 
Choose the linear gradient. It’s the left most one on the options bar just to the right of the Edit button.![]()
The rest of your gradient tool’s options bar should appear as shown below.
Make sure the new gradient mask layer is selected in the layers palette. Then click on the flower image just to the right of the flower’s yellow center, and drag straight across to the image’s right edge. The result, as shown below looks, well, very black. Don’t worry. I know what I’m doing … I think.![]()

Comments