
Saint Valentine Creations
For our convenience, we have to combine in a group all the layers composing the circles (hold on Ctrl button to mark out the corresponding layers and keep pressed the left mouse’s button while taking the marked layers on Create a new group option). Using the same instrument we have used when representing the heart’s silhouette, try to make a highlight on the heart’s figure. Make some corrections on the heart’s shape with the Convert Point Tool.
Fill 0%

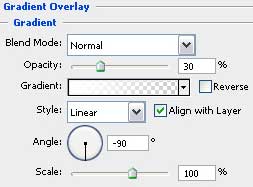
The layer’s parameters: Blending Options>Gradient Overlay
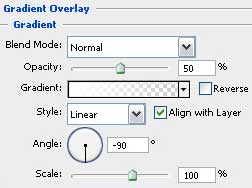
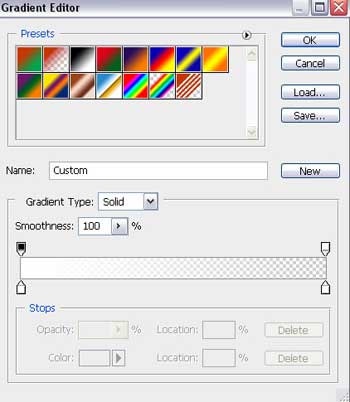
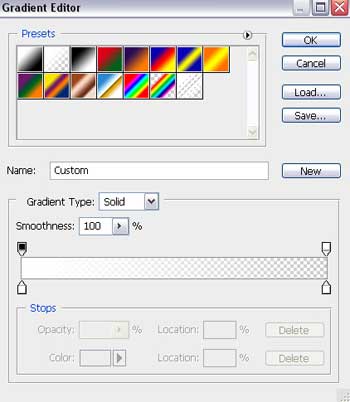
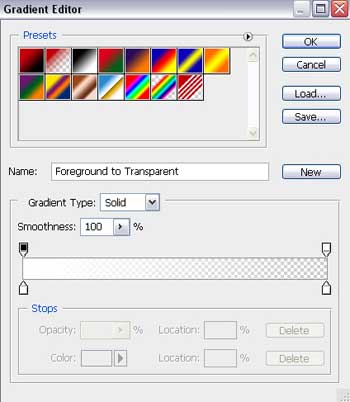
Gradient’s parameters:


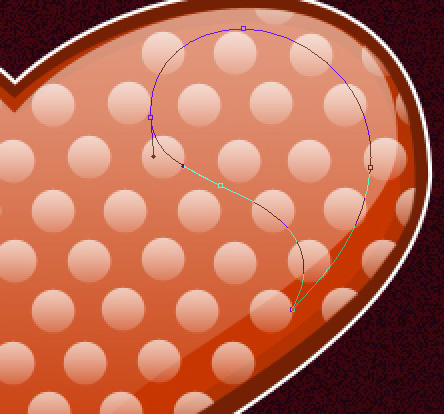
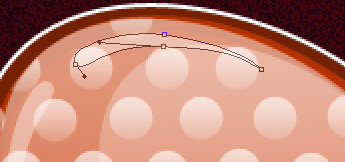
Using the Pen Tool (P), it’s possible to represent another highlight on the heart, which shape may be corrected with the Convert Point Tool.
Fill 0%
The layer’s parameters: Blending Options>Gradient Overlay
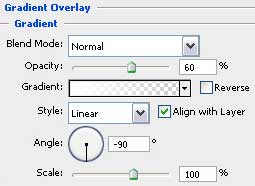
Gradient’s parameters:

Try to represent now another highlight on the same heart that would have a heart’s shape. The operation is made with the same instrument, applied earlier. Fill 0%
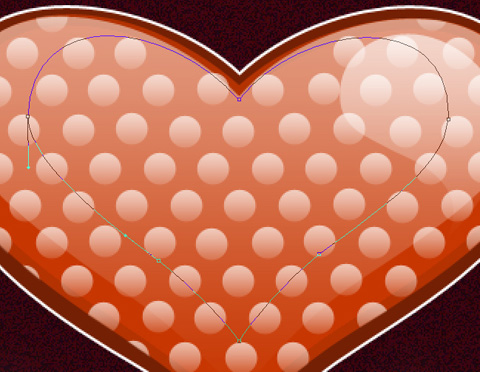
The layer’s parameters: Blending Options>Gradient Overlay
Gradient’s parameters:


Take now the Pen Tool (P) that will be helpful in representing another highlight on the heart’s figure. It should have white color this time. The element’s shape may be corrected with the Convert Point Tool.
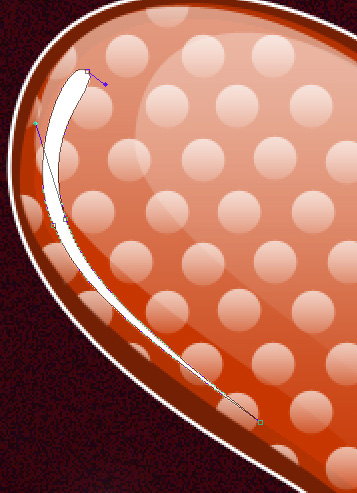
The layer’s parameters: Fill 40%

Use the same method and the same tool when representing one more highlight on the heart’s upper left side. The layer’s parameters: Fill 40%
The last highlight will be done with the same Pen Tool (P) which shape may be corrected with the Convert Point Tool. The layer’s parameters: Fill 40%

Combine in a group all the layers containing the highlights and the heart on which they are situated (press Ctrl button to mark out the necessary layers and hold on left mouse’s button when taking down the accentuated layers on Create a new group selection). Make a copy of the last made group and select Free Transform option to make the group’s copy smaller and to apply different parameters on the layers:
1) the parameters of the primary group’s copy – layer containing the heart: The layer’s color is #690004

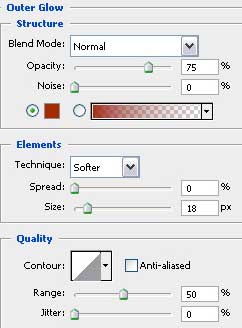
The parameter Blending Options>Stroke is the same the original layer has: Blending Options>Outer Glow
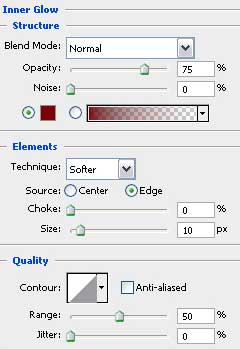
 2) the parameters of the second copy – layer containing the heart: The layer’s color is #C40009
Blending Options>Inner Glow

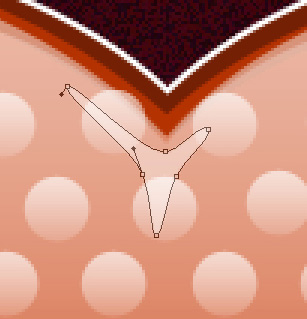
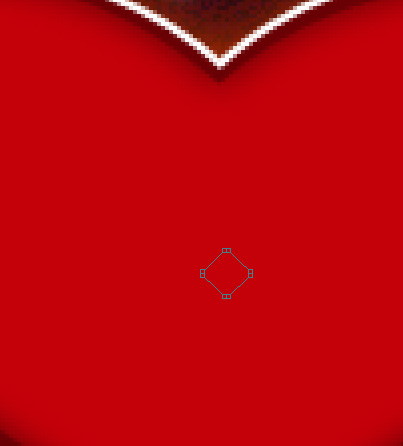
3) Change now the circles’ group. The layers containing the small circles should be erased out of the group’s copy. Using the Rounded Rectangle Tool (U) (radius 1px), it’s possible to represent a square which may be turned over with the Free Transform option.
The layer’s parameters: Fill 0%
Blending Options>Gradient Overlay
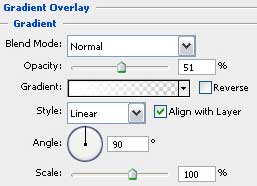
Gradient’s parameters:

Make many copies of the last made layer and use on it the Free Transform option to place the copies as it is demonstrated below. The coming outside contours of the copied circles may be erased with the Eraser Tool (E).
4) the layers containing the highlights should be left without changes.


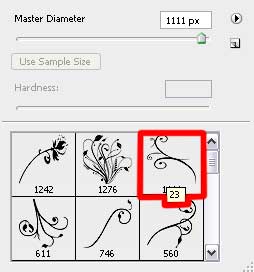
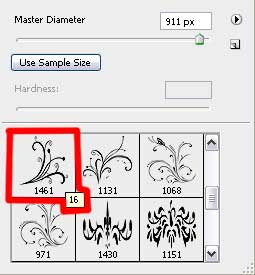
Download out of Internet a set of ready to apply brushes for Adobe Photoshop: Floral. Create after that a new layer (Create new layer) and use on it the Floral set’s brushes. Place the layer in case lower than the layers containing the heart (on the layers’ panel).
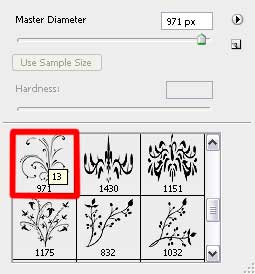

Make a copy of the last made layer and select Free Transform option to place the copy the way shown next picture:

The picture is finished!
View full size here.
Page: 1 2
Comments