
RAW Image Data – Practice
1. Open RAW and Camera RAW

Open your RAW file in Photoshop (download file for example here) , the usual way you open any image in PS (Ctrl + O or Double click the icon of your image ) , Do not get disappointed if the pic doesn’t look great right now , it is our job to get it right , and with Camera RAW the process will be very quick
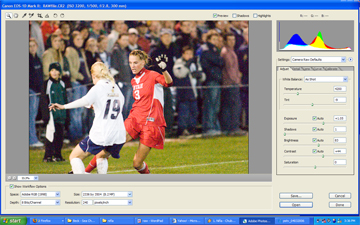
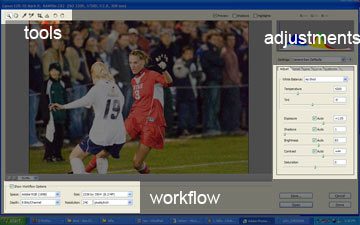
Once you have opened the file, the camera RAW dialogue box will open instead of your usual Photoshop workspace , the dialogue box has 3 main sections , “tools” , “adjustments” and Photoshop Workflow

2. White Balance and Temperature of colors (set our colors )
This is usually the first step we have to give to process our images , because both adjustments will help us to set/define the color we want for our image . We have 3 options
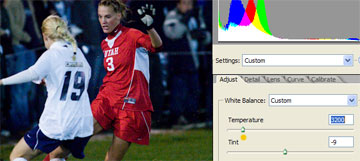
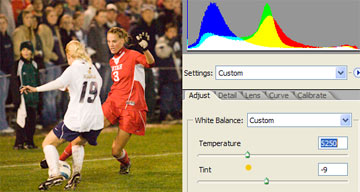
A) Custom Temperature / Set the temperature manually
(Adjustments section / Temperature slide )
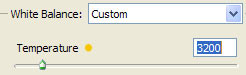
when we edit our image there are different tones we can get from an specific color , depending on the temperature we set the camera RAW , the more temperature we add the redder it gets and the colder the bluer , this is basically a manual way of setting our colors which let us play more freely since we can decide whether we want them cold or warm
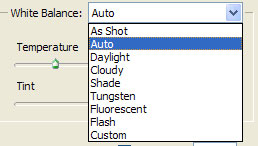
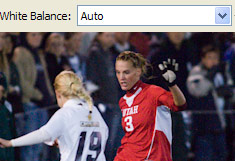
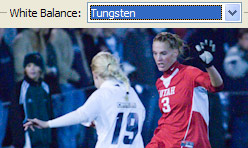
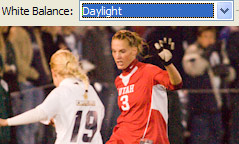
B) Automatic White Balance
(Adjustments Section / White Balance Menu)
In this option we are able to select among 8 of preformatted White Balance adjustments . These adjustments recreate colors under different lights , such as tungsten , cloudy , flash , daylight , etc
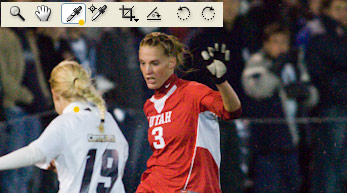
C) White Balance tool
(Tool Section / White Balance button)
This is the most accurate way to match our colors with the original scene .To apply this tool we have to go to the tool section and select the white balance button , and pick a white color or a tone that used to be white in the original scene
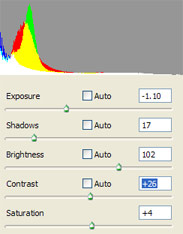
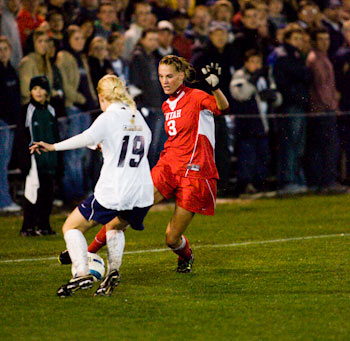
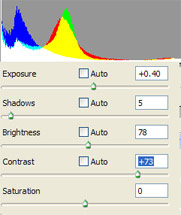
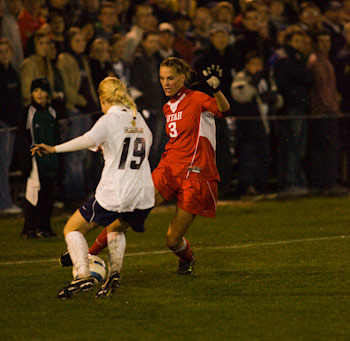
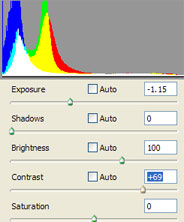
3. Lighting
(Adjustments section)
In the adjustment section there are 5 sliders regarding to lighting Exposure , Shadows , Brightness , Contrast and Saturation. All of them will let us set the lighting (brightness or darkness ) in different areas of our image , I don not want to go deeper in this steep ,just play with those features and you will get awesome results , in case you want to get as close as possible to reality check the auto check boxes above the sliders
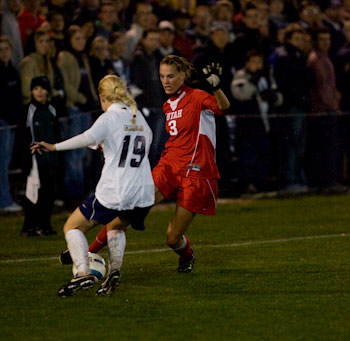
Examples
4. Workflow
(Photshop Workflow Section)
In this section we are able to adjust the features of our image , such as Space, Depth, Resolution and Size

a) Space (Adobe rgb, Prophoto RGB, sRGB, ColorMatch RGB): To keep it simple , the space will allow us to bring our image’s colors to the prints , the rbg space that most printers recognize is adobe RGB however the most outstanding is ProPhoto RGB but many printers wont make the best use of it
b) Depth ( 16bit mode or 8 Bit Mode ) The depth basically means the information per pixel, obviously the 16bit has more info and it will help for better edition and professional printing , however this depth can only be saved in TIFF or PSD files . The 8bit is the usual depth in any JPEG
c) “size of the picture” (in pixels) ”
d) “the resolution” Pixel/inch or Pixel/cm
5. Saving
For saving the changes we have 3 options “save …” “done” “open”
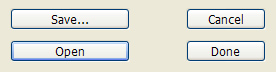
Save …. : This option let us save the RAW file as another file extension , locate it and rename it

Done : applies the changes to the RAW Image
Open : Applies the changes to the RAW and opens it in the PS usual work area .
Voila!
Comments