
Professional Security Icon
April 26, 2007 | 0 comments
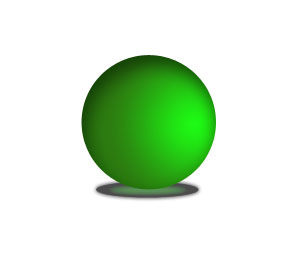
Then we need to select the previous instrument to draw now the sphere’s shadow that would have the black color. Place the layer we have mentioned under the sphere’s layer:
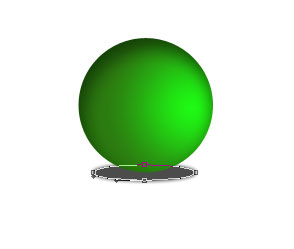
The layer’s parameters:
Opacity 70%
Blending Options>Outer Glow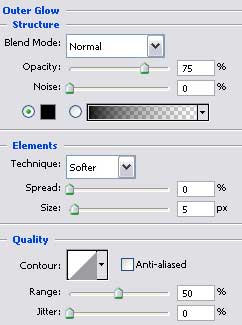
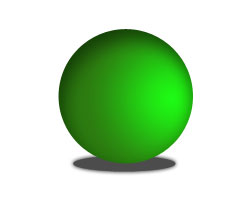
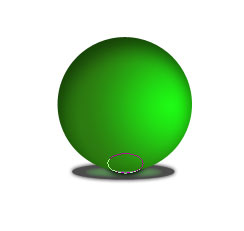
Continue by processing the shadow. Using the Ellipse Tool (U), represent now the next shadow’s layer, colored with 6EFF67. Place the layer in case under the sphere’s layer too.

The layer’s parameters:
Opacity 46%
Blending Options>Inner Glow

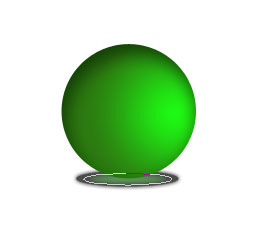
Selecting the last instrument, we have to represent now the last shadow’s layer colored in black too, but don’t forget to place the layers in the correct manner.
Comments