
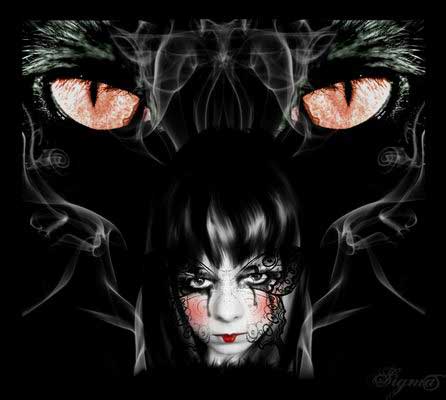
Princess of Shadows
This task we’ll study how to distort the shape, picture the make-up and fur, to create the effect of pictured hair, lay out the designs and also to create an interesting background.
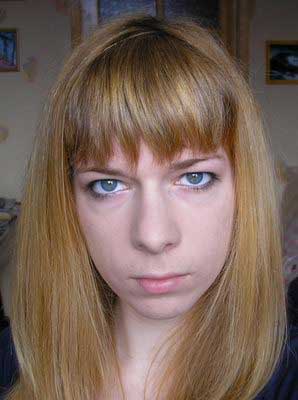
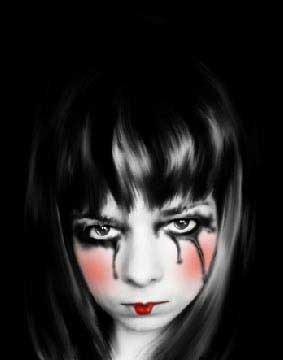
Take a girl’s photo for the beginning.
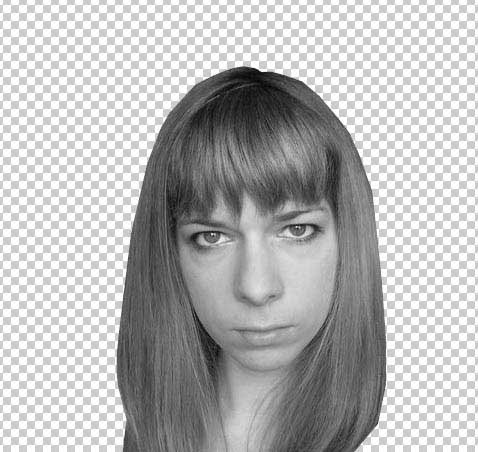
Cut it out: Edit ? Cut (ctrl+x), mark it out with the next instrument: Polygonal Lasso Tool and place it on a new layer: Edit ? Paste (ctrl+v). Make the layer colorless, applying the next command: Image ? Abjustments ? Desaturate (shift+ctrl+u).
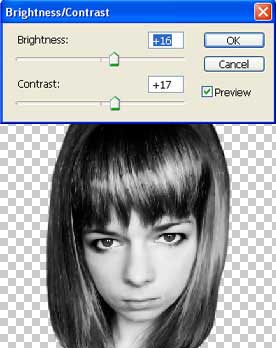
Apply the filter now: Filter ? Blur ? Smart Blur and distort the head’s shape, applying Edit ? Transform ? Perspective. Make the layer look more in contrast: Image ? Adjustments ? Brightness/Contrast.

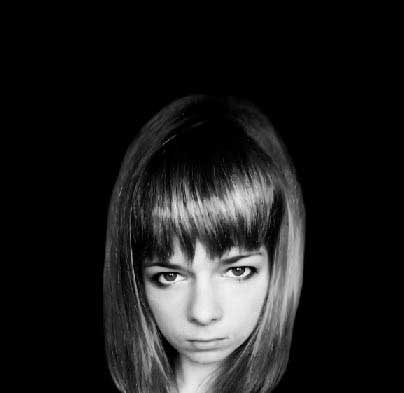
Create a new layer now, using the fast button on the Layers window, put it lower then the girl’s layer, just clicking on it and moving on the necessary place. Paint it in black, using Paint Bucket Tool.
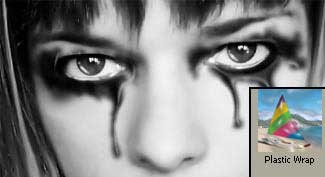
Picture the make-up now. Begin with the eyes. Take the Brush Tool and apply it on a new layer. Picture in black the ink’s stains. Apply to this layer Filter ? Filter Gallery ? Plastic Wrap
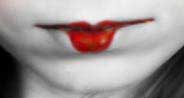
Use the same method to picture the lips’ make up.
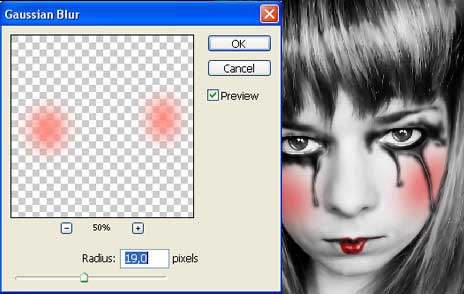
To create a blush effect, picture on the girl’s cheeks two small circles, using Ellipse Tool. Blur them applying Filter ? Blur ? Gaussian Blur. Change the layer’s type on Multiply.
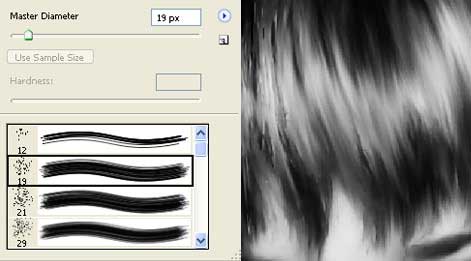
Use the next instrument: Smudge Tool and represent the hair sleeker and more artificially, setting preliminary Strange brush on 60%.
Take the Burn Tool now and make several hair locks look darker. The next instrument Dodge Tool will be useful in representing several highlights on the hair.
Insert on a new layer the picture of a butterfly tattoo. We just need to open the file, containing it in a new window, cut it out and get back to the file with the processed picture. Insert it on a new layer.
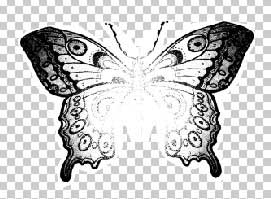
Change the layer’s type on the Multiply.
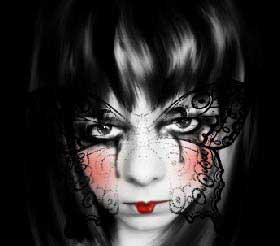
Use Brush Tool to represent the fur.
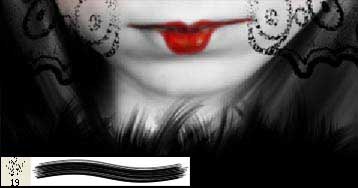
Continue to work with the background. Place on a new layer the photo with cat’s eyes.
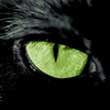
Increase its size, using Edit ? Free Transform (ctrl+t) and change the color after that: Image ? Abjustments ? Hue/Saturation (ctrl+u).
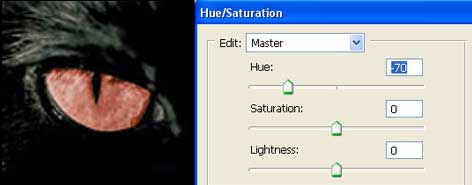
To make the color look more intensive, we just need to copy the layer (Layer ? Duplicate Layer?) and blur it a little (Filter ? Blur ? Gaussian Blur). Change the layer’s type on Multiply and merge it with the previous one applying Layer ? Merge Down (ctrl+e).
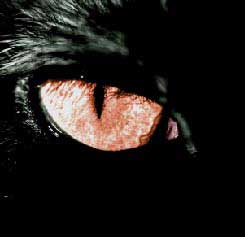
Copy the layer that we’ve got and turn it around: Edit ? Transform ? Flip Horizontal.
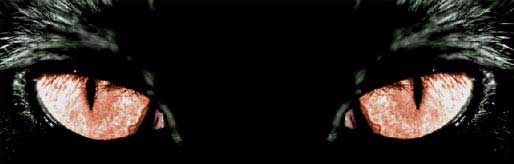
Create a new layer above the eyes’ layer and place on it a photo picturing the smoke.
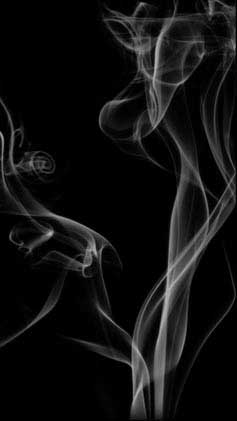
Change this layer’s type on Lighten. Then copy it and turn it around the same way we did it with the eye: Edit ? Transform ? Flip Horizontal.
+ View full size image
Finished!
Made by Sigma
Comments