
Photoshopping Aqua Wallpaper
The last letter has all the parameters with the rest of the others, plus the next from below Blending Options – Satin:
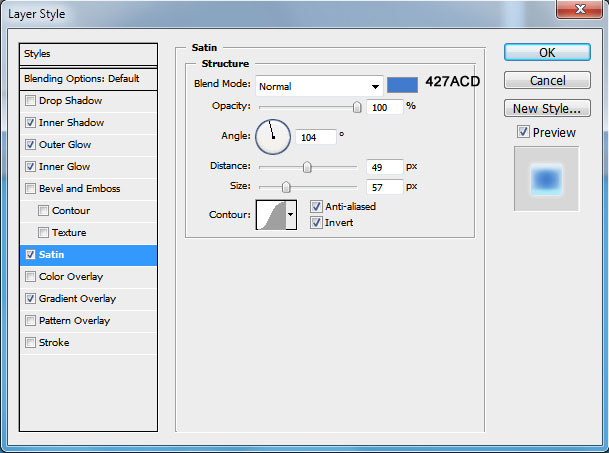
You may see on the picture that the last letter is a little darker than the others.

On a new layer we’ll create the shadow coming from the letters. The brush’s parameters are the same with those from the beginning of the lesson.

Take the Ellipse Tool (U) and represent an ellipse like the next from below:

Set the Fill parameter as it is shown below:
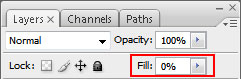
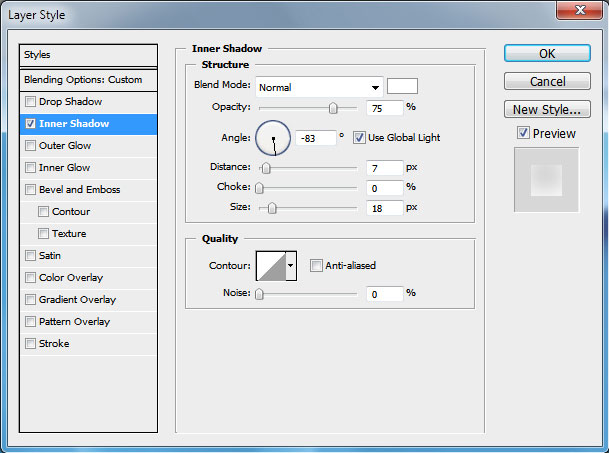
…. and the parameter Blending Options>Inner Shadow

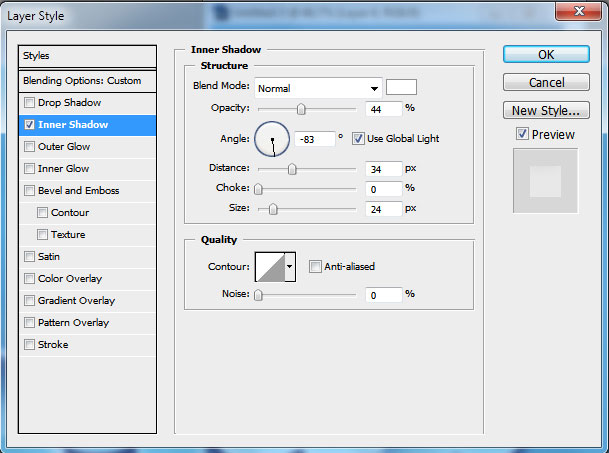
Check it out with the picture from below:

Continue working with the same layer. Mark out the first letter by pressing Ctrl+Left mouse click on the letter’s layer. When the letter’s marking is ready, press the button for representing the mask layer.

Finally we’ll get the highlight only on the necessary zone.

Do the same operation with each letter.

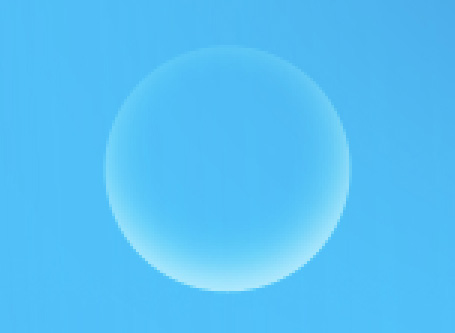
On the final stage we’ll represent air bubbles. In this case we’ll select the Ellipse Tool (U) and represent a circle.

Fill 0% on the layer. Then set the next Blending Options.
We’ll get a transparent sphere:
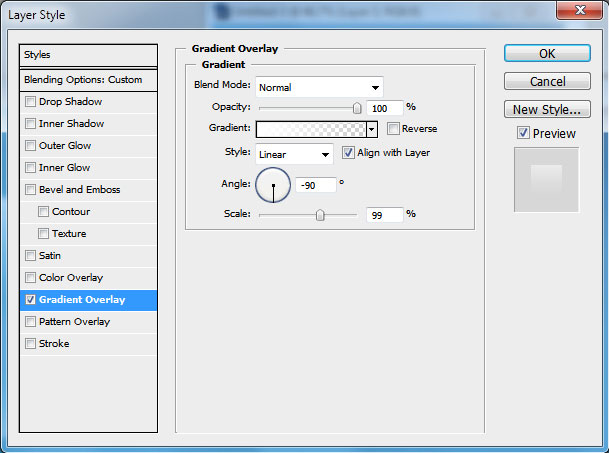
Insert another circle. Fill 0% on this layer too.

Select the next Blending Options.
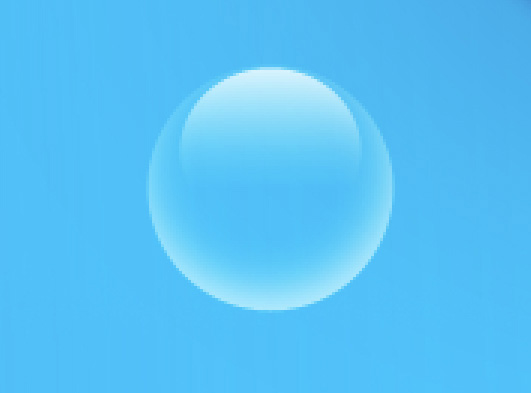
We’ll get an air bubble:
Then make a copy of the new bubble we’ve got and change its size (Ctrl+T) to represent air jets, as it is demonstrated below:

The final result!
View full size here.
Page: 1 2
Comments