
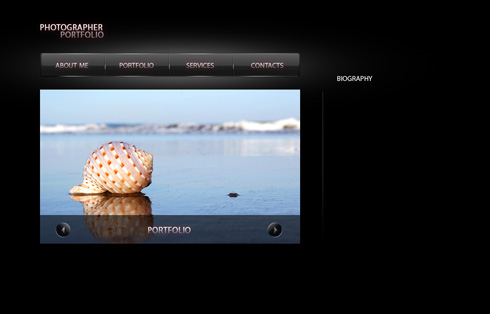
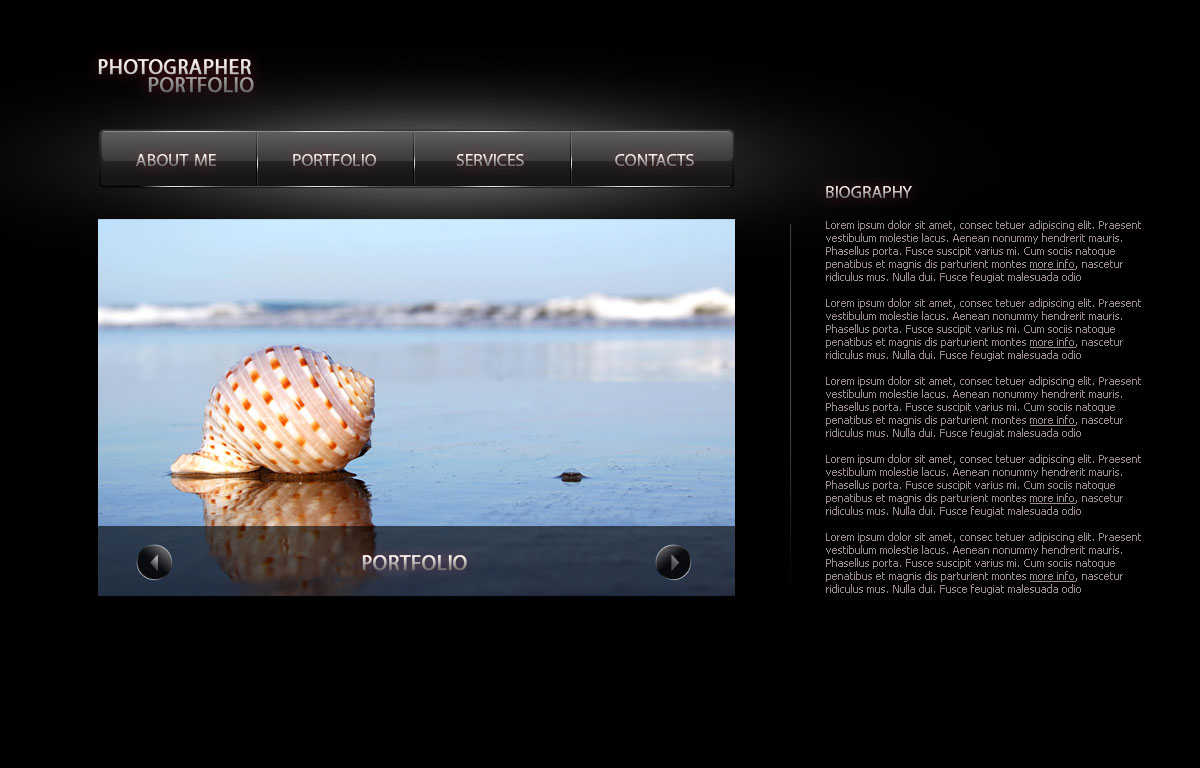
Photographer portfolio layout
Combine in a group the layers composing both vertical lines (press Ctrl button and mark out the corresponding layers and then hold on the left mouse’s button to take the marked layers on Create a new group selection). Make two copies of the group that we’ve got and choose then Free Transform option to situate the copies the same way demonstrated below:

Insert now the titles for the menu’s buttons, each word being represented on a separate layer:

Make a copy of the layer’s effects by clicking on the layer containing the site’s name (Copy Layer Style) and then have a right click button on each layer containing the button’s title (Paste Layer Style).


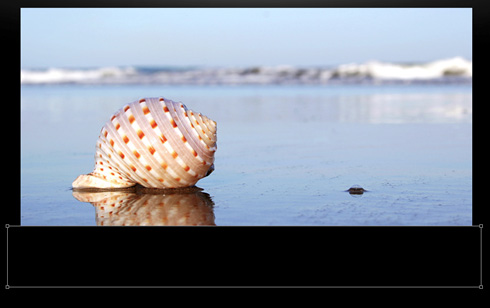
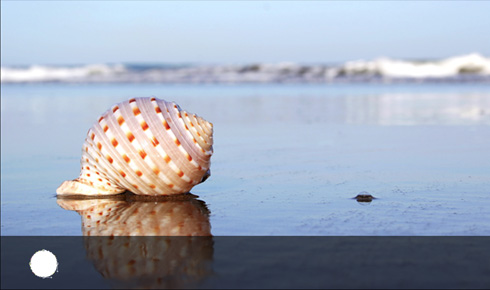
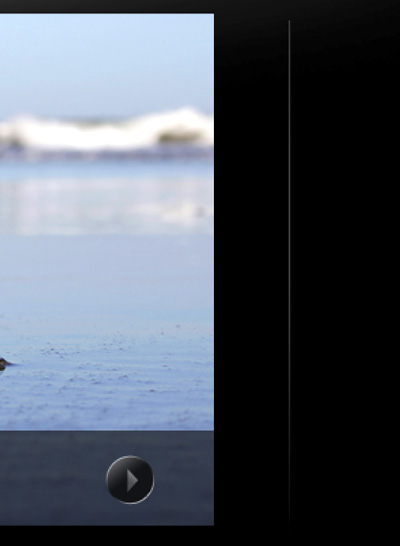
Next we’ll situate the picture under the menu:
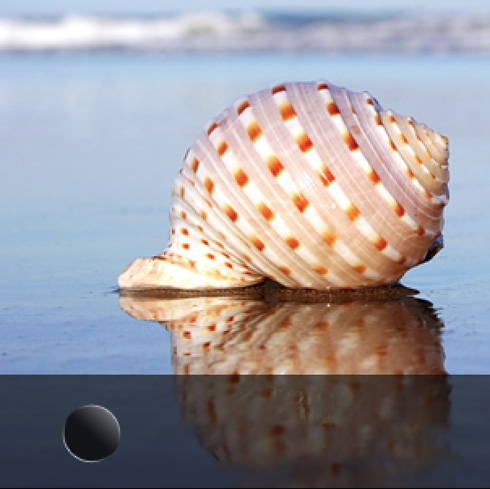
Using the Rectangle Tool (U) we can hide the bottom part of the picture under a stripe of black color.
The layer’s parameters: Fill 60%
Press Alt button while clicking between the black stripe’s layer and the picture’s layer on the layers’ panel:
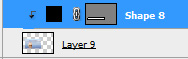
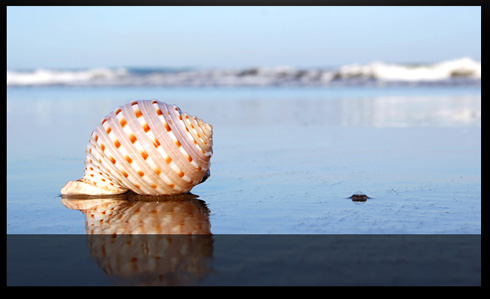
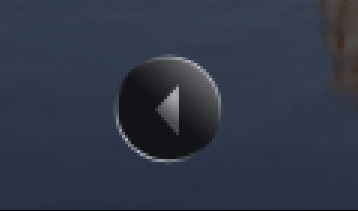
Using the Ellipse Tool (U), we can represent a button on the lowest part of the picture:
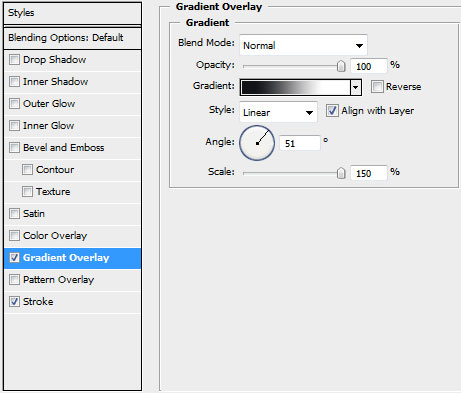
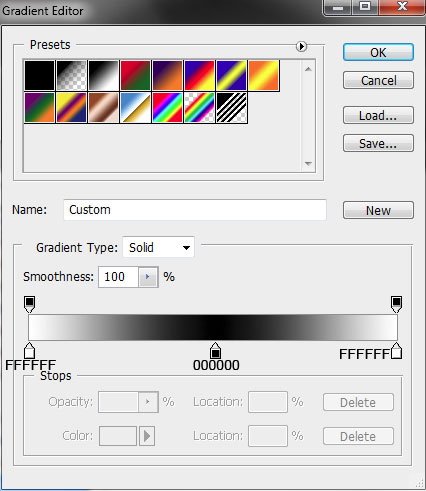
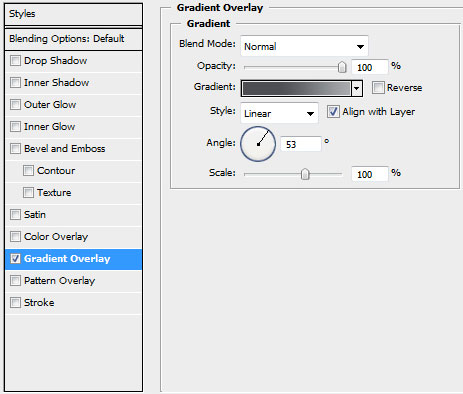
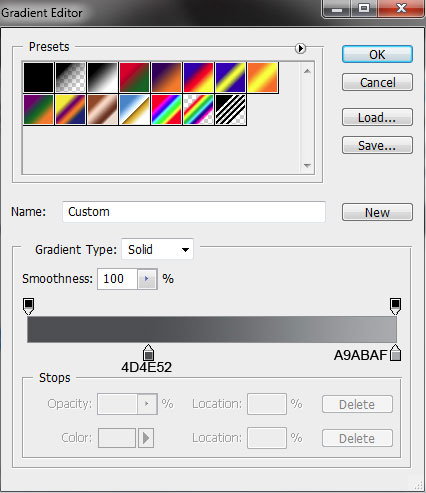
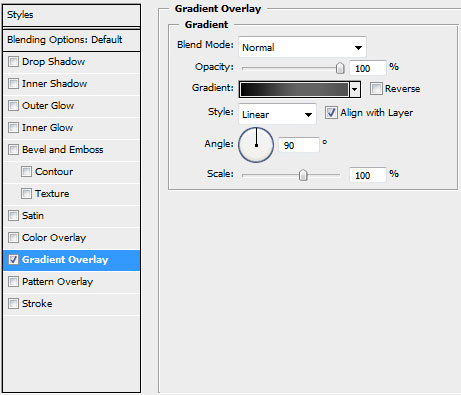
The layer’s parameters: Blending Options>Gradient Overlay
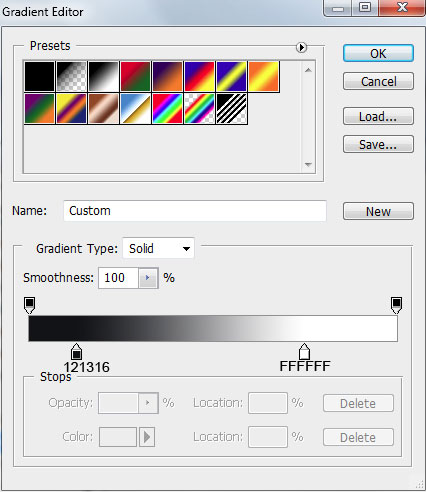
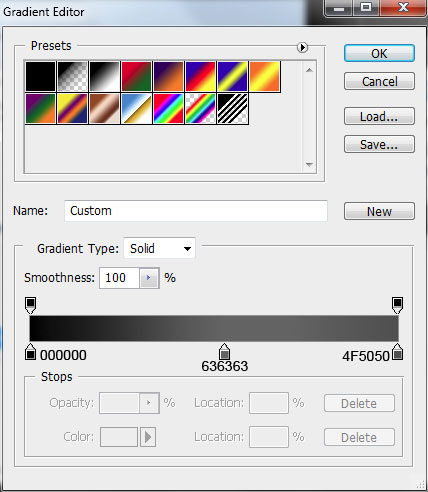
Gradient’s parameters:
Blending Options>Stroke

Gradient’s parameters:
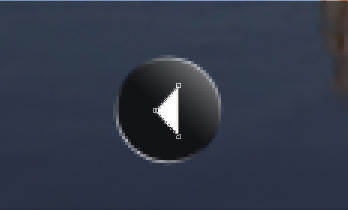
Select next the Pen Tool (P) and represent a small pointer on the button that must be of white color.
 The layer’s parameters: Blending Options>Gradient Overlay
Gradient’s parameters:
Next we’ll combine in a group all the layers composing the button on the lowest part of the picture (press Ctrl button when marking the necessary layers and then hold on the left mouse’s button while moving the marked layers on Create a new group option). Make a copy of the new group and change the parameters for the first button’s layer: Blending Options>Gradient Overlay

The gradient’s parameters are the same with the original one.
Blending Options>Stroke
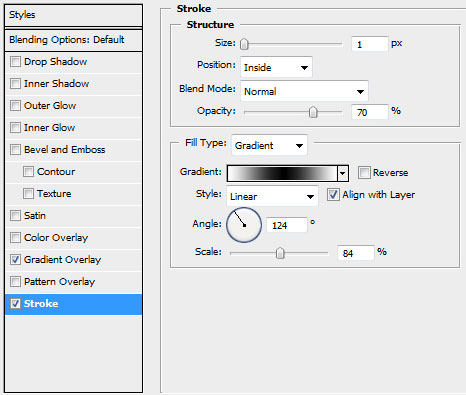
The gradient’s parameters are the same with the original one.
Choose now Free Transform option and turn around the group’s copy, situating it the same way from below:
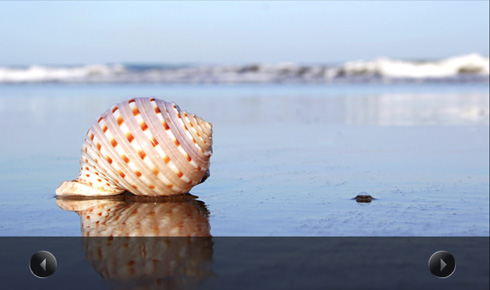
Insert the section’s name on the menu’s zone:


Make a copy of the layer’s effects by right clicking on the layer containing the site’s name (Copy Layer Style) and then have a right click on the name of the section (Paste Layer Style).

Now we’ll represent a vertical dividing line on the picture’s right side, applying the Line Tool (U) (weight 1 px).

The layer’s parameters: Blending Options>Gradient Overlay
Gradient’s parameters:
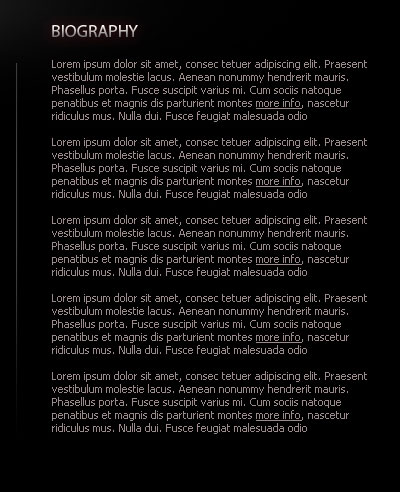
Insert the section’s name on the picture’s right side, keeping the same demands from the next shown table:
Make a copy of the layer’s effects by right clicking on the layer containing the site’s name under the picture (Copy Layer Style) and then click on the right mouse’s button on the recently written section (Paste Layer Style).

… and finally the last stage includes introducing the basic text reserved for the appropriate section:

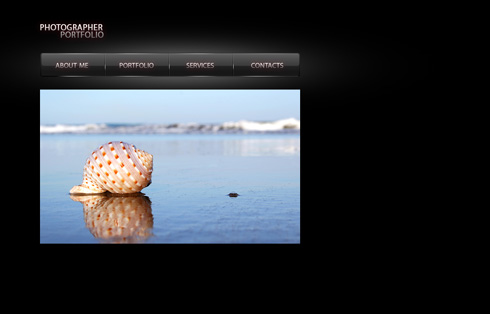
The final result!
View full size here.
Page: 1 2
Comments