
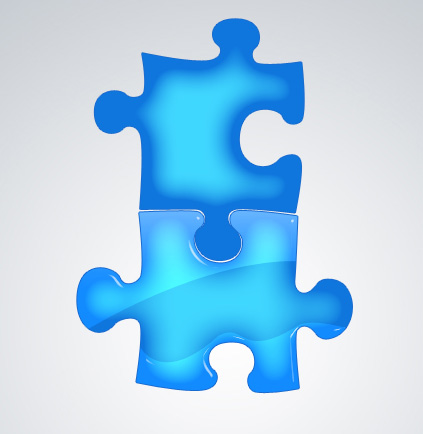
Personalized Puzzle Effects
Blending Options>Gradient Overlay
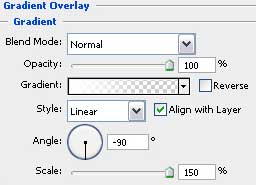
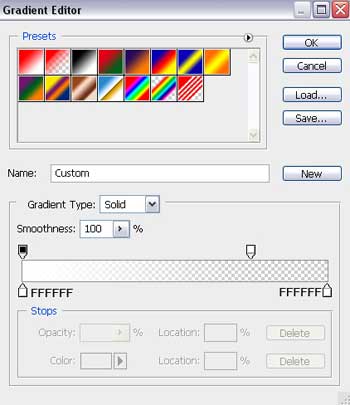
Gradient’s parameters:

Getting a better result is possible if combine in a group all the layers composing the puzzle (for this operation we need to press Ctrl button to mark out the appropriate layers and then click on the left mouse’s button to take down the marked layers on Create a new group selection).
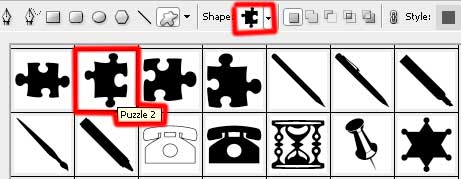
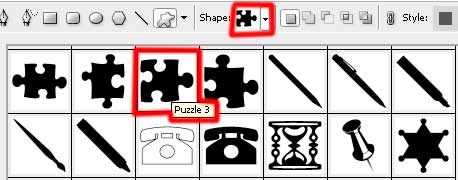
Use the Custom Shape Tool (U) to draw another puzzle, applying the same layer’s effects the first layer has.

The first layer:
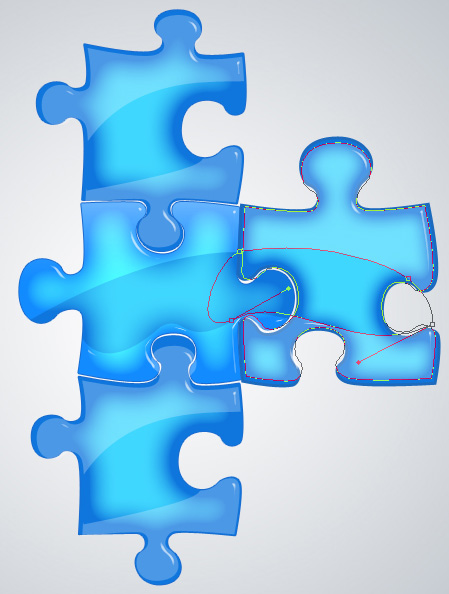
Select again the Pen Tool (P) while keeping pressed the Alt button to cut out an opening on the second layer too.
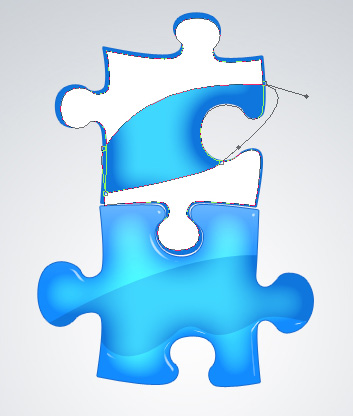
We should keep on the second layer only this effect Blending Options>Bevel and Emboss, but the rest of them should be moved off. Fill 25%
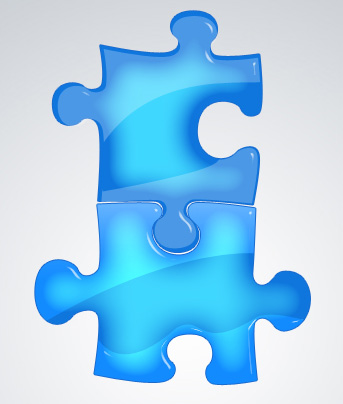
Combine in a single group all the layers composing the second puzzle the same way we did with the first one. Make a copy of this new group and select Free Transform option to place the copy the way indicated below:
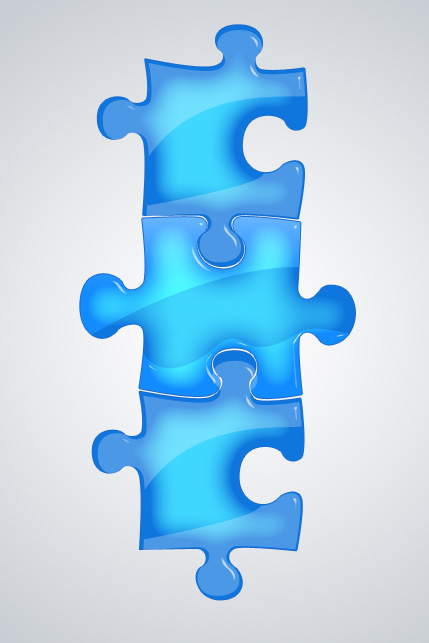
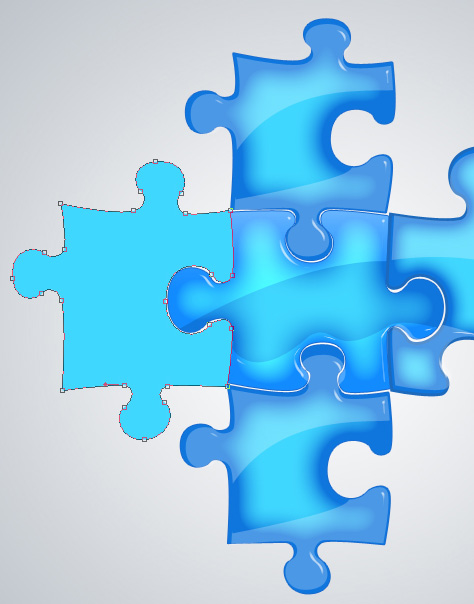
Select the Custom Shape Tool (U) and the Pen Tool (P) again to make the same operations and manipulations to draw the next element of puzzle:
Turn over the puzzle’s layer, selecting Free Transform option and choose the same parameters for this layer the previous layers have.
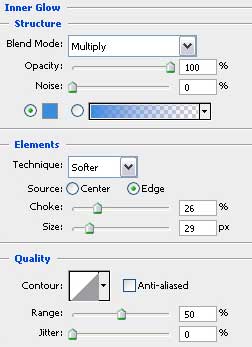
Choose one more time the Custom Shape Tool (U) to draw another element of the puzzle. The first layer of this new puzzle’s element has the same color the previous layers have.
The layer’s parameters: Blending Options>Inner Glow
Comments