
Parent the layers and add text
Parent the layers and add text
Now we will connect the two halves of the film reel so they will move in sync with each other.
-
Select the top layer and the Parent pull-down menu in the Timeline. Select the second layer as its parent—the top layer will now copy anything that is applied to the bottom layer. They will now rotate around the center of their perspective anchor points, as if they were actually connected.
-
Press the R key to reveal the Rotate settings, and click the Stopwatch to set the first marker at the beginning of the Timeline.
-
Move the Indicator down to the 6-second mark on the Timeline. Set the Y-axis rotation to 3 x +0.0º—this will make the film reel spin three complete revolutions in six seconds (Figure 3).

Figure 3: With the film reels connected through parenting, they will move together on their anchor points and appear as one object when rotated.

-
Add the movie text layer to the Comp 1 window and scale it down to 85%, centered in the window. Right-click/Ctrl+click it in the Comp 1 window and select 3D Layer from the context menu.
-
Right-click/Ctrl+click the Comp 1 window tab to bring up the context menu and select Switch 3D View > Left. Drop down the settings for the layer and open the Material Options. Turn the Casts Shadows option on.
-
Move the Indicator in the Timeline down to the point where you see the movie reel at a perfect 90º angle. You will see how the movie reel slices right through the text layer. Select the movie text layer and drag the Z-axis arrow to the right until the layer is just out of reach of the movie reel (Figure 4).
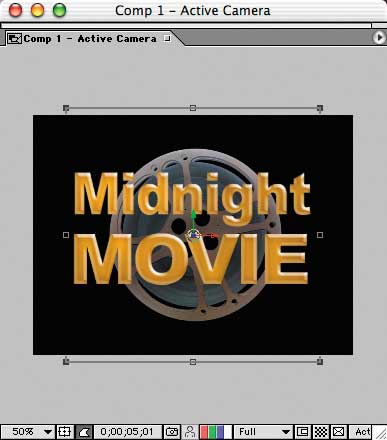
Figure 4: Make the movie text layer a 3D layer and move it out of the rotating motion path of the film reel.
-
Up to this point, there isn’t any real light source shining on the scene, so no shadows are visible yet. Create a spotlight for the scene by selecting Layer > New > Light. When the Light Settings dialog pops up, choose Spot as the Light Type and select the Casts Shadows check box. Adjust the Shadow Darkness to 85% and the Shadow Diffusion to 20 pixels (Figure 5).
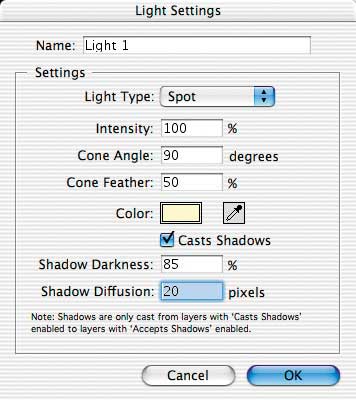
Figure 5: Create a spotlight for the scene that will cast shadows and add depth and realism.
Comments