
Painting with the Art History Brush
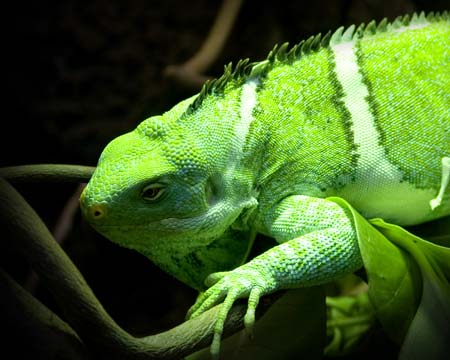
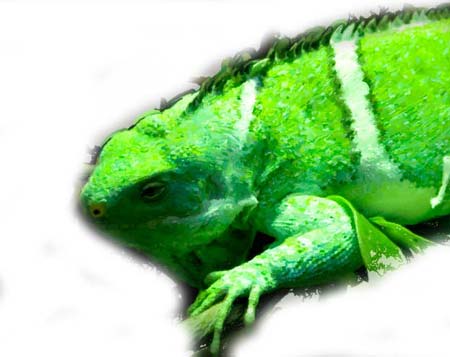
1. Open a new document with your favourite photo:
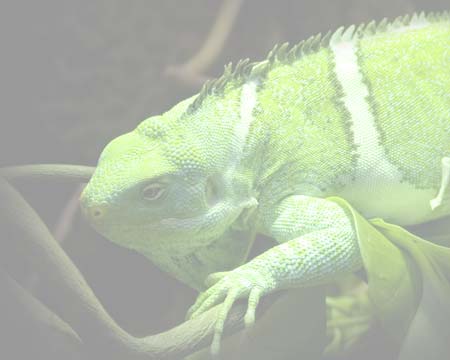
2. Once you got that done, make a new layer and fill it with white color. That will be your “Canvas”. Lower the opacity to 60-70%, so the picture will still be visible in the background.
Why did I do that? Well, this way you can see where you need to paint, to get the best results.
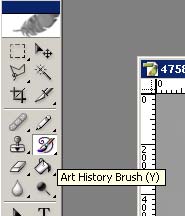
3. Lets move on. Make another layer. You can name it whatever you want, because this will be our painting layer no.1. Ok, use the Art History Brush tool, which you can find in the toolbar under the Brush tool.

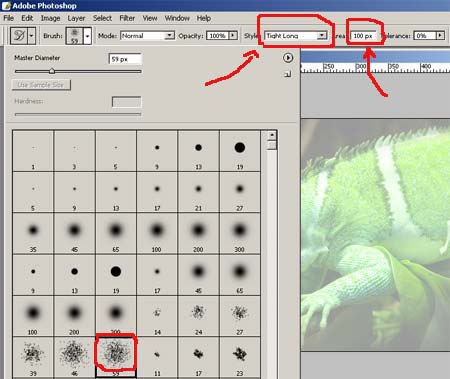
4. Select your brush from the palette. It sholdn’t be just round, so select the most unsimetrical one that you have in your set for better results. (my selection is marked) Style and Area are also important. I’ll use Tight Long style, because I will make long strokes at the beginning and then shorter ones throughout the tutorial. How much area will you paint at once is up to you. It depends on the size of your picture.
5. Now all you have to do is to click, click, click…
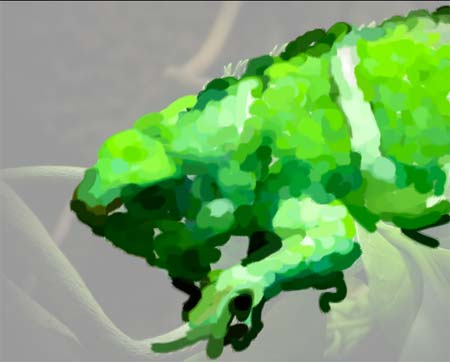
As you can see, Photoshop already finds the appopriate path where to draw a line, so you don’t have that much work ahead of you.
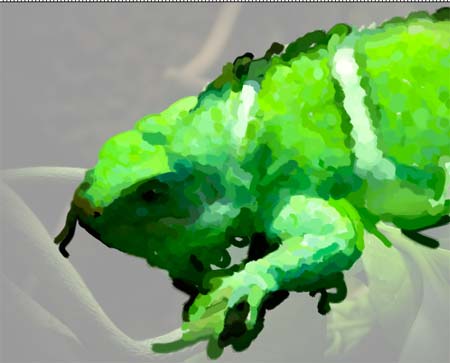
6. When you are satisfied with this first paint job, make a new layer (no.2) and use a smaller brush. The procedure is the same. (If the first layer is bothering you, you can always turn it off).
7. Again… The same procedure… make layer no.3 and use a smaller brush… click, click, click…
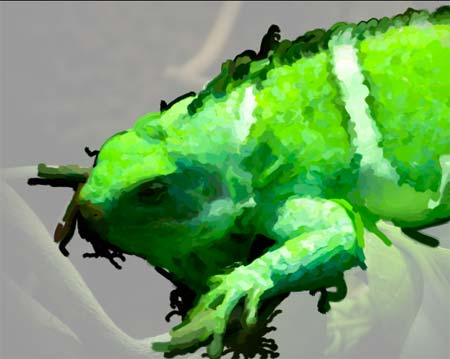
8. Use an even smaller brush. Use it to make a face and hands more detailed…
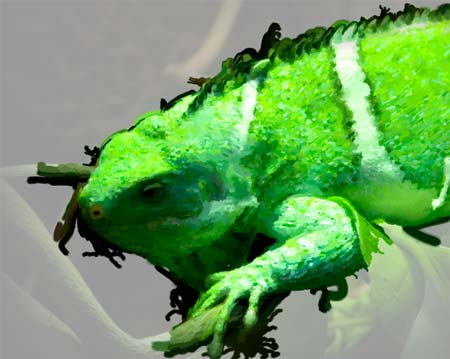
9. You can do this forever until you are satisfied. I’m going to stop here. I now make a the layer no.4, but this time I’ll be using Tight medium style. I’ll use approximately 20 px of area and I’ll try to make the details more visible. Maybe you should try using Tight Short style of brushing, to get better results.
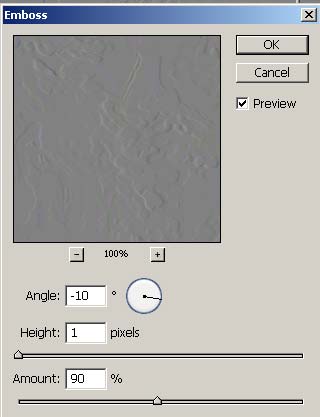
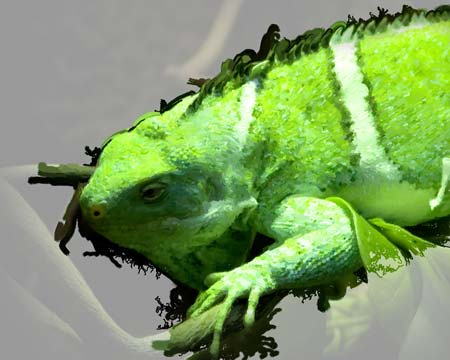
10. That’s it, basically, but if you wish to have a bit of relief caused by the colors in the real painting, then you should flatten the layers and duplicate it. Use the effect Filter > Sylize > Emboss on your copy of the first layer. Try to have a little fun with the settings to get better results.
11. Switch the blending mode of the embossed layer to Linear Light… and you are done…
Comments