
Ophelia Photo Effect
In this lesson we will learn how to change colors, to do unusual imitation of hair and to create effect of placing of object under water.
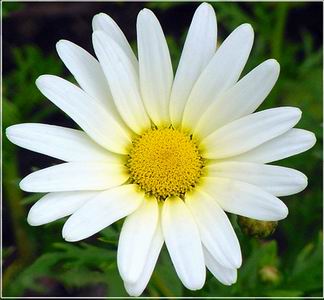
Open the necessary picture for the beginning: File ? Open?
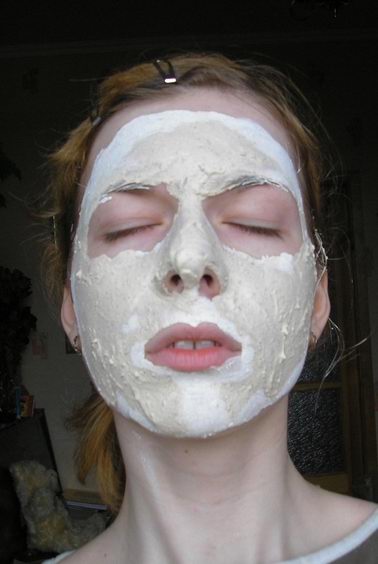
Use the necessary instrument Polygonal Lasso Tool to outline the mask’s contour.
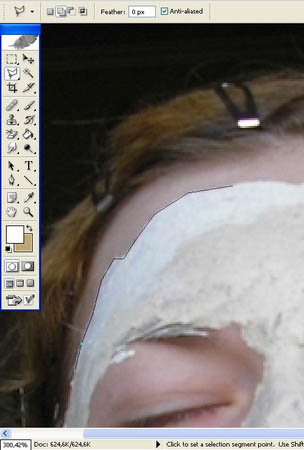
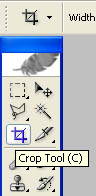
Copy the mask immediately that it is completely outlined, using the command Edit ? Copy (ctrl +c) and place it on a new layer: Edit ? Paste (ctrl + v). The previous layer should be moved off. It is possible to do it using the Delete layer button on Layers window. Enlarge the size of the working window, using the instrument Crop Tool.

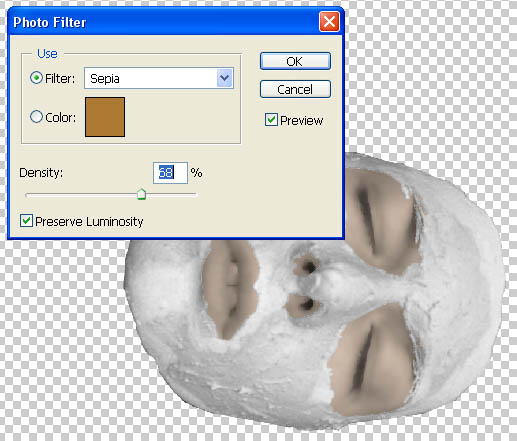
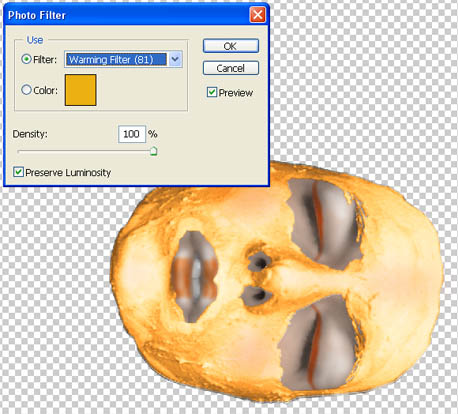
Apply the next commands (Edit ? Transform ? Rotate 90? CW) to turn the mask around. Use the next step Polygonal Lasso Tool to mark the remained face’s parts. Separate them from the mask using the command Edit ? Cut (ctrl+x) and place them on a new layer: Paste (ctrl+v). Make them lighter with the command Image – Abjustments – Desaturate (shift+ctrl+u). Apply the filter Blur ? Smart Blur. Correct the teeth and the skin, making use of the Smudge Tool, inserting previously 0% of hardness. Next step includes applying a color filter on this layer (Image ? Abjustments ? Photo Filter?)
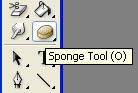
Sponge Tool is helpful in making the teeth whiter.
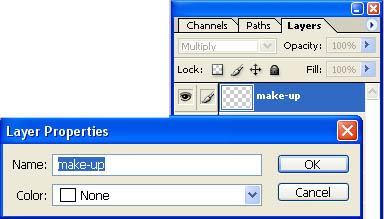
Give the mask the same color that the face has, but less intensive: Image ? Abjustments ? Photo Filter. Use the Brush Tool and the appropriate color for the make up. In the Layers window change the layer’s type on Multiply. Just not to mix the layers you can give a separate name to each other. It is possible to do it by clicking on the right button and choosing Layer Properties?
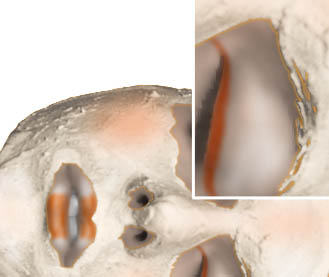
Make the mask’s edges of orange color. Copy the layer for this that contains the mask and give it an intensive orange color.
Place it out under the main mask’s layer and enlarge the size a little bit: Edit ? Free Transform (ctrl+t)
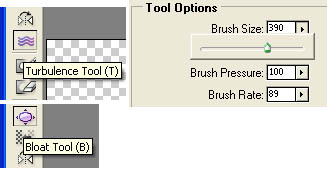
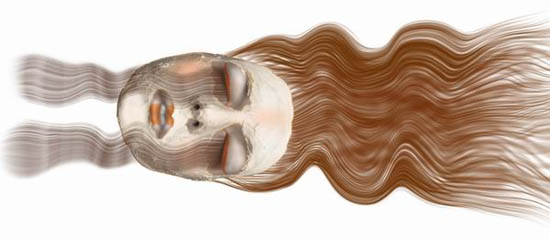
Make use of another instrument (Line Tool) to represent several lines stepping aside from the eyes ? they will represent the eyelashes next. Make them less clear in the indicated direction: Filters ? Blur ? Motion Blur (Angle 0?). Use Eraser Tool to correct the eyelashes line from the eyelid side. Represent the hair the same way. Apply the command Filter ? Liquify (shft+ctrl+x) to represent the hair wavy (Turbulence Tool) and let them out in the end. (Bloat Tool). Choose a brush size of big size in both cases.
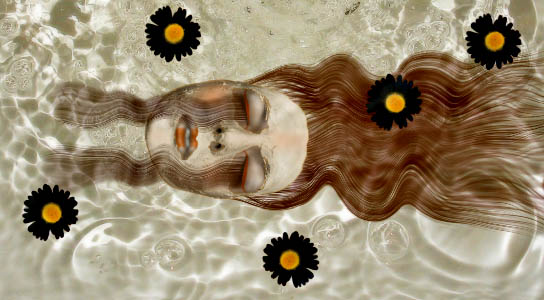
Place the photo representing the water on a new layer (just to locate the mask in the water), and then let down this layer on the bottom: clicking on it, holding it and move it to the necessary place.
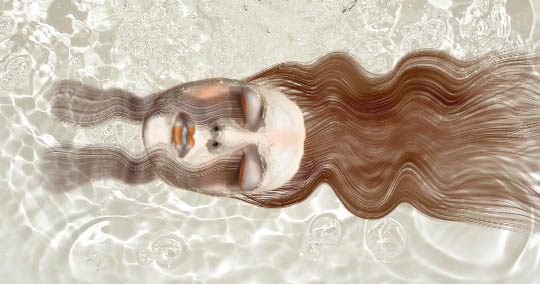
To create the effect of the mask situated in the water, copy the water’s layer and place it on the top. Make it less clear: Filter ? Blur ? Gaussian Blur? Change the layer’s type on Linear Blur.
Take a chamomile’s picture and cut out only the flower.
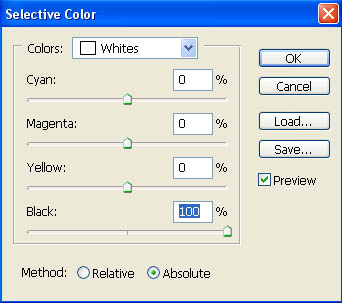
Make the petals of black color: in the correcting color’s window (Image ? Abjustments ? Selective Color) select the white colors and transform them into black.
Multiply the number of flowers using the command Copy (ctrl+c), Paste (ctrl+v) and place them in a ordinary way. In order not to create any confuse, we can combine all the flowers’ layers in a single one, uniting each layer little by little with the next command Layer ? Merge Layer (ctrl+e).
Make the orange shadows. Use the Brush Tool and Ellipse Tool to repeat approximately the necessary objects’ shape.
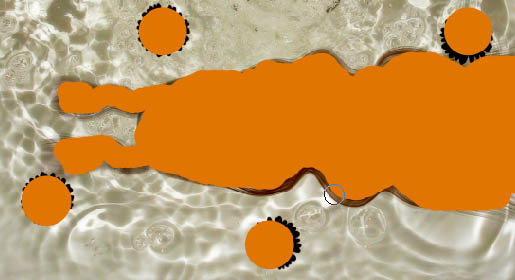
Place this layer under those that contain the objects forming the shadows. Choose the option Gaussian Blur to make them less intensive. Enlarge the size if it is necessary (Free Transform ctrl+t ) and increase the transparency in the layers’ window.
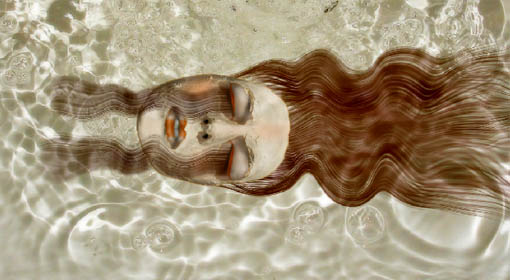
If you wish you may insert a frame also, using Crop Tool and Rectangle Tool.
+ View full size image
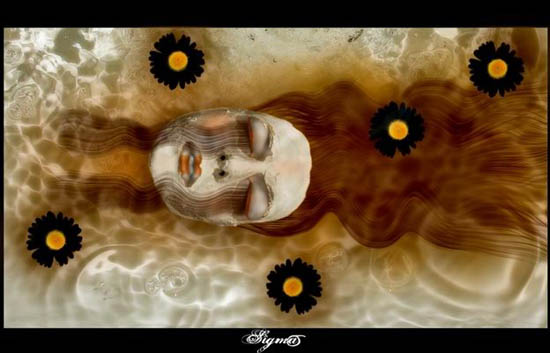
That’s it!
Made by Sigma
Comments