Showcase and discover digital art at yex

Follow Design Stacks

Subscribe to our free newsletter to get all our latest tutorials and articles delivered directly to your inbox!

Old Railway – Digital Scrapbooking with Photos

the standard brush:

You will learn how to pull different scrapbook elements together with your photos in Photoshop CS4

Using the Rectangle Tool (U), make another layer above the previous made one. The new one will have the color #DDDDDD. Insert additionally two tops on the right top corner, choosing the Add Anchior Point Tool. The top on the right corner should be deleted, selecting the Delete Anchior Point Tool.

You will learn how to pull different scrapbook elements together with your photos in Photoshop CS4

Make a right click on the previous made layer belonging to the scrapbooking element (on the layers’ palette) and copy out the layer’s effects (Copy Layer Style), but on the recently made one click on Paste Layer Style.

You will learn how to pull different scrapbook elements together with your photos in Photoshop CS4

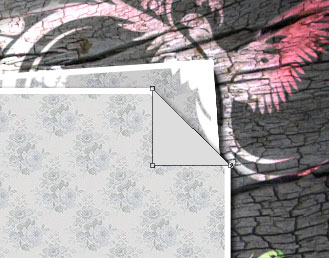
Next we’ll select the Pen Tool (P) to make a bend corner for the scrapbooking element, the layer having the color #DDDDDD

You will learn how to pull different scrapbook elements together with your photos in Photoshop CS4

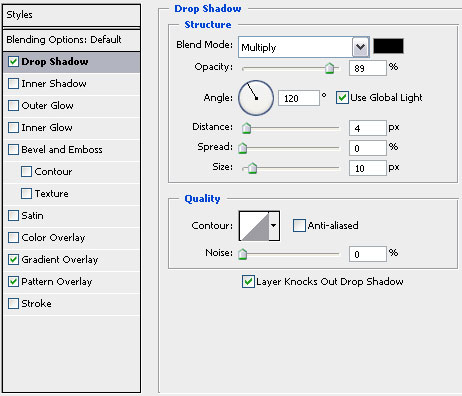
The layer’s parameters: Blending Options>Drop Shadow

You will learn how to pull different scrapbook elements together with your photos in Photoshop CS4

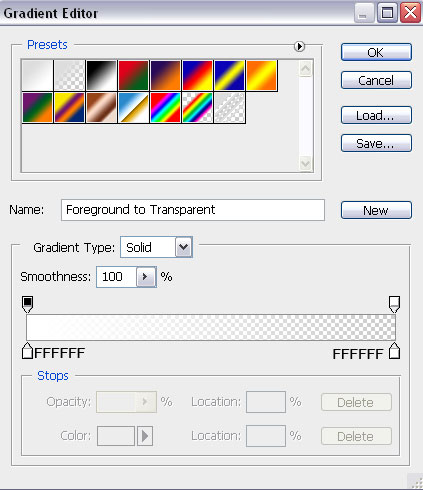
Blending Options>Gradient Overlay

You will learn how to pull different scrapbook elements together with your photos in Photoshop CS4

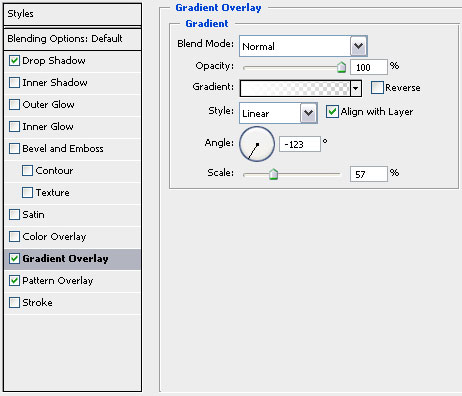
Gradient’s parameters:

You will learn how to pull different scrapbook elements together with your photos in Photoshop CS4

Blending Options>Pattern Overlay

You will learn how to pull different scrapbook elements together with your photos in Photoshop CS4

You will learn how to pull different scrapbook elements together with your photos in Photoshop CS4

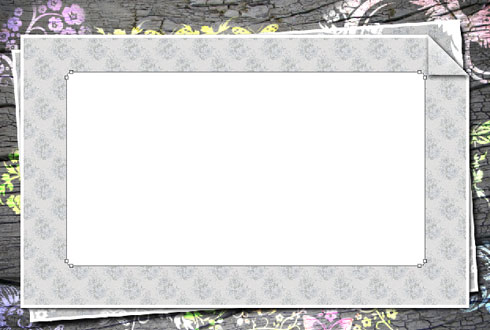
Using the Rounded Rectangle Tool (U) with the radius of 10 px, represent a kind of window reserved for our photo.

You will learn how to pull different scrapbook elements together with your photos in Photoshop CS4

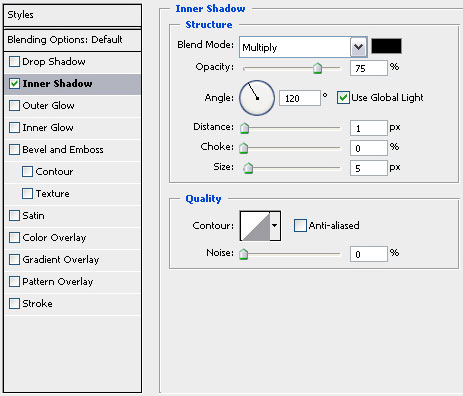
The layer’s parameters: Blending Options>Inner Shadow

You will learn how to pull different scrapbook elements together with your photos in Photoshop CS4

You will learn how to pull different scrapbook elements together with your photos in Photoshop CS4

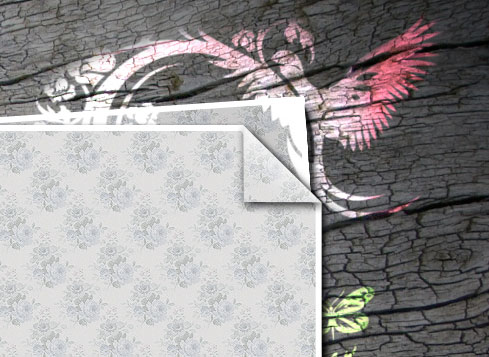
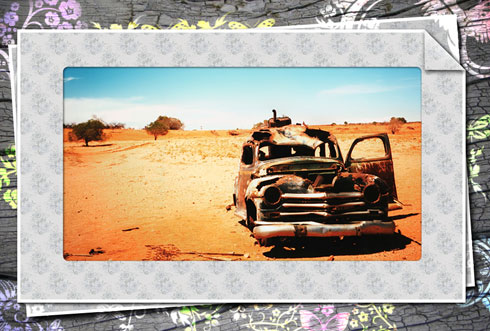
Insert the picture we want to have on the scrapbook ( I used this picture from SXC. I would like to thank the author of this picture):

You will learn how to pull different scrapbook elements together with your photos in Photoshop CS4

Press Alt button and make a mouse click between the picture’s layers and the window’s layer on the layers’ palette.

You will learn how to pull different scrapbook elements together with your photos in Photoshop CS4

If necessary, we’ll displace a little the picture, using in this case the Free Transform option or the Move Tool (V) for the appropriate angle:

You will learn how to pull different scrapbook elements together with your photos in Photoshop CS4

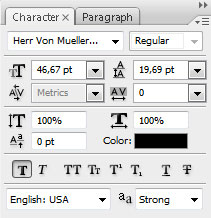
Next we’ll introduce the title on this scrapbook, following the demands from the next demonstrated table:
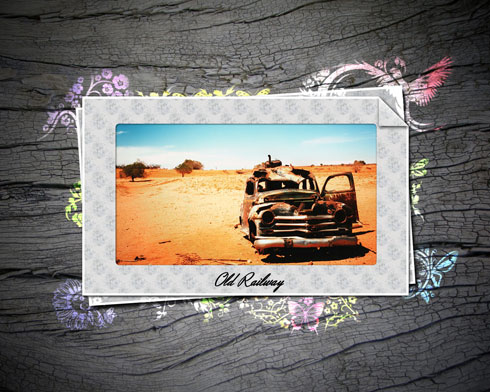
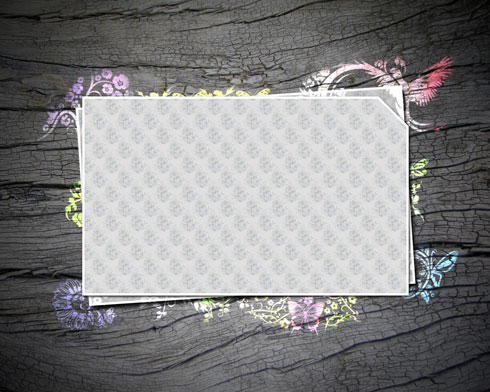
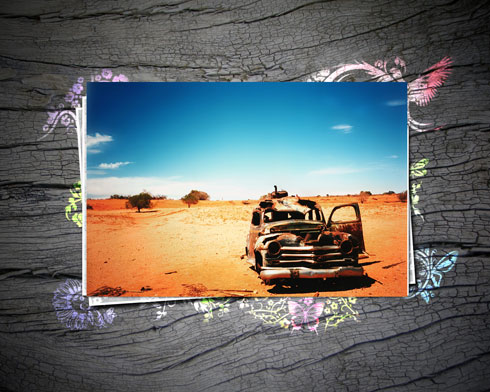
You will learn how to pull different scrapbook elements together with your photos in Photoshop CS4

You will learn how to pull different scrapbook elements together with your photos in Photoshop CS4

The final result!

View full size here.

Page: 1 2

Comments