
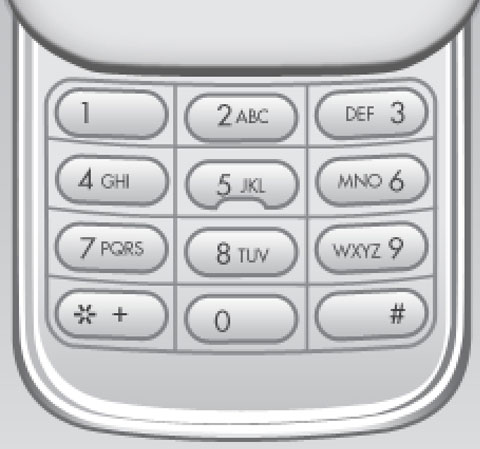
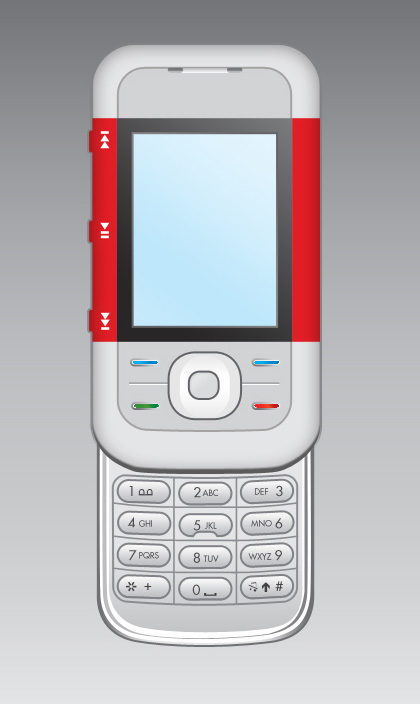
Nokia 5300 Cell phone interface
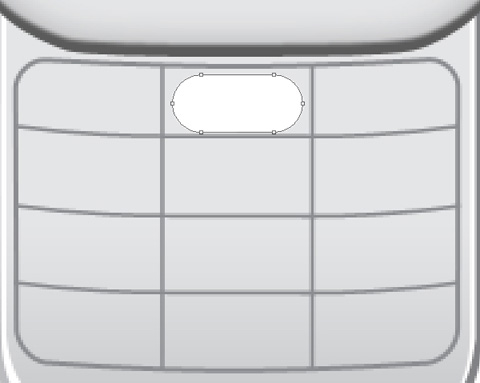
Let’s represent the button itself, choosing for this operation the Rounded Rectangle Tool (U) (radius of 15 px).
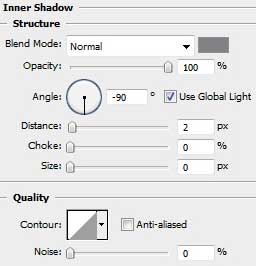
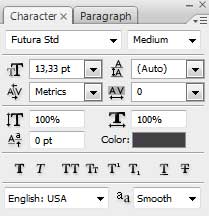
The layer’s parameters: Blending Options>Inner Shadow
Blending Options>Gradient Overlay
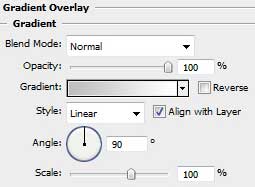

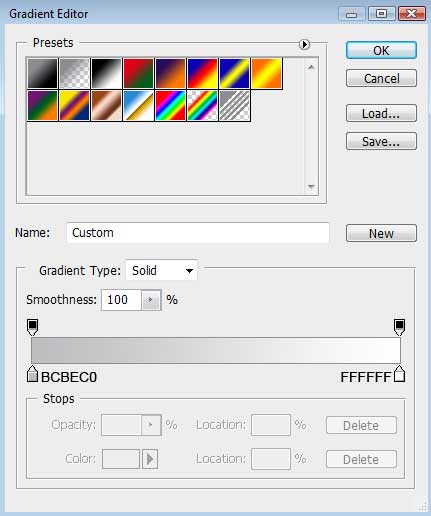
Gradient’s parameters:
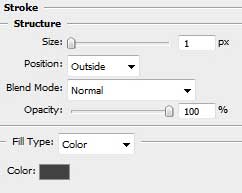
Blending Options>Stroke
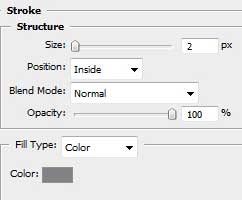
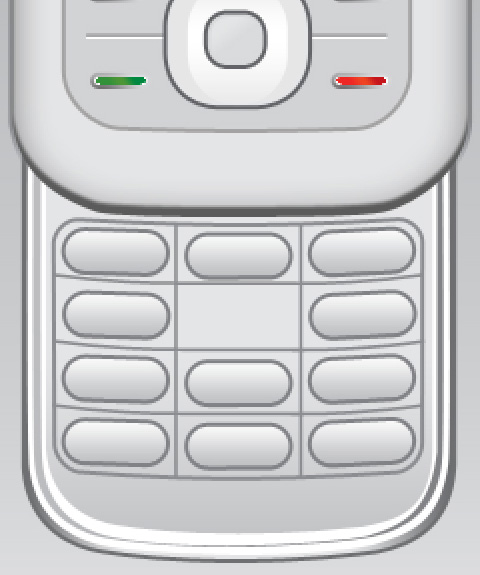
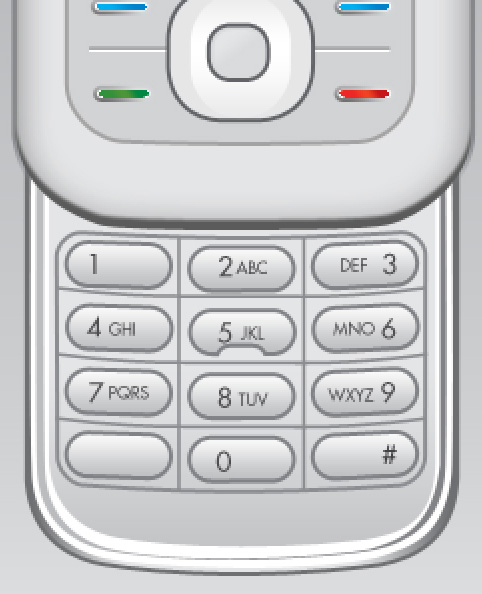
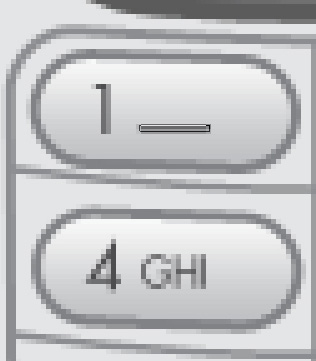
Make ten copies of the button’s layer and select then the Free Transform option to incline a little the buttons from the left side and the right one, placing the copies the same way represented next picture:
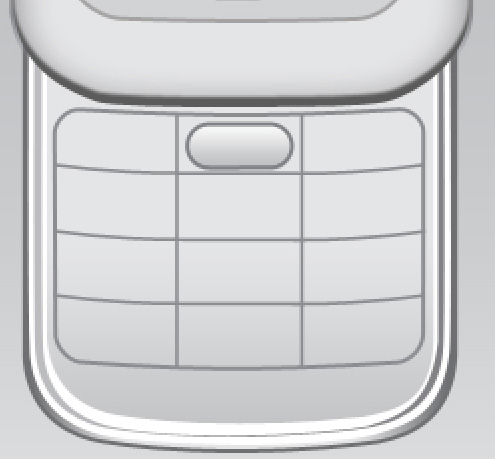
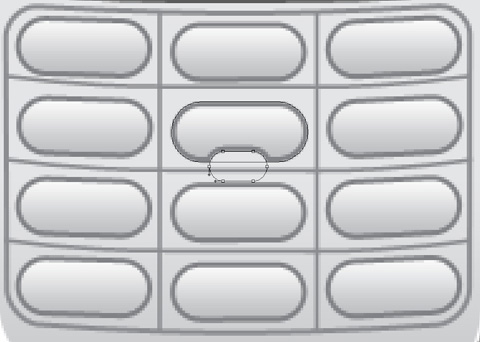
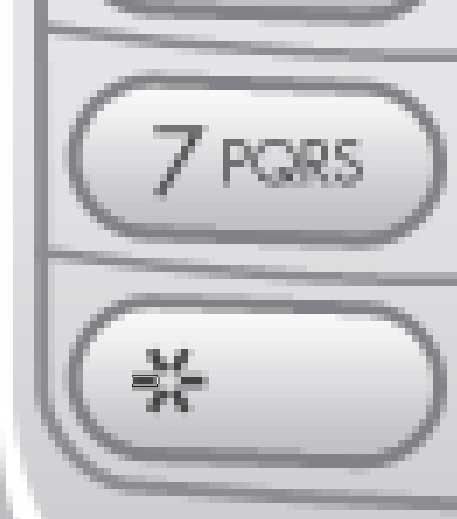
 Make one more copy of the button’s layer. Select the Alt button and the Rounded Rectangle Tool (U) (radius of 5 px) to cut out the bottom part of the button the same way demonstrated below:
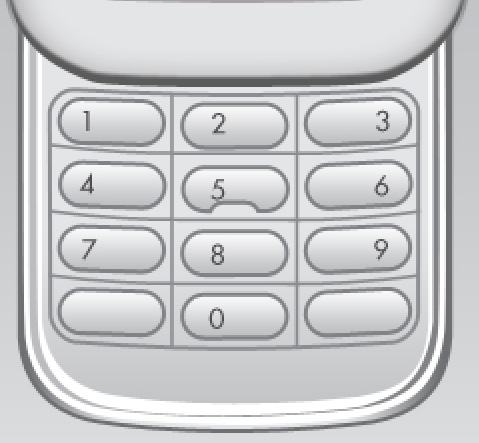
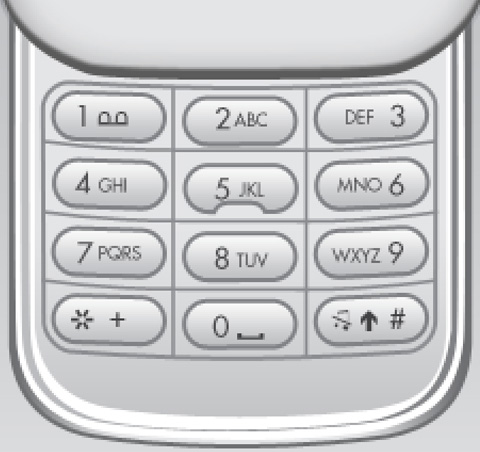
Insert the buttons’ numeration, keeping the demands from the table below:
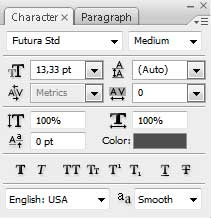
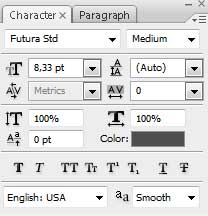
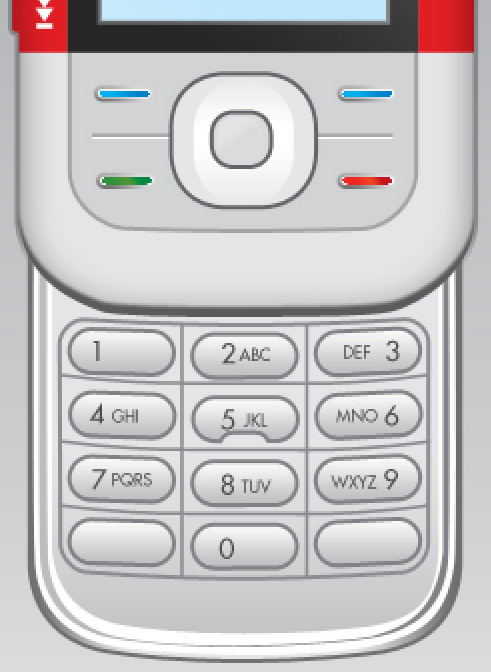
On the next stage we have to introduce the alphabet on the buttons:
Insert the symbol from here – #
Applying the Line Tool (U) (width 1 px), it’s possible to represent the symbol *, which color is #414142.
Next we’ll insert the symbol + close to the previously drawn one – *
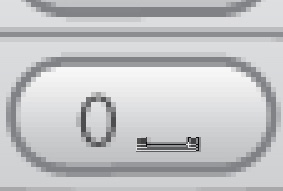
 Using the Rectangle Tool (U), try to make the symbol representing the gap, colored with #5B5C5D. Press SHIFT button while using the same tool to add the protuberances on the left and right sides.
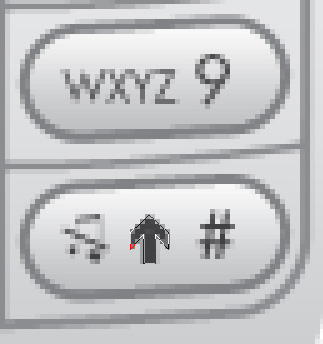
Let’s represent two more symbols applying the Custom Shape Tool (U) and the Line Tool (U) (width of 1 px), for representing the sound symbol and the Pen Tool (P) to indicate the pointer. The color is #414142 for both symbols.
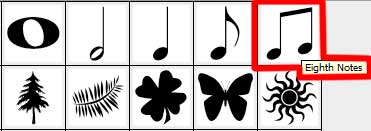
The Free Transform option should change the shape of the sound symbol.
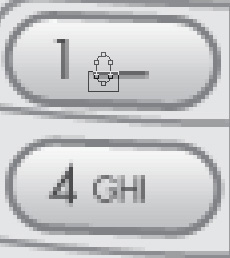
Now we shall draw the symbol indicating the voice mail. In this case we’ll use the Line Tool (U) (width of 1 px) to represent the horizontal lines and the Ellipse Tool (U) to introduce by one ring on the left and right sides. Press Alt button while applying the Rectangle Tool (U) to cut out the rings on the line’s level. The line’s color is #414142
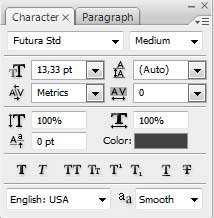
The layer’s parameters: Fill 0%
Blending Options>Stroke
Next we should combine in a group all the layers belonging to the cell phone (press Ctrl button to mark out the necessary layers and then hold on the left mouse’s button to take the accentuated layers on Create a new group solution). Make a copy of the newly made group. Press Ctrl button to mark out the group’s copy and pres Ctrl+E. Using the Free Transform option, turn over the last processed layer and place it lower than the cell phone.
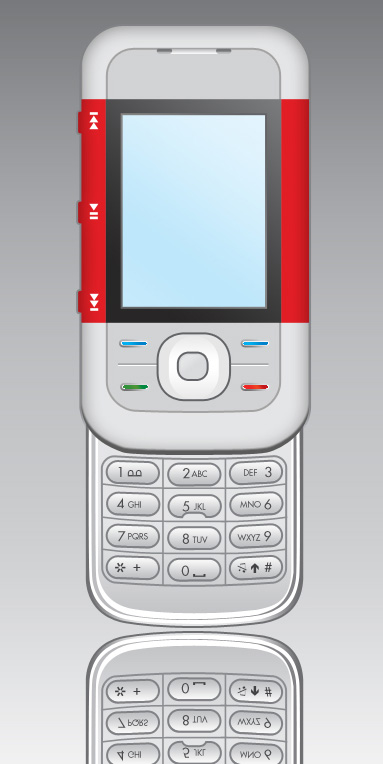
Make a mouse click on the same layer on the bottom part of the layers’ panel on Add a Mask solution. Using the Gradient Tool (G), try to dark out the reflection.
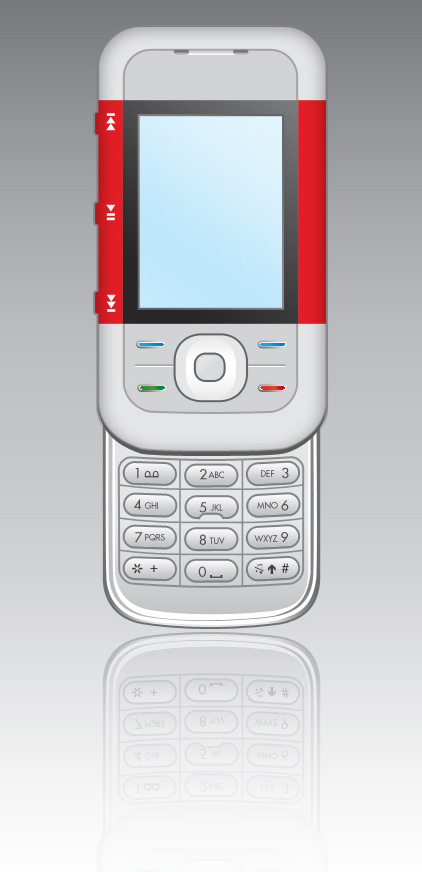
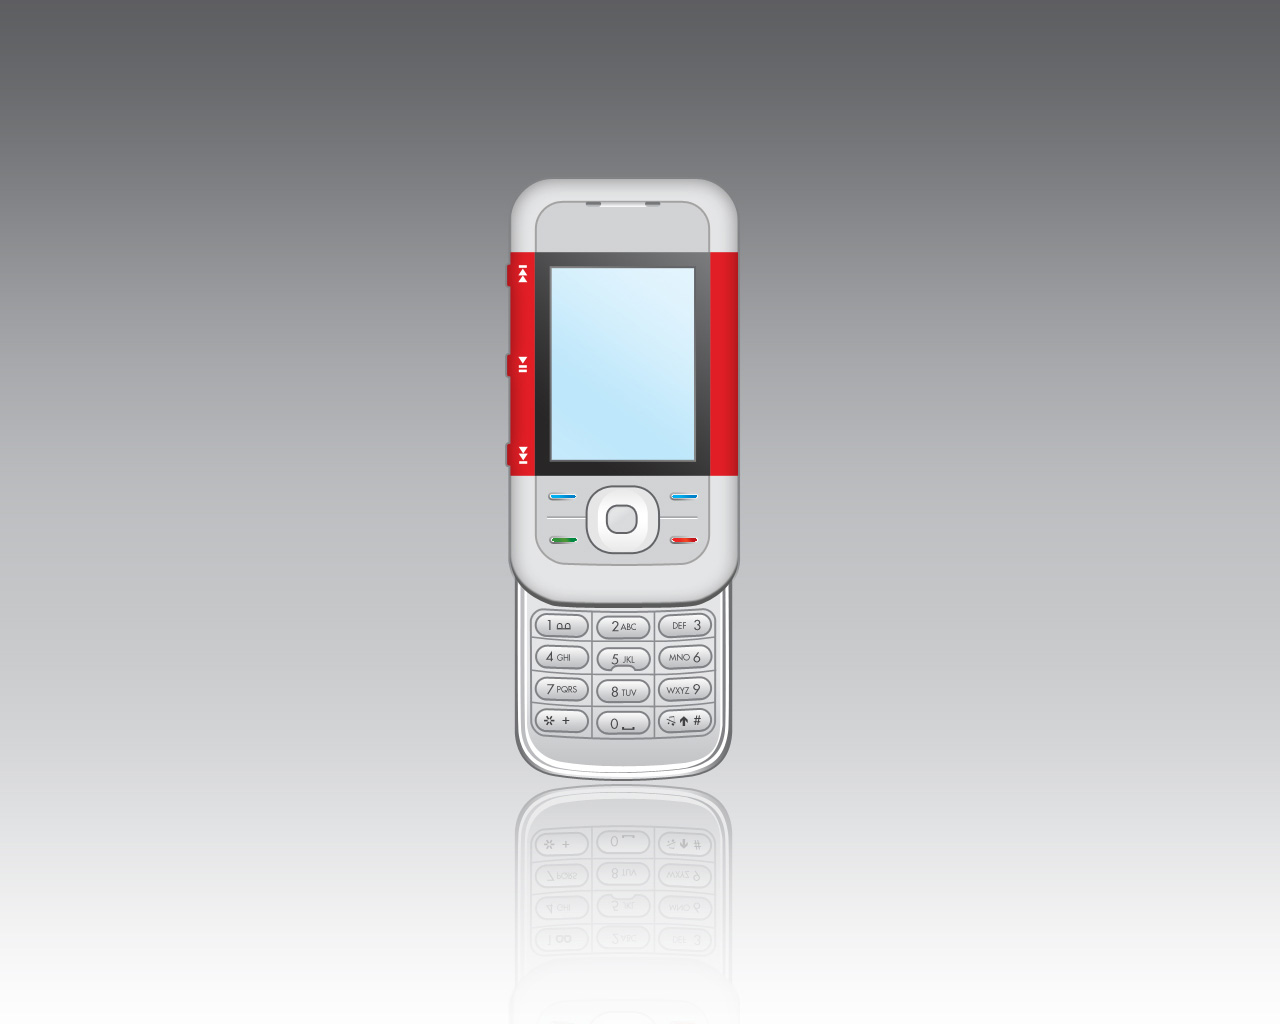
Finished!
View full size here.
Comments