
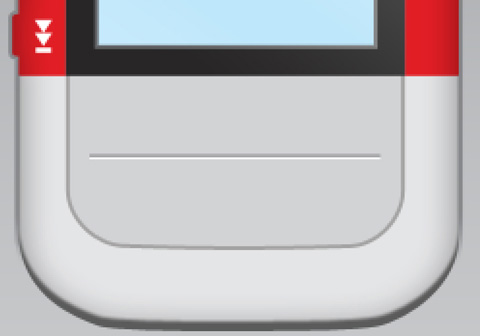
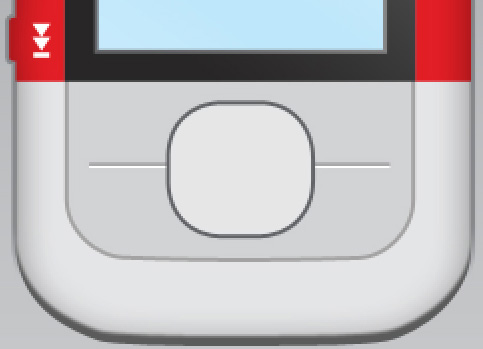
Nokia 5300 Cell phone interface
Select again the Line Tool (U) to draw this time a highlight of white color situated under the flatness.
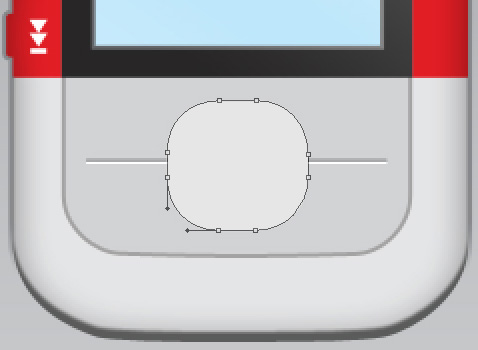
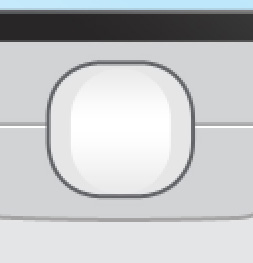
Next we shall represent the joystick button, applying the Rounded Rectangle Tool (U) (radius of 30 px). Then apply the Convert Point Tool to make the corrections on the element’s shape. The layer’s color is #E6E6E6
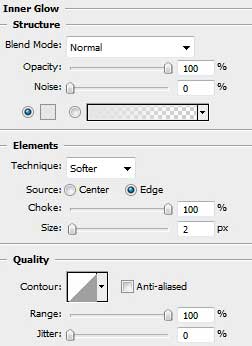
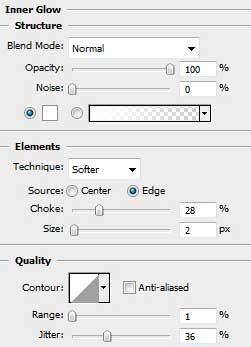
The layer’s parameters: Blending Options>Inner Glow

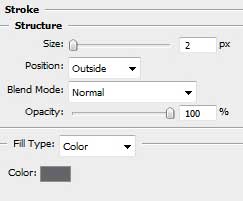
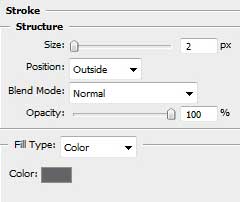
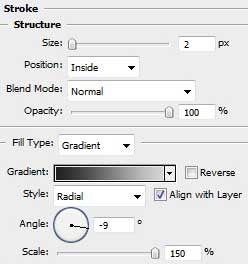
Blending Options>Stroke
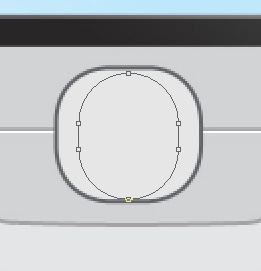
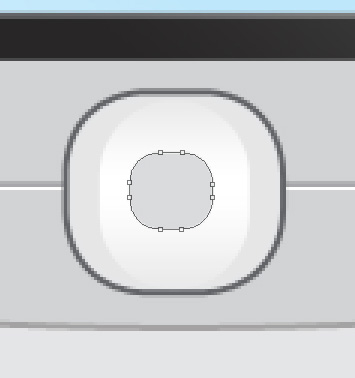
Let’s represent now a kind of deeping on the joystick button, selecting the same Rounded Rectangle Tool (U) with a radius of 30 px.
 The layer’s parameters: Fill 0%
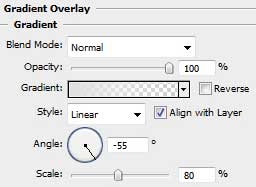
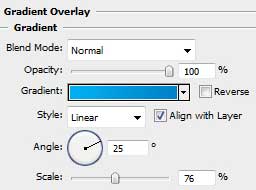
Blending Options>Gradient Overlay
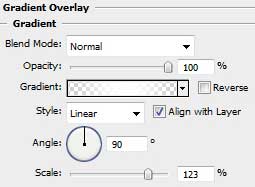
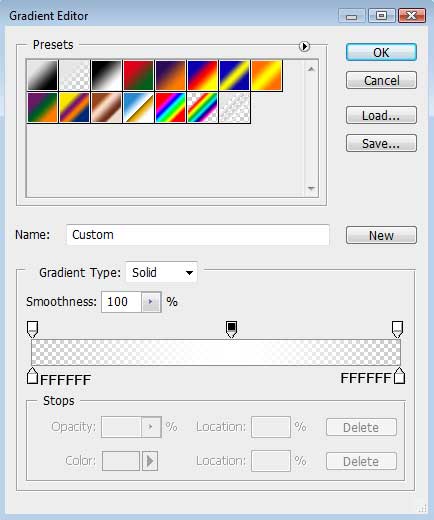
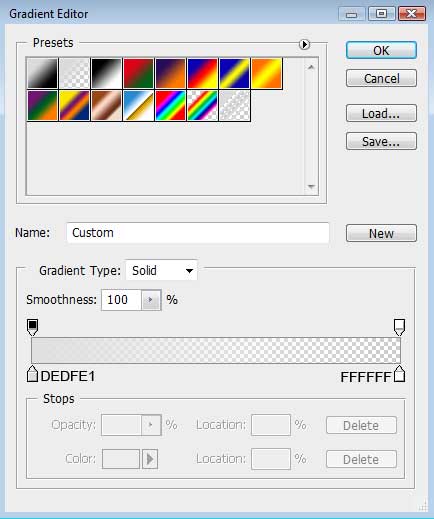
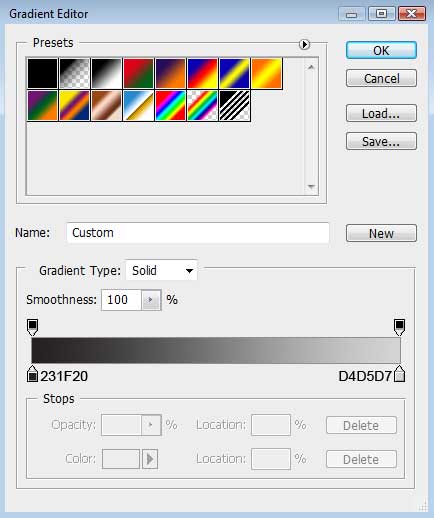
Gradient’s parameters:
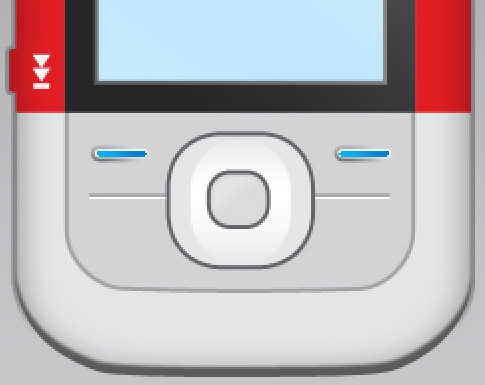
On the next new layer we shall draw the inside part of the joystick button. This time we should use the same Rounded Rectangle Tool (U) with a radius of 10 px. The Convert Point Tool is helpful when making the appropriate corrections for the new element. The layer’s color is #D9DBDC
The layer’s parameters: Blending Options>Stroke

Make a copy of the last made layer and select Free Transform option to make the copy smaller, changing also the layer’s parameters:
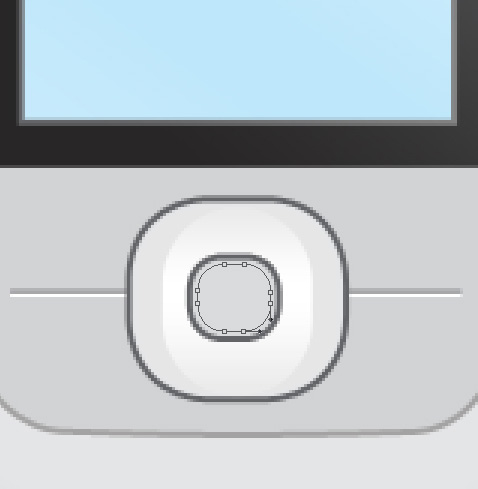
The layer’s parameters: Fill 0%
Blending Options>Gradient Overlay
Gradient’s parameters:
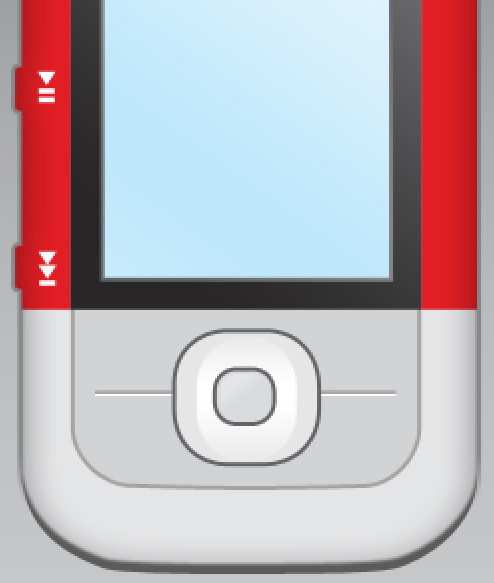
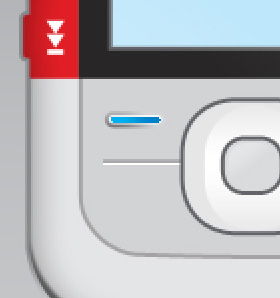
Applying the Rounded Rectangle Tool (U) with a radius of 10 px, it’s possible to represent the buttons of the cell phone.
The layer’s parameters: Blending Options>Inner Glow
Blending Options>Gradient Overlay
Blending Options>Stroke
Gradient’s parameters:
Make a copy of the recently created layer and then select as usually Free Transform solution for placing the copy the same way demonstrated below:
Make two more copies of the layer containing the button’s colored representation. Choose again the Free Transform option to situate the copies on the same position as below, changing the parameters for the copied layers:
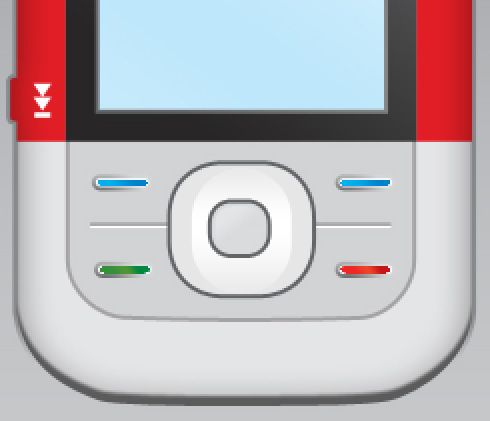
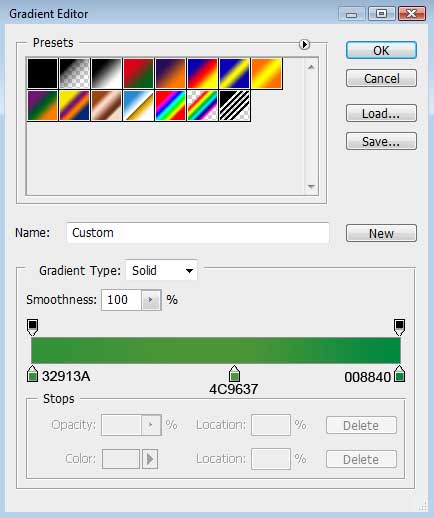
The parameters for the green button: Blending Options>Gradient Overlay (the rest of the layer’s parameters should remain the same)
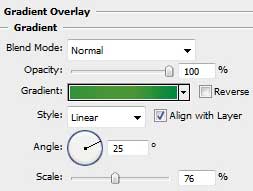
Gradient’s parameters:
The parameters for the red button: Blending Options>Gradient Overlay (the other parameters should be left the way they are)
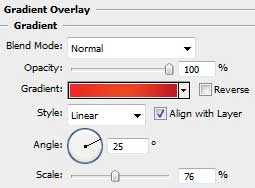
Gradient’s parameters:

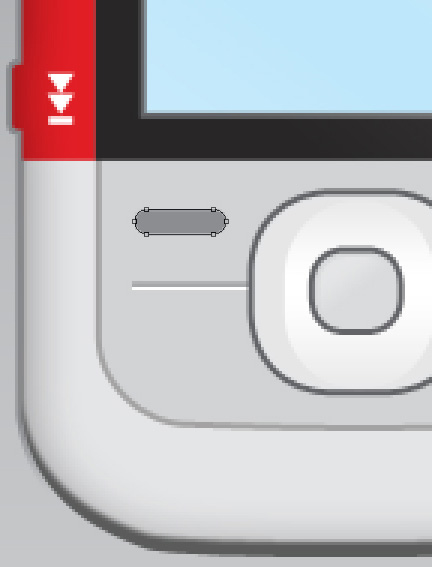
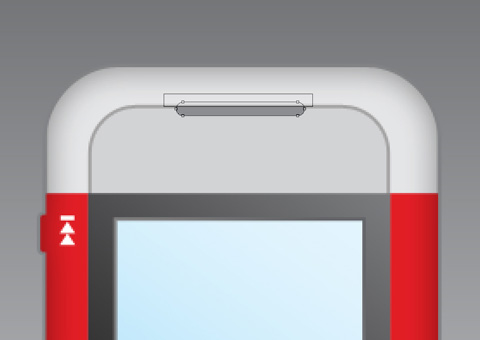
Using the Rounded Rectangle Tool (U) (radius of 15 px), it’s possible to represent the protuberances reserved for the loud speakers. Then press Alt button while applying the Rectangle Tool (U) to erase the unnecessary elements.
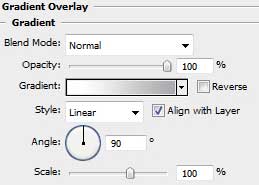
The layer’s parameters: Blending Options>Gradient Overlay
Comments